Midtronics Inc. 7000 Monroe Street Willowbrook, IL 60527
www.midtronics.com
Page 3
Quick Reference Guide
167-001092EN-C March., 2023
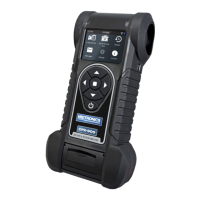
Main Menu Selection Area
When displayed, the Screen Arrows show which ARROW
key on the keypad to press to display other icons, screens,
or item in a list.
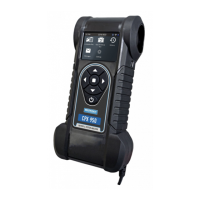
Additional Screens
The dots at the bottom or side of a menu or results screen
indicate additional screens are available.
Screen 1
Screen 2
Screen 3
Press or
Screen 1
Press or
Screen 2
Test Preparation
Before starting the test visually inspect the battery for:
• Cracked, buckled, or leaking case.
• Corroded, loose, or damaged cables and connections.
• Corrosion, dirt, or acid on the battery terminals or case top.
• Corroded or loose battery tray and hold-down xture.
Risk of explosive gases
Batteries generate explosive gases
during normal operation, and when
discharged or charged. Follow all
manufacturers’ instructions and
BCI (Battery Council International)
safety recommendations.
Wash hands after handling.
REQUIRED BY CALIFORNIA PROP. 65:
Battery posts, terminals, and related
accessories contain lead and lead
compounds, chemicals known to the
state of California to cause cancer
and birth defects or other reproduc-
tive harm.
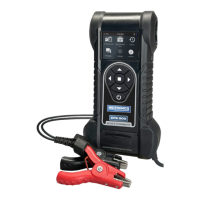
In Vehicle Test
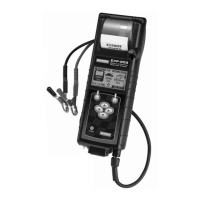
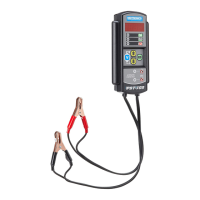
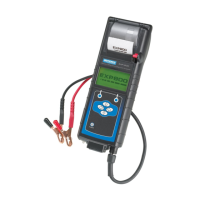
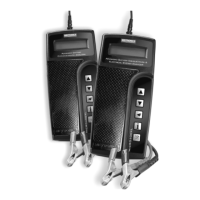
1. Connect - Tester clamps to battery terminals.
2. Select - At the Main Menu select In Vehicle Test.
3. VIN Capture - Scan VIN bar code, usually located in the right
corner of the vehicle’s windshield or on the driver’s side
door frame.
IMPORTANT: To capture the VIN, position the
tool so the projected green line scans the entire
width of the barcode.
Manual Entry: Use the on-screen keypad to manually type
the 17-digit VIN and tap Next.
4. Battery Test Setup - Edit vehicle and battery information
based on the VIN scan or the battery in the vehicle. You will
have 30 seconds to either press a button to edit the informa-
tion elds, press Start to begin the test, or connect to a bat-
tery before the tester times out. If it times out, you will need
to start the test process again by selecting the In Vehicle Test
application from the home screen and scanning the VIN.
Application Automotive
Battery Post Top Post
Battery Type Flooded, EFB, AGM Spiral, AGM, Gel
Battery Units CCA, MCA, CA, DIN, SAE, EN, EN2
Battery Rating
Hold or to increase scrolling speed.
5. Temperature - Hold sensor 6 to 12 inches over battery &
se-
lect Capture.
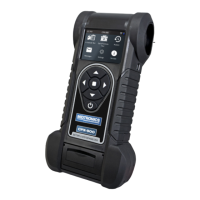
Battery Test Results
Send test results
via email.
Return to Main Menu
6
Print test results
Icons are color-coded to indicate status.
Green:Green:
All test parameters
were completed and
have passed.
Red:Red:
The battery has
failed the test.
Yellow:Yellow:
Some test parameters
may require further
testing.
Gray:Gray:
Insufcent data to
perform the test.
Refer to decisions table in the online user manual for a complete
explanation of all possible test results.