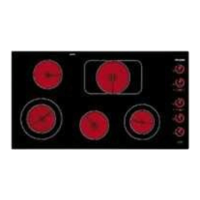
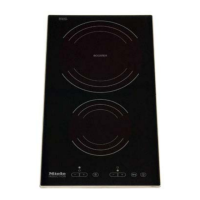
Use
Sensor touchpads
This hob is equipped with electronic
sensor controls. Finger tip pressure on
a touchpad will activate its functions.
Only press the relevant touchpad.
If two or more touchpads are touched
at the same time the entries will be ig-
nored. Nothing will happen.
Take care to keep the touchpads
and the area around them clean
and do not put things down on them.
Hot pans can damage the elec-
tronics under the sensors.
When cleaning the hob surface do
not push the dirt across the touch-
pads.
The sensors could mistake the ar-
ticle or the dirt for a finger tip con-
tact, thereby activating a function.
Using the hob
When the hob is not in use all touchpad
displays are switched off.
Before using for the first time
On first use the hob may give off a
slight smell as moisture in the insula-
tion evaporates. Before using the ce-
ramic hob, first clean the surface
thoroughly (see the section on
"Cleaning and care").
Switching on the hob
Hold your finger on the Operation on-
off control "
s" for approx 2 seconds.
In each of the four zone displays "–"
appears.
Now the individual cooking zones can
be switched on. If no zone is selected
within a certain period the hob swit-
ches itself off and has to be switched
on again.
Switching on a cooking zone
Touch the "s" control for the zone
selected.
"0" appears in the display for the se-
lected zone.
The cooking zone is switched on but
will not heat up until a setting has been
chosen.
Choosing a setting
9 settings are available (see the chart
for selection). The _ controls of the
relevant zone are used to select a set-
ting.
Press the _ controls of the rele-
vant zone until the required setting
appears in the display.
Press the > control to increase the
setting step by step (0, 1, 2, ... 9),
press the $ control to select lower
settings (9, 8, 7, ... 0).
Changing a setting
Press the _ control of the rele-
vant zone until the required setting
appears in the display.
Use
10
 Loading...