EasyManua.ls Logo

MikroTik LHGG LTE6 User Manual

MikroTik LHGG LTE6
8 pages
To Next Page IconTo Next Page
Page #1 background imageLoading...
Page #1 background image
1.
2.
3.
4.
5.
6.
7.
8.
9.
10.
11.
1.
2.
3.
LHGG LTE6 kit
LHGG LTE6 kit ( )RBLHGGR&R11e-LTE6
Quickstart
Open the Ethernet port door;
Insert the SIM card into the slot, with the chip facing UP;
Connect the device to the included PoE injector with Ethernet cable to the data+power end;
Connect the data end of the PoE injector into the computer;
Connect the power adapter to the PoE injector;
Open the in your web browser;https://192.168.88.1
User name: , and there is no password;
admin
Enter the PIN code, if required by your mobile network operator;
Use the check for update option to upgrade the device to the latest version. You must have an active SIM card with available data;
The device will reboot;
Connect again and in menuset a strong password. the
QuickSet
Case assembly
Attach the two legs to the LHG case by sliding them onto the respective sides, legs are different and cannot be exchanged (when looking at the
product place it that cover for Ethernet port is in front of you, leg marked R is for the right side, leg marked L is for the left side).
Snap the assembled LHG unit to the grid in the appropriate central location.
Fix the two legs in place with included two self thread screws (Phillips screwdriver PH2).
The package also contains a grounding cable connector and a 5-degree angle adapter, for easier up or downward tilt adjustment.
Opening the case cover
Question and Answer IconNeed help?

Do you have a question about the MikroTik LHGG LTE6 and is the answer not in the manual?

MikroTik LHGG LTE6 Specifications

General IconGeneral
BrandMikroTik
ModelLHGG LTE6
CategoryWireless Access Point
LanguageEnglish

Summary

Quickstart Guide

Prepare for First Use

Insert SIM card, connect device via PoE injector, and power it on.

Initial Device Access

Access the device via web browser using default credentials and enter PIN if prompted.

Software Update and Reboot

Check for and apply device updates, then allow the device to reboot.

Final Setup and Security

Reconnect to the device and set a strong password in the QuickSet menu.

Case Assembly Instructions

Attach Mounting Legs

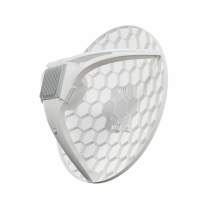
Slide the distinct left and right legs onto the respective sides of the LHG case.

Mount Unit to Pole

Snap the assembled LHG unit to the central location on the grid and secure legs.

Opening the Case Cover

Prepare for Opening

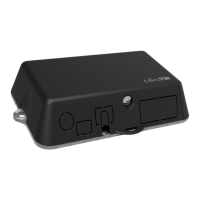
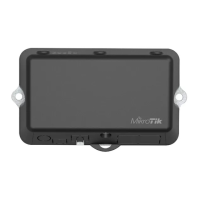
Use a flat head screwdriver or coin to carefully open the unit's top cover.

Access Internal Components

Insert tool into the slot, pry open one side, and lift the cover to access the card.

MiniPCIe Slot and SIM Usage

SIM Slot Functionality

The device features a miniPCIe slot with an LTE6 modem; the SIM slot is paired with it.

ESD Safety Precautions

Use a wrist grounding strap when handling components to prevent ESD damage.

Install MiniPCIe Card

Attach thermal pads and install the card into the miniPCIe slot, securing it with screws.

Powering the Device

PoE Adapter Connection

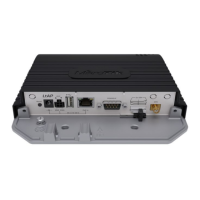
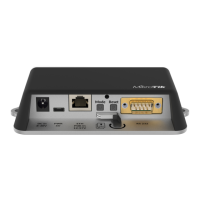
Connect the device to the PoE+DATA port of the adapter, then connect LAN and power.

Antenna Mounting

Secure Antenna Dish

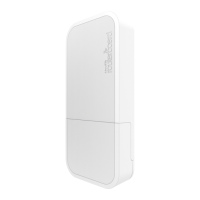
Slide mounting rings into slots, attach unit to pole, and tighten with a screwdriver.

Positioning and Cable Management

Check angle, fix Ethernet cable to pole, and ensure cable openings face down.

Optional Tilt Adjustment

Insert the 5-degree angle adapter for additional upward or downward tilt adjustment.

Device Configuration

Update RouterOS Software

Update to the latest RouterOS version for optimal performance and stability.

Accessing Configuration Tools

Use QuickSet menu or Winbox tool to configure the device.

Expansion Slots and Ports

Gigabit Ethernet and SIM Port Details

Details the Gigabit Ethernet port and the SIM slot's functionality.

Button Functions

Reset Button Operations

Describes functions for resetting configuration, enabling CAP mode, or Netinstall.

Mode Button Configuration

Explains that the mode button can be configured via RouterOS software.

System Information and Safety

Operating System Support

The device supports RouterOS software; other OS versions are not tested.

General Safety Notice

Warning regarding electric shock hazard and potential radio interference.

Regulatory Compliance

FCC Interference Statement

Details compliance with FCC Part 15 for Class A digital devices and potential interference.

Industry Canada Compliance

States compliance with Innovation, Science and Economic Development Canada's license-exempt RSS.

CE Declaration of Conformity

Lists the device's compliance with EU Directive 2014/53/EC.

Related product manuals