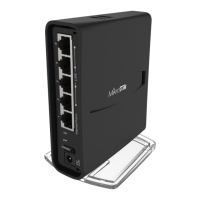
Plug the included PoE injector into the ISP outlet and attach an Ethernet cable to it.
Connect the other end of the Ethernet cable to this router.
Plug the provided power supply into the PoE injector.
Connect your computer to the wireless network.
Open https://192.168.88.1 in your web browser to start the configuration.
User name: admin and there is no password by default (or, for some models, check user and wireless
passwords on the sticker)..
You will be logged in to the configuration screen.
Click the "Check_for_updates" button on the right side and update your RouterOS software to the latest
version. Must have an active Internet connection.
The device will reboot.
Connect again and choose your country on the left side of the screen, to apply country regulation
settings.
Set up your wireless network password, the password must be at least eight symbols.
Set the Installation to indoors or outdoors, depending on the usage type.
Set up your router password in the bottom field to the right and repeat it, it will be used to login next
time.
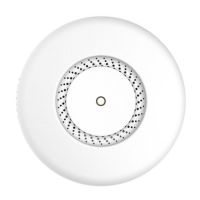
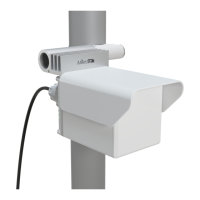
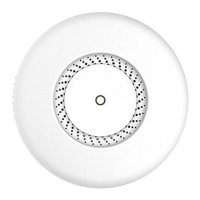
Mounting
The device can be mounted in several ways: wall, ceiling, pole or it can be placed in specially designed
Mikrotik holder which comes with the package. The package includes a drill hole template with
instructions, to help you with the Ethernet cable installation and attachment to a ceiling or a wall. The
package also includes a steel bracket to put on the other side of a dropdown ceiling tile and two screws
and wall anchors. The Unit can be attached to the pole using zip ties or steel clamp.
To prevent the bottom lid for opening the different screw can be used. One Torx T20 security screw is
included for optional use. Use it with the included L-shaped wrench to fix it into the bottom lid.
Detailed instructions of replacing the screw are in the package.
When using and installing this device please pay attention to Maximum Permissible Exposure (MPE)
safety distance with a minimum of 31 cm between the radiator and your body.
 Loading...