EasyManua.ls Logo

Miller Electric 301 G, DC - User Manual

Miller Electric 301 G, DC
72 pages
Print Icon
To Next Page IconTo Next Page
Loading...
Processes
Description
TIG (GTAW) Welding
Stick (SMAW) Welding
MIG (GMAW) Welding
Flux Cored (FCAW)
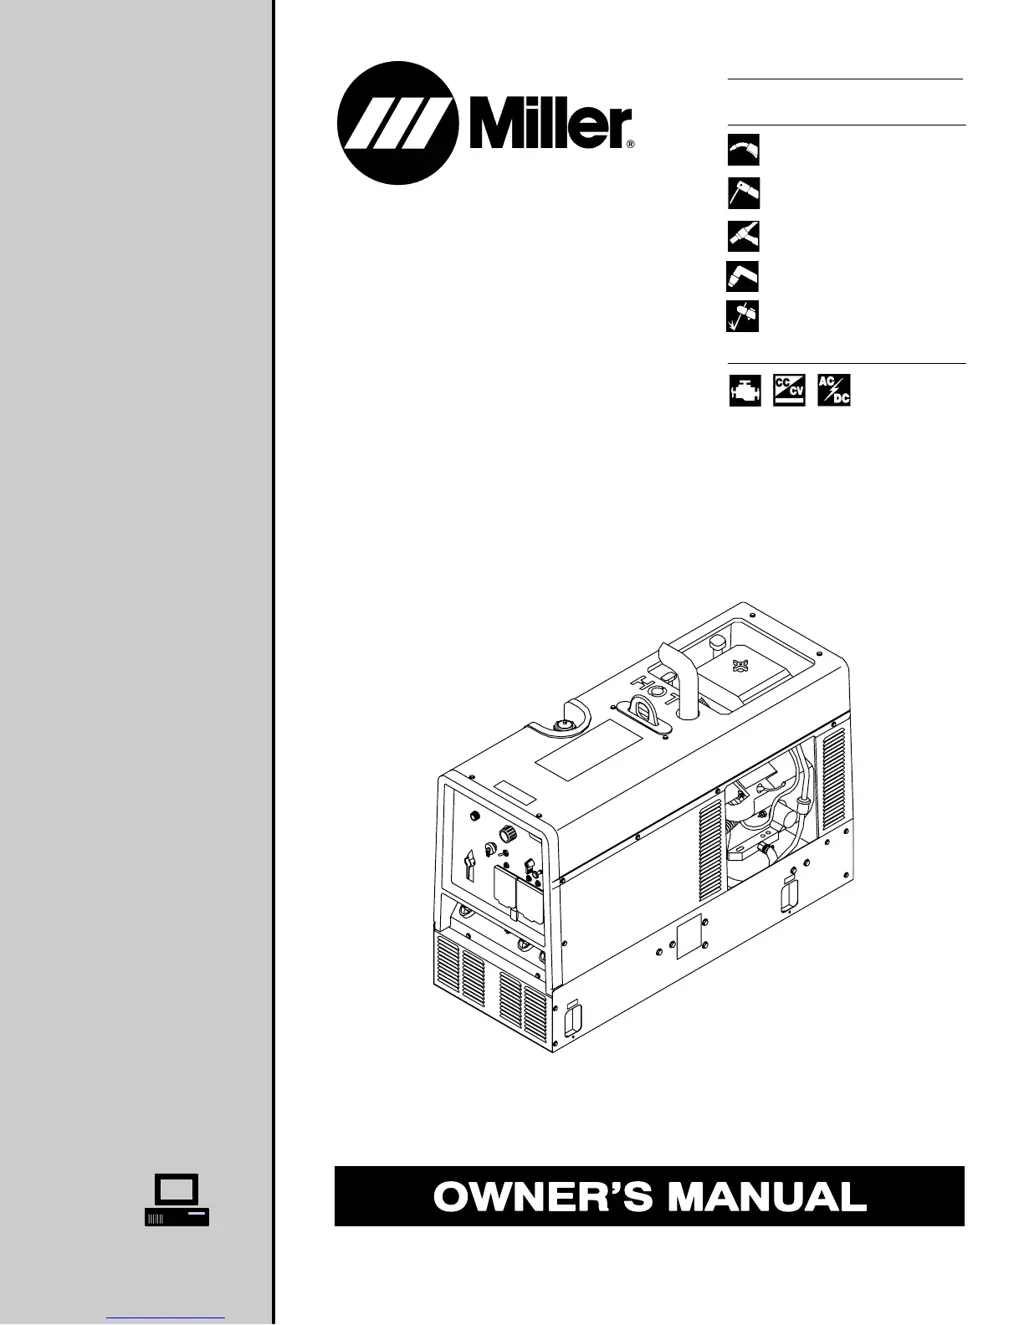
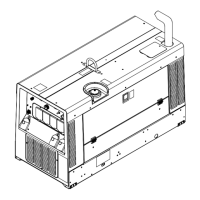
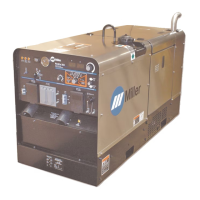
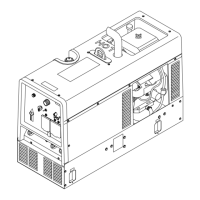
Engine Driven Welding Generator
(AC Available On AC/DC Models Only)
OM-4407 203 236U
May 2004
Trailblazer 301 G
Trailblazer DC
Visit our website at
www.MillerWelds.com
Air Plasma Cutting and Gouging
with Spectrum
Unit
Air Carbon Arc (CAC-A) Cutting
and Gouging

Table of Contents

Questions and Answers

  • T
    Tyler ArellanoSep 23, 2025
    What to do if weld output cannot be adjusted on Miller Electric 301 G, DC Welding System?
    • J
      Jacob LaneSep 23, 2025
      To address the issue of weld output that cannot be adjusted on your Miller Electric Welding System, check the position of the V/A Adjust switch. If the problem persists, have a Factory Authorized Service Agent check the field current control board PC2.
  • B
    Brandon JohnsonAug 23, 2025
    What to do if Miller Electric Welding System engine stopped during normal operation?
    • G
      gonzalezamyAug 25, 2025
      If your Miller Electric Welding System's engine stops during normal operation, check the fuel and oil levels. Low oil pressure shutdown stops the engine if oil pressure is too low. If these are not the cause, have a Factory Authorized Service Agent check the fuel shutoff solenoid GS1 (GS1 standard on Kohler-powered units; optional on Robin-powered, LP-fueled units) and the low oil pressure shutdown switch S5.
  • V
    Vanessa JohnsonAug 25, 2025
    Why is the weld output low on my Miller Electric 301 G, DC?
    • N
      Nicholas TorresAug 26, 2025
      If your Miller Electric Welding System is producing low weld output, verify the control settings. Also, place the V/A Adjust switch in the Panel position, or move the switch to the Remote position and connect the remote control to the Remote receptacle RC4. Check and clean the air cleaner as necessary and check the engine speed, adjusting it if needed. If problems continue, have a Factory Authorized Service Agent check the brushes, slip rings, integrated rectifier SR2, and circuit boards PC1 and PC2. Consult the engine manual for further guidance.
  • S
    steveeatonAug 27, 2025
    What to do if Miller Electric 301 G, DC engine will not crank?
    • S
      Shane JacksonAug 27, 2025
      If the engine on your Miller Electric Welding System will not crank, check fuse F6 and replace it if open. Also, check the battery voltage, battery connections (tighten if necessary), and the connections of plug PLG5 and plug PLG8. If the problem persists, have a Factory Authorized Service Agent check the Engine Control switch S2.
  • D
    Danny GilesAug 27, 2025
    Why is the weld output erratic on my Miller Electric 301 G, DC Welding System?
    • A
      Adam SalinasAug 27, 2025
      If your Miller Electric Welding System has erratic weld output, start by checking the control settings. Clean and tighten all connections both inside and outside the unit. Check and secure lead connections to the A/V control, and ensure the connection to the workpiece is clean and tight. Remove excessive coils from weld cables and use dry, properly stored electrodes. Check and adjust the engine speed. If the problem continues, have a Factory Authorized Service Agent check the brushes, slip rings, and circuit boards PC1 and PC2.
  • N
    ndavisSep 17, 2025
    Why is tungsten electrode oxidizing on Miller Electric 301 G, DC Welding System?
    • S
      stacyfitzgeraldSep 17, 2025
      If your Miller Electric Welding System's tungsten electrode is oxidizing and not remaining bright after the conclusion of the weld, shield the weld zone from drafts, increase the postflow time, check and tighten all gas fittings, and properly prepare the tungsten.
  • H
    henryporterSep 14, 2025
    How to fix lack of high frequency in Miller Electric 301 G, DC Welding System?
    • J
      Joanne EllisSep 14, 2025
      If you are experiencing a lack of high frequency or difficulty in establishing a Gas Tungsten Arc Welding arc with your Miller Electric Welding System, use the proper size tungsten for the welding amperage. Reduce leakage of high frequency from the torch or work cable by checking the grounding, removing excessive coils from weld cables, and using shorter weld cables. Check the cables and torch for cracked or deteriorated insulation or bad connections and repair or replace necessary parts.
  • J
    John TapiaSep 15, 2025
    How to restore 24 volt AC power output at Remote receptacle RC4 on Miller Electric 301 G, DC Welding System?
    • M
      matthew40Sep 15, 2025
      If your Miller Electric Welding System has no 24 volt AC power output at Remote receptacle RC4, reset circuit breaker CB5.
  • J
    Judy SweeneySep 6, 2025
    Why Miller Electric 301 G, DC Welding System engine does not return to idle speed?
    • J
      Jacqueline SmithSep 6, 2025
      If your Miller Electric Welding System's engine does not return to idle speed, ensure the Engine Control switch S2 is in the Run/Idle position. Remove all weld and generator power loads. Place the Process/Contactor switch in the Electrode Hot position or turn off the remote contactor. Turn off any remote device connected to Remote receptacle RC4. Check for obstructed movement of the solenoid linkage. If problems persist, have a Factory Authorized Service Agent check circuit board PC1 and current transformer CT1.
  • W
    William RiveraSep 3, 2025
    Why does Miller Electric 301 G, DC Welding System battery discharges between uses?
    • A
      Andrew WeaverSep 3, 2025
      If your Miller Electric Welding System's battery discharges between uses, place the Engine Control switch in the Off position when the unit is not running. Clean the top of the battery with a baking soda and water solution, then rinse with clear water. Periodically recharge the battery (approximately every 3 months) and replace the battery if needed. Check the voltage regulator according to the engine manual.

Summary

SAFETY PRECAUTIONS

Symbol Usage

Explains the meaning of symbols used in the manual for hazard identification.

Arc Welding Hazards

Details potential hazards associated with arc welding processes and required precautions.

Engine Hazards

Covers potential dangers related to the engine, including battery, fuel, and moving parts.

Compressed Air Hazards

Outlines risks associated with compressed air, including breathing and pressure hazards.

California Proposition 65 Warnings

Provides warnings regarding chemicals in engine exhaust and battery components.

Principal Safety Standards

Lists key safety standards applicable to welding, cutting, and allied processes.

EMF Information

Discusses electromagnetic fields and their potential effects, including pacemaker advice.

DEFINITIONS

Symbol Definitions

Provides definitions for various symbols used on controls and in the manual.

SPECIFICATIONS

Weld, Power, And Engine Specifications

Details welding modes, output, amperage, voltage, generator ratings, fuel capacity, and engine.

Dimensions, Weights, and Operating Angles

Provides physical measurements, weight, and safe operating tilt angles for the unit.

Fuel Consumption While Welding

Presents fuel consumption rates based on welding amperage.

Generator Power Curve

Illustrates generator power availability in amperes at different AC voltages.

Duty Cycle

Explains duty cycle and its impact on welding performance and overheating.

Stick And MIG Mode Volt-Ampere Curves

Shows voltage and amperage output capabilities for Stick and MIG welding modes.

TIG Mode Volt-Ampere Curves

Details voltage and amperage output capabilities for TIG welding modes.

INSTALLATION

Installing Welding Generator

Provides guidance on safely moving, locating, mounting, and grounding the generator unit.

Engine Prestart Checks (Robin EH64-Powered Units)

Lists essential checks before starting Robin EH64 engine-powered units.

Engine Prestart Checks (Kohler-Powered Units)

Lists essential checks before starting Kohler-powered units.

Activating The Dry Charge Battery (If Applicable)

Step-by-step instructions for activating a dry charge battery.

Connecting The Battery

Illustrates the correct procedure for connecting the unit's battery.

Installing Exhaust Pipe

Details the safe installation of the exhaust pipe, including safety warnings.

Connecting To Weld Output Terminals

Explains how to connect cables to the weld output terminals for various modes.

Selecting Weld Cable Sizes*

Provides guidelines for selecting appropriate weld cable sizes based on amperage and length.

Remote Receptacle Information

Describes the function and pinouts of the remote receptacle.

Adjusting Wire (MIG) Weld Puddle Consistency

Instructions on how to adjust wire feed for different puddle characteristics.

OPERATING WELDING GENERATOR

Front Panel Controls

Identifies and explains the function of each control on the front panel.

Process;Contactor Switch On CC;CV Models

Details the operation of the process/contactor switch for selecting welding modes.

Remote Amperage;Voltage Control

Explains how to use remote controls for amperage and voltage adjustments.

OPERATING AUXILIARY EQUIPMENT

Generator Power Receptacles And Circuit Breakers

Describes the generator power outlets and their associated circuit breakers.

Optional Generator Power Receptacles

Details optional GFCI receptacles and their functionality.

Wiring Instructions For Optional 240 Volt, Single-Phase Plug (NEMA 14-50 P)

Provides wiring instructions for a 240V NEMA 14-50P plug.

MAINTENANCE (Robin EH64-POWERED UNITS)

Maintenance Label (Robin EH64-Powered Units)

Details recommended maintenance intervals and specifications for Robin EH64 engines.

Routine Maintenance (Robin EH64-Powered Units)

Outlines regular maintenance tasks and their recommended frequencies.

Servicing Air Cleaner (Robin EH64-Powered Units)

Step-by-step guide for cleaning and servicing the air cleaner assembly.

Overload Protection (Robin EH64-Powered Units)

Explains the overload protection system, including circuit breakers and fuses.

Changing Engine Oil, Oil Filter, and Fuel Filter (Robin EH64-Powered Units)

Instructions for replacing engine oil, oil filter, and fuel filter.

Adjusting Engine Speed (Robin EH64-Powered Units)

Guide for adjusting engine idle and weld/power speeds.

MAINTENANCE (KOHLER-POWERED UNITS)

Routine Maintenance (Kohler-Powered Units)

Outlines regular maintenance tasks and their recommended frequencies for Kohler engines.

Maintenance Label (Kohler-Powered Units)

Details recommended maintenance intervals and specifications for Kohler engines.

Servicing Air Cleaner (Kohler-Powered Units)

Step-by-step guide for cleaning and servicing the air cleaner assembly.

Changing Engine Oil, Oil Filter, And Fuel Filter (Kohler-Powered Units)

Instructions for replacing engine oil, oil filter, and fuel filter.

Adjusting Engine Speed (Kohler-Powered Units)

Guide for adjusting engine idle and weld/power speeds.

Overload Protection (Kohler-Powered Units)

Explains the overload protection system, including circuit breakers and fuses.

TROUBLESHOOTING

Welding Troubleshooting

Provides solutions for common welding output problems.

Generator Power Troubleshooting

Offers remedies for issues related to generator power output.

Engine Troubleshooting

Addresses common engine starting and running problems.

ELECTRICAL DIAGRAMS

Circuit Diagram For Welding Generator Models With AC;DC Output

Presents the electrical schematic for AC/DC output models.

Circuit Diagram For Welding Generator Models With DC Output Only (Kohler Only)

Provides the electrical schematic for DC-only output Kohler models.

GENERATOR POWER GUIDELINES

Selecting Equipment

Guidance on selecting appropriate equipment for use with the generator.

Grounding Generator To Truck Or Trailer Frame

Instructions for grounding the generator frame to a vehicle or trailer.

How Much Power Does Equipment Require?

Explains how to calculate power requirements for various equipment.

Approximate Power Requirements For Contractor Equipment

Lists power requirements for common contractor tools and equipment.

Power Required To Start Motor

Details how to determine the starting power needed for single-phase motors.

Typical Connections To Supply Standby Power

Illustrates typical connections for using the generator as a standby power source.

Selecting Extension Cord (Use Shortest Cord Possible)

Provides guidelines for selecting extension cords based on load and length.

PARTS LIST

Main Assembly (Kohler Engine Shown)

Exploded view and parts list for the main assembly with a Kohler engine.

Panel, Front w;Components

Exploded view and parts list for the front panel components.

Generator

Exploded view and parts list for the generator assembly.

Miller Electric 301 G, DC Specifications

General IconGeneral
BrandMiller Electric
Model301 G, DC
CategoryWelding System
LanguageEnglish

Related product manuals