5. If anchor bolts were provided, install the nuts and tighten.
6. On tilting machines, remove all four tilt wheel clamps and check to be sure the machine is resting on all four
tilt wheels. If not, use the spacers provided with the machine to raise the cradle under the “high” wheel.
Shim between the cradle and the base pad. The spacers must be installed so that the down limit switch rests
on the shim plate.
7. On tilt forward only machines (WTG/WTL models) replace the tilt wheel clamps on the front tilt wheels only.
VIBRATION AND MALFUNCTION HAZARD—Voids under base pads can magnify vibration
and cause unsatisfactory operation.
☞ Grout must displace total clearance between base pads and existing floor.
☞ Voids must not exist.
ËGrouting and Anchoring Considerations—Observe
the following considerations when applying grout and anchoring
machine:
• Use only industrial strength non-shrinking grout. Pack or
trowel by hand.
• If the grout (after mixing) is too thin (causing it to flow from
under the base pads), install temporary cardboard framing around pads to retain the grout until it cures.
• If grout after (mixing) is of proper consistency, pack or trowel by hand.
ÎFIGURE 10 (MSIN0203AE)
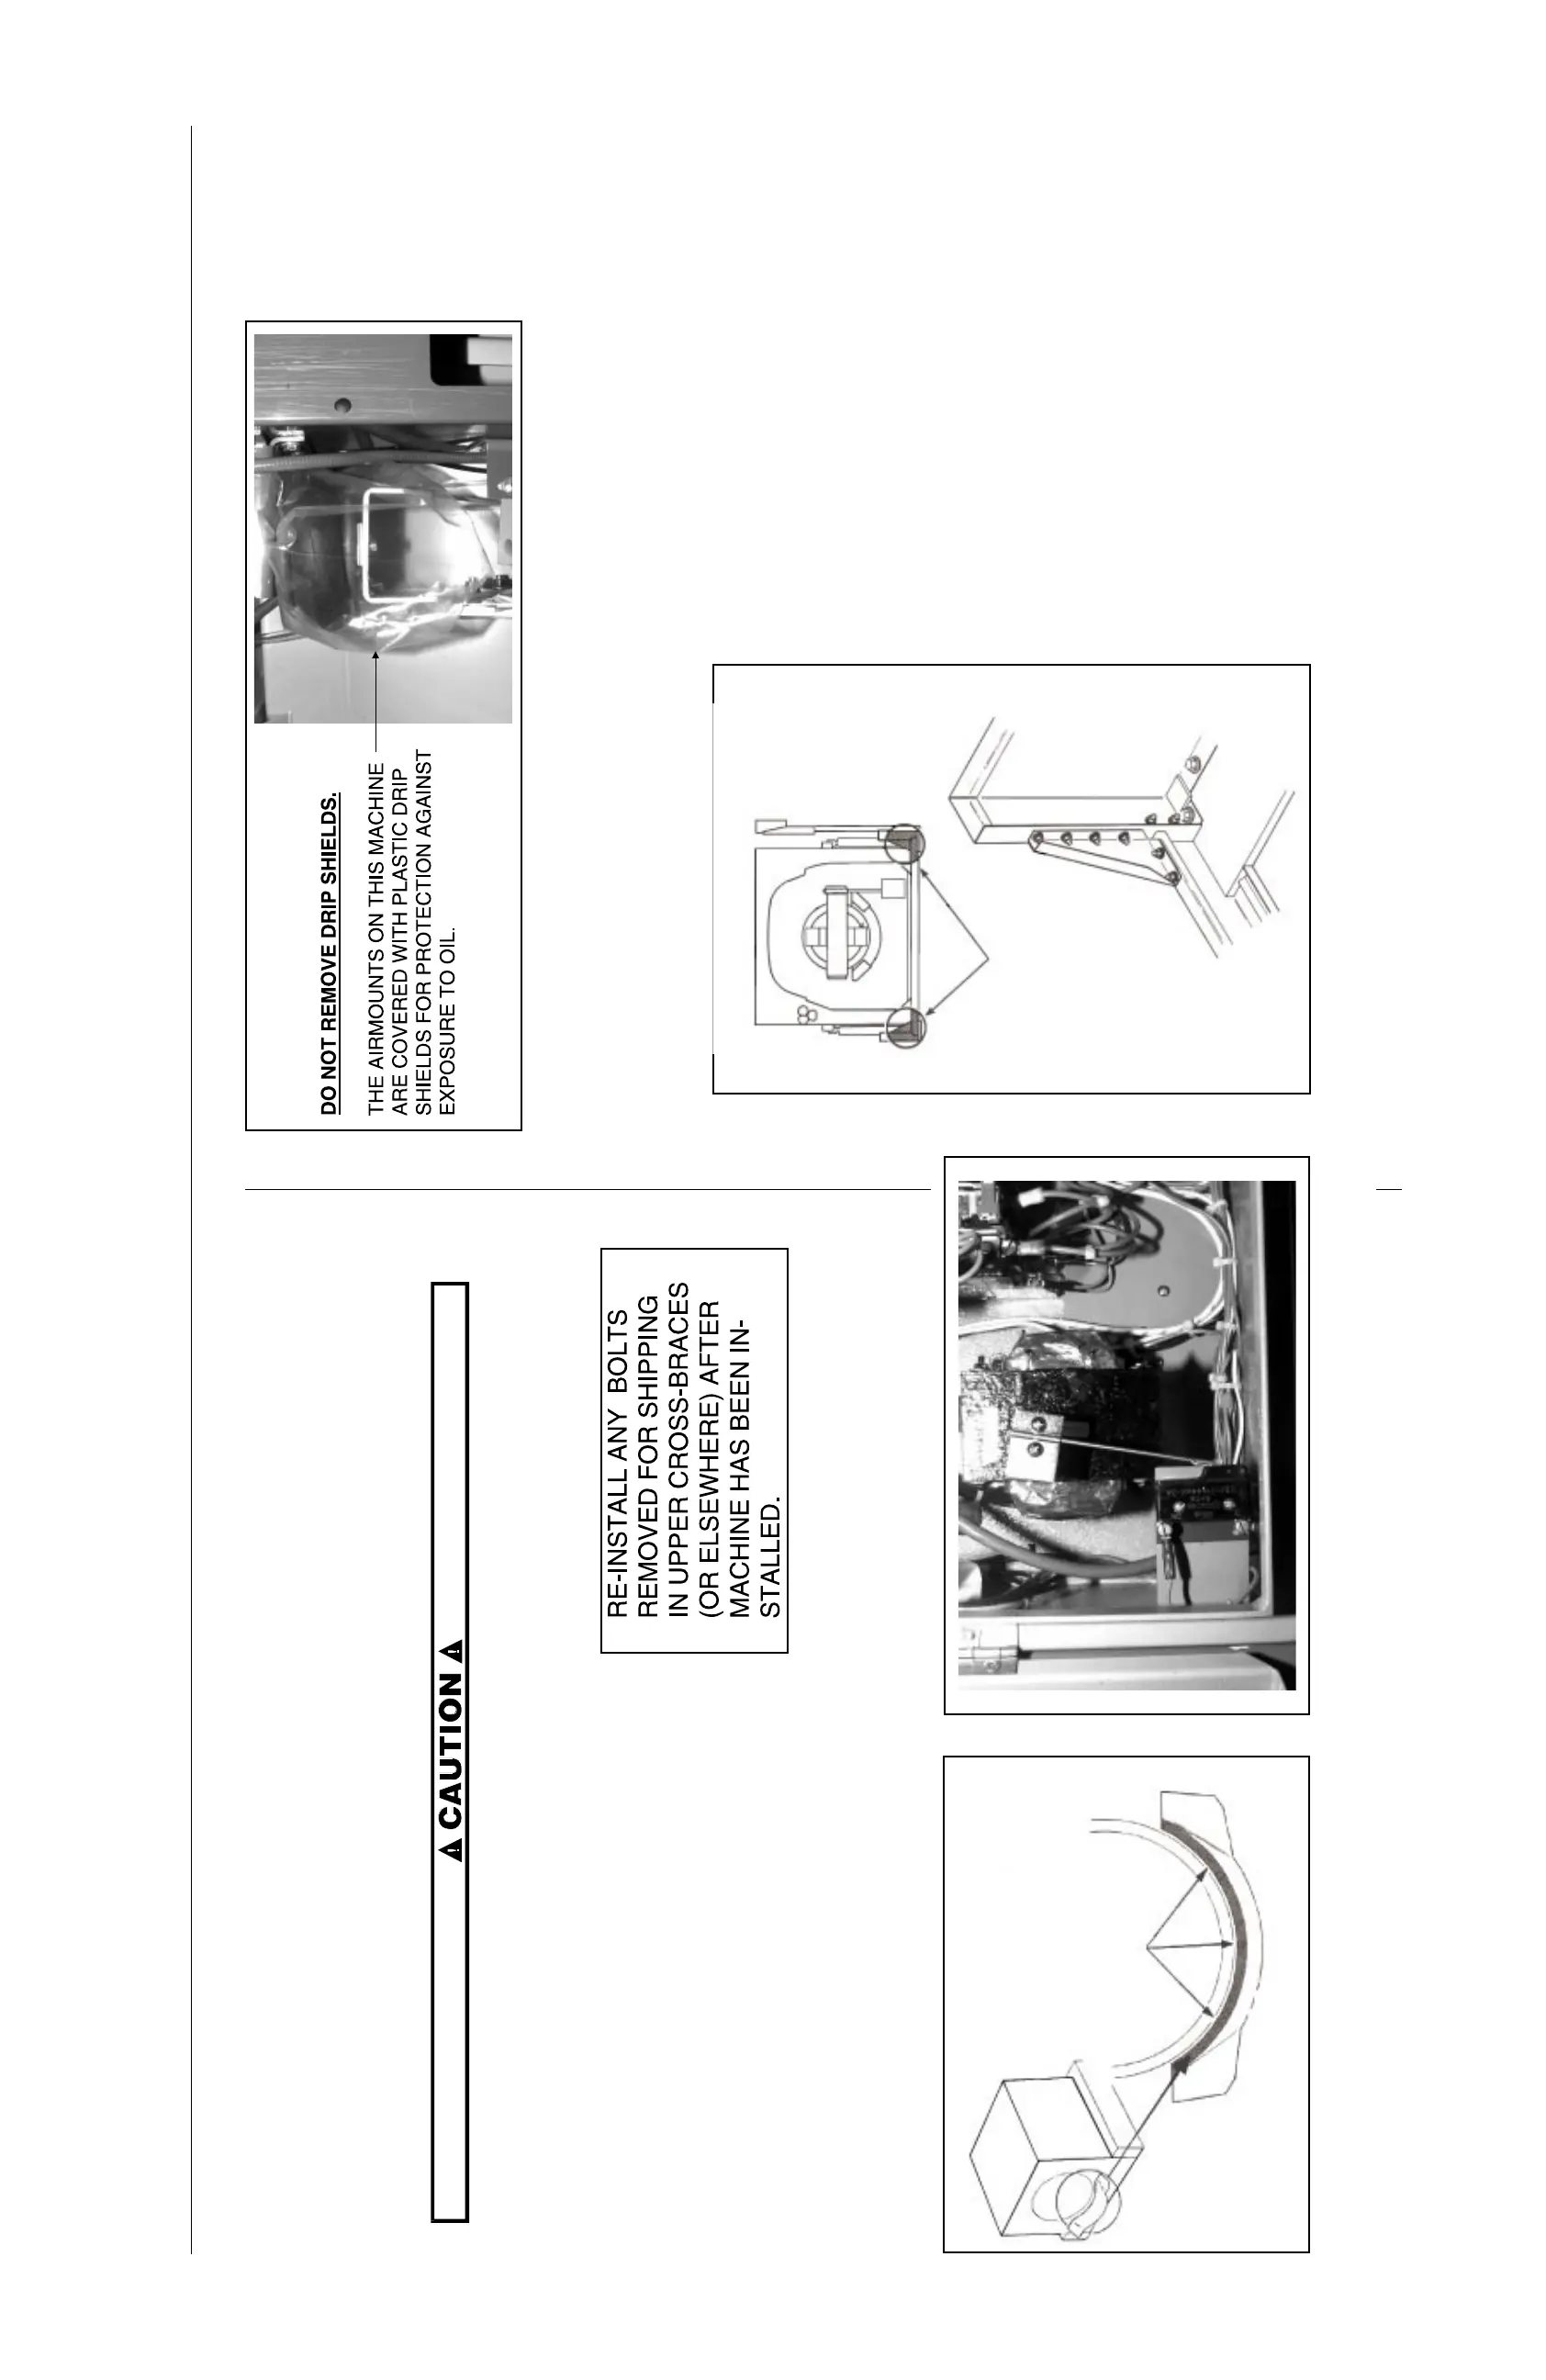
ÎBolt Warning
APPLY SILASTIC BETWEEN
TRAY AND DOOR RING
WHEN INSTALLING TRAY.
ÎFIGURE 11 (MSIN0203AE)
Î64" and 72" Open Pocket Machines
(If applicable)
ÎFIGURE 12 (MSIN0203AE)
ÎVibration Switch
ÎFIGURE 13(MSIN0203AE)
ÎDrip Shields
BE SURE THAT THE
BOLTS IN THESE TWO
AREAS ARE TIGHT
BEFORE ATTEMPTING
TO TILT MACHINE.
ÎFIGURE 14 (MSIN0203AE)
Î72044 WTB Machines
28