www.milorange.com
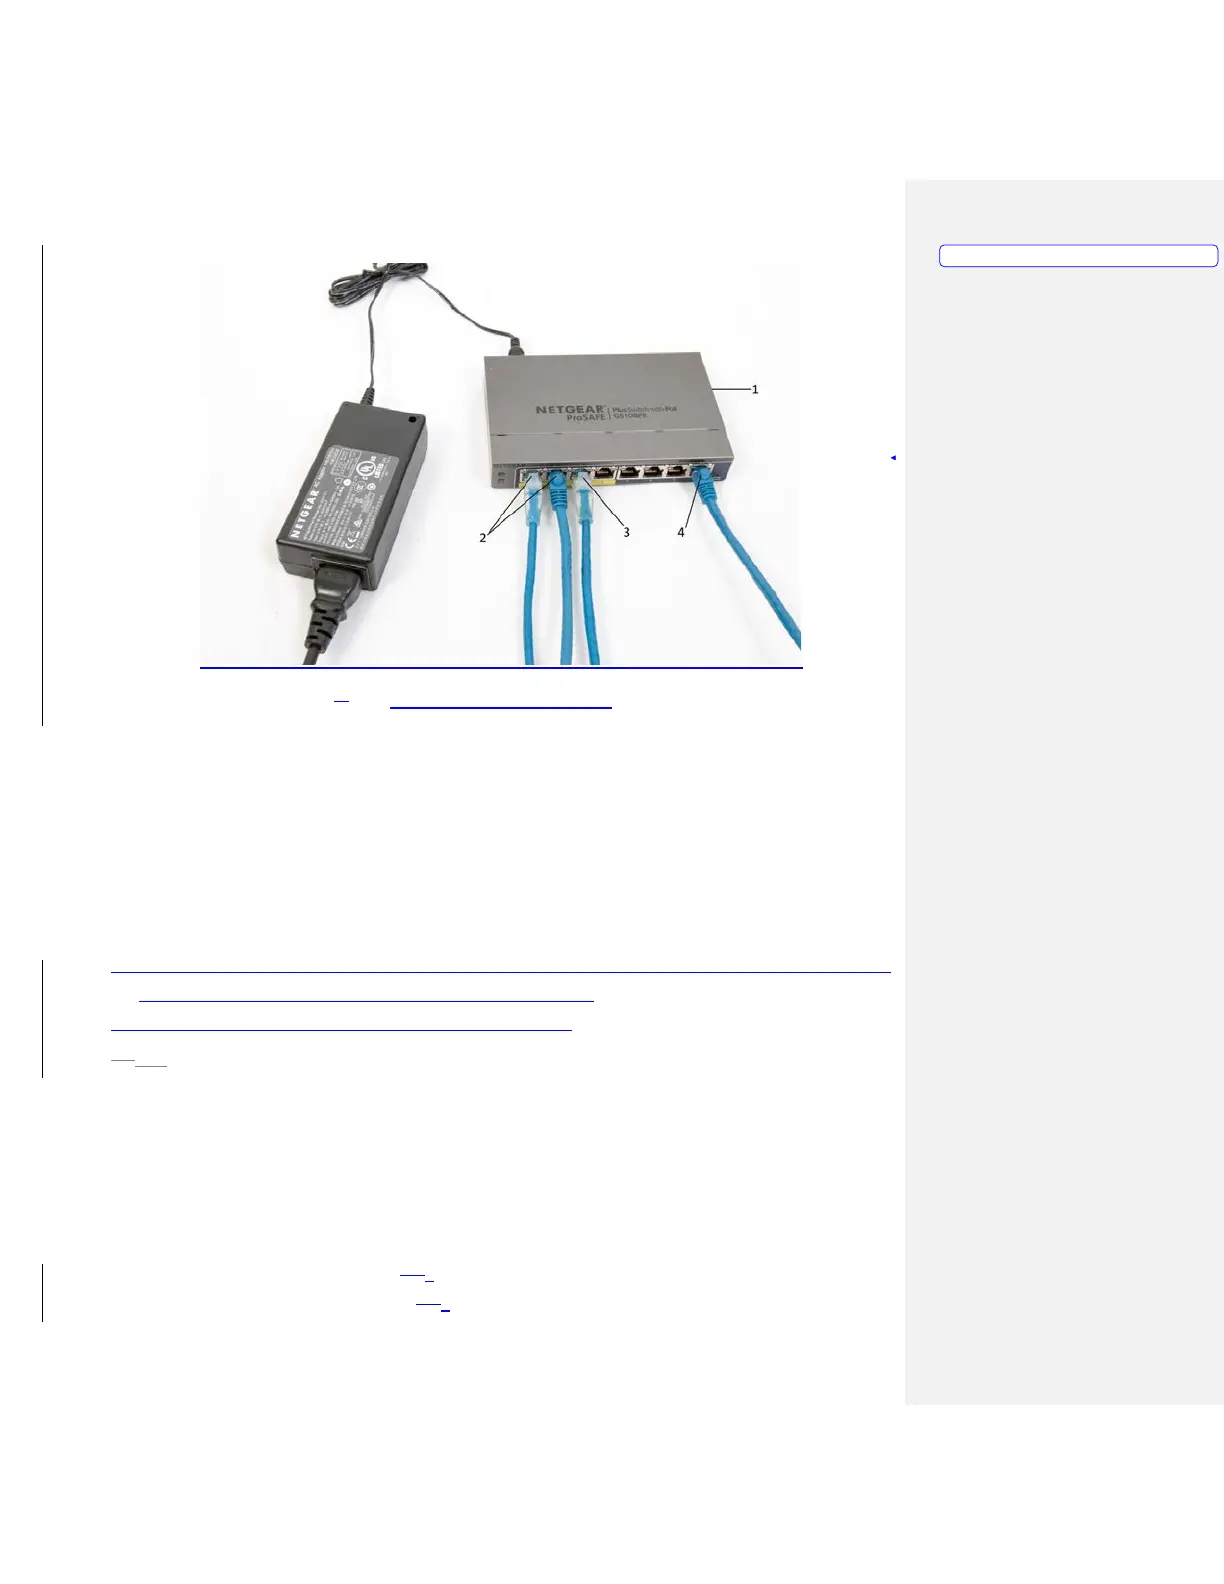
8. Figure 3 – 8-port Gigabit Switch
9. Above the ceiling, place a surge protector in close proximity to the installed MILO ceiling tile.
a. Plug the surge protector into an available power source. It may be necessary to use an
extension cord to facilitate this.
10. Above the ceiling, plug the power cable for the 8-port Gigabit switch into the surge protector.
11. Above the ceiling, plug the power cable for the projector into the surge protector.
12. Install the projector with mounting hardware previously installed onto the mounting pole.
a. Plug the projector power cable into the projector
b. Plug the HDMI cable into the projector
13. Install the camera tree with cameras attached to the mounting pole, ensuring the tree is aligned with
the screen and the bracket is securely fastened. (Figure 1-5)
14. Connect both Network cables to the cameras (Figure 1-6)
15.13. Above the ceiling, switch the surge protector to the ON position. Ensure the green LED light
comes on and the Gigabit switch ports that are plugged in also light up.
Trainer Station Setup
Computer Setup
1. Set computer on desired surface
2. Connect the power cable. (Figure 1-74, Item 1)
3. Connect the Network cable. (Figure 1-74, Item 2)
Formatted: PICTURE