www.milorange.com
Camera Setup
NOTE: MILO Range Pro systems are generally mounted from the ceiling but also can be in a floor
mounted configuration. Steps 1-?????? Cover the floor mounted configuration. For ceiling mounted
systems, skip to step ?????The following steps will cover both configurations.
Floor Mount
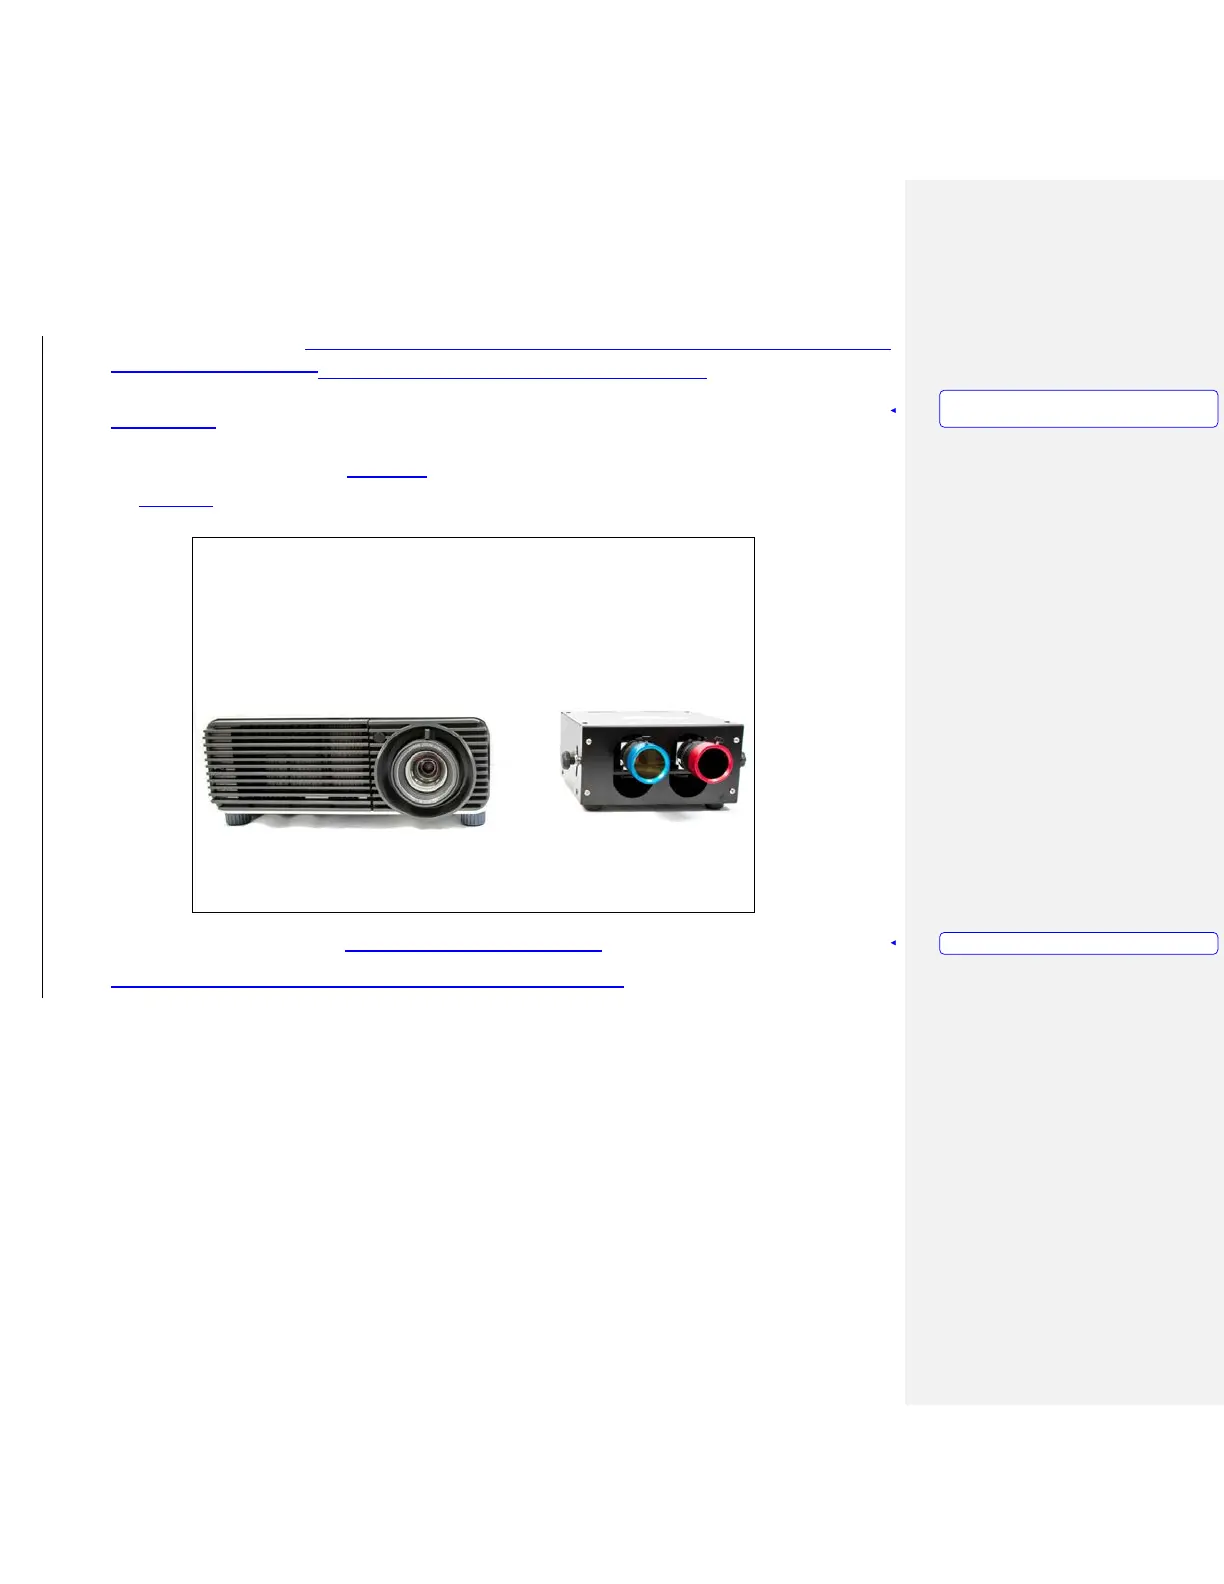
1. Place camera box on top of, or next to the projector with cameras pointing toward projection screen.
(Figure 5)
Figure 5 – Projector and Camera Box
2. Attach the Filter Rings to the camera lenses. (Figure 6, Figure 7)
Formatted:
Heading
1,HEADING FOR
MANUAL,
No
bullets
or numbering
Formatted: PICTURE CAPTION