www.milorange.com
5. Figure 14 – Rear of Camera Box
Ceiling Mounted System
1. Mount the TAC camera to the included clamp system (Figure 16), and secure the clamp to the
frame of the projection screen. TAC camera can also be mounted to the wall using the provided
mounting hardware
2. Loosen the ball joint on the clamp, aim the TAC camera at the area where the trainee will be during
training then tighten the ball joint to secure the camera’s position.
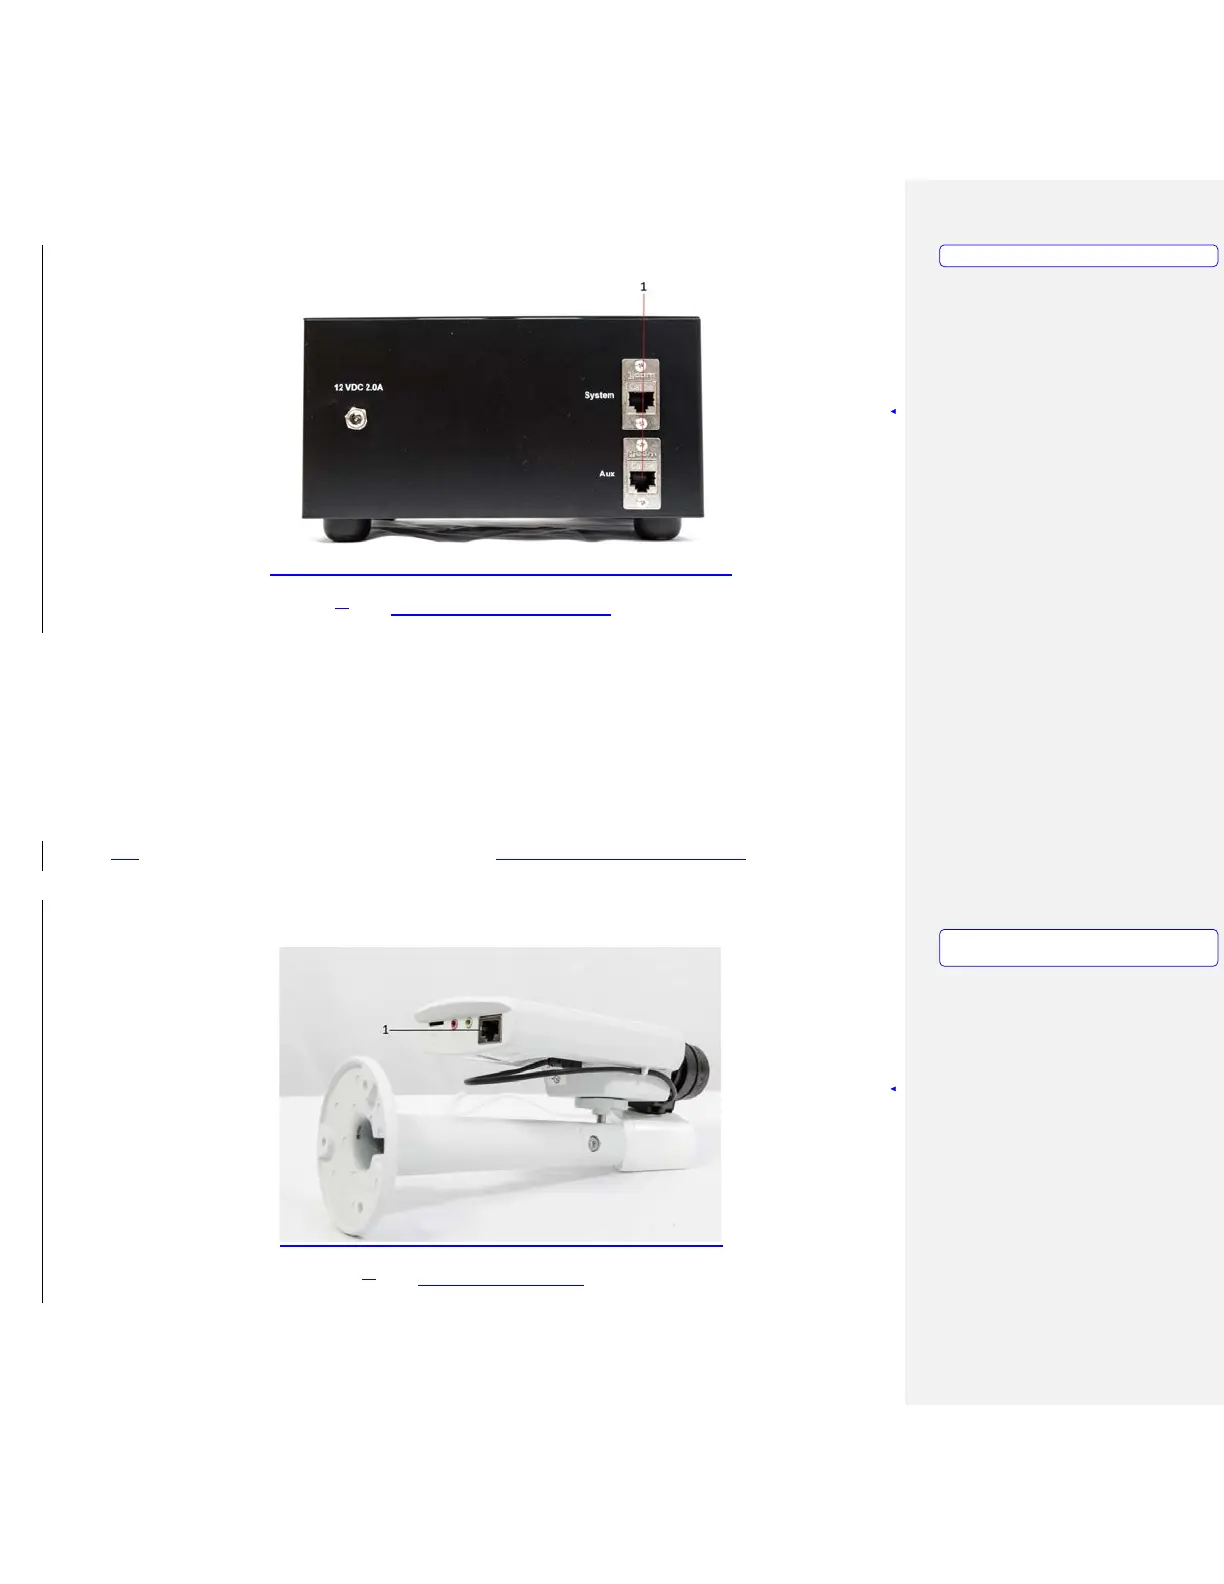
3. Connect the network cable to the TAC camera network port (Figure 15, Item 1). The other end of
the network should already have been connected to the 8-port Gigabit switch above the ceiling near
the installed ceiling tile.
3. Figure 15 – TAC Camera
Formatted: PICTURE
Formatted: PICTURE,
No bullets
or
numbering