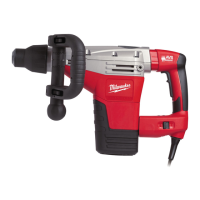
To reduce the risk of injury, when
using chisels or other hammering-
only accessories, the action selector must be set
to the "hammering only" position.
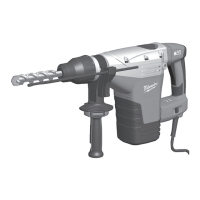
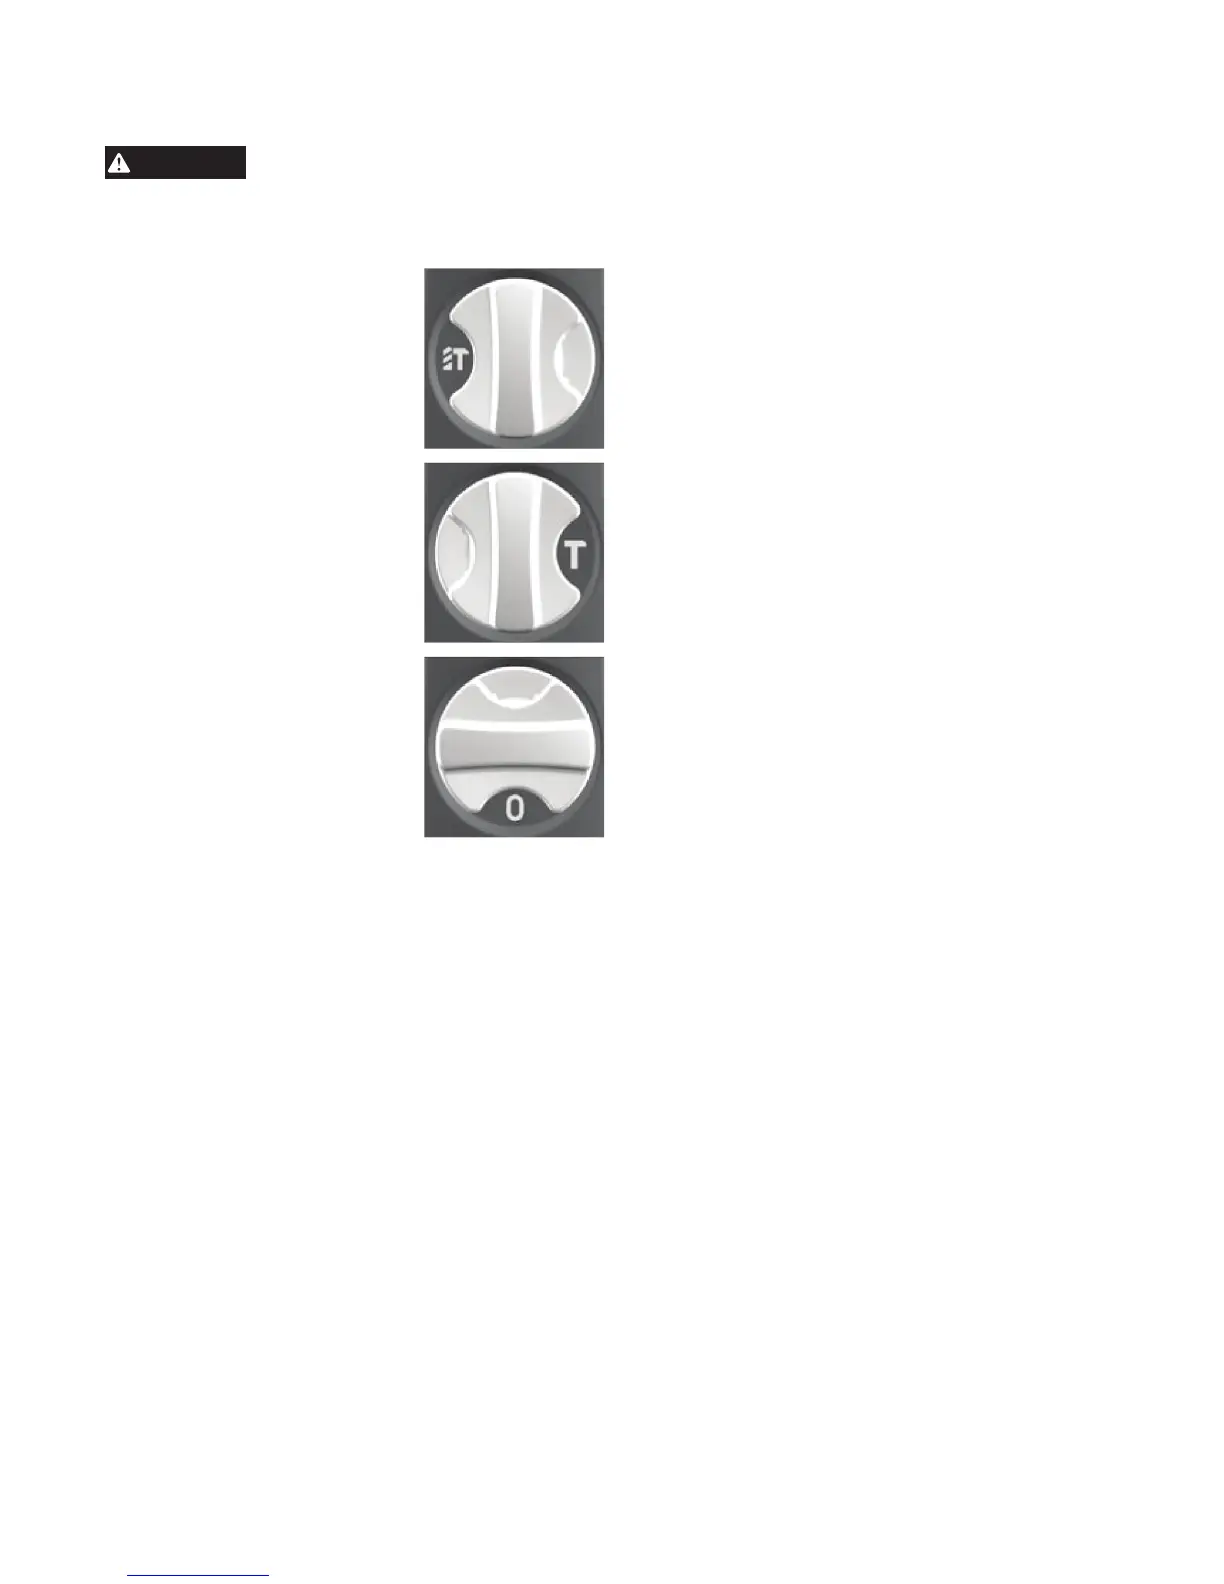
Selecting Mode
1. For hammering with rotation,
turn the selector lever to dis-
play the hammer and twist drill
symbols. (Not available on Cat.
No. 5446-21)
2. For hammering only, turn
the selector lever to dis-
play the hammer symbol.
(See "Selecting Hammering
Speed")
3. To freely rotate the bit to the
desired angle for chiseling
only, turn the selector lever to
display the 0 symbol.
Selecting Hammering Speed
1. To increase the Hammering speed (2840 blows
per second), move the hammer speed control se-
lector to the large hammer. Use the high hammer
speed for harder materials, such as concrete.
2. To decrease the Hammering speed (2200 blows
per second), move the hammer speed control
selector to the small hammer. Use the low hammer
speed for softer materials, such as brick.
Starting and Stopping
1. Insert the accessory
2. Select the mode and hammering speed.
3. Position the tool on the workpiece.
4. Grasp both handles rmly (trigger handle and
either the spade handle or straight handle).
5. To start the tool, grasp the handles rmly and pull
the trigger. Always hold the tool securely using two
handles and maintain control.
6. Use only enough pressure to hold the tool in place,
engage the hammering mechanism, and prevent
the tip of the chisel from wandering. This tool has
been designed to achieve top performance with
only moderate pressure. Let the tool do the work.
NOTE: To engage the hammering mechanism,
maintain pressure on the bit/chisel. When pressure
is released, hammering stops.
7. To stop the tool, release the trigger. Make sure the
tool comes to a complete stop before laying the
tool down.
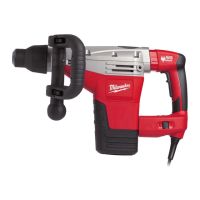
Chiseling
When chiseling or chipping, hold the tool at an angle
to the work area. For best performance, work from
a corner or close the edge of the work and break o
a small area at a time.
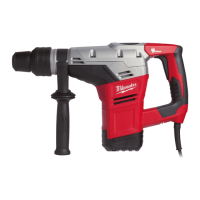
Drilling
When drilling deep holes, the speed may begin to
drop o. Pull the bit partially out of the hole while the
tool is running to help clear dust.
NOTE: Do not use water to settle the dust since it
will clog the bit utes and tend to make the bit bind
in the hole.
If a bit binds:
If the bit should bind, a built in, nonadjustable slip
clutch prevents the bit from turning when the tool is
held or braced securely. If this occurs
1. Turn o and unplug the tool.
2. Free the bit from the workpiece.
3. Clear debris from the hole.
4. Begin drilling again.
If a hammer iron gets stuck:
1. Unplug the tool.
2. Pull out bit lock and rotate it 180°.
3. Pull the tool o of the stuck accessory.
4. Remove the accessory from the workpiece.
Locking Trigger
(Cat. No. 5446-21 only)
1. To lock on the trigger, pull the trigger and press
the lock button. Release the trigger.
2. To unlock the trigger, pull and release the trigger.
Power and Service Indicators
When the tool is plugged in, the Power Indicator will
light. Unplug the tool before changing accessories
or making adjustments.
When the tool is in need of service (for example,
brushes need to be changed), the Service Indicator
will light. Stop using the tool and return it to the near-
est MILWAUKEE service facility for repairs.
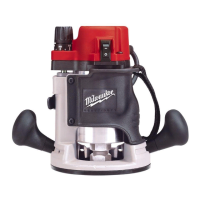
Operating and Operator Force
Position the tool, grasp the handles rmly and pull
the trigger. Always hold the tool securely using both
handles to maintain control.
These hammers feature the Anti-Vibration System
to provide the operator with comfort without sacri-
cing power or performance. Insulating elements
absorb vibration when hammering and drilling. Ideal
operator force compresses the handle slightly and
allows the tool to work aggressively while the handle
provides maximum vibration dampening.Excessive
operator force compresses the handle too far and
reduces the vibration dampening. Users will be able
to feel the dierence and should adjust the force to
the handle accordingly.
A smooth, even ow of dust indicates the proper drill-
ing rate. If the speed begins to drop o when drilling
large or deep holes, pull the bit partially out of the
hole while the tool is running to help clear dust. Do
not use water to settle the dust since it will clog the
bit utes and tend to make the bit bind in the hole.
If the bit should bind, a built-in, non-adjustable slip
clutch prevents the bit from turning. If this occurs,
stop the tool, free the bit and begin again.
Do not let the bit spin in the hole without cutting. Do
not attempt to drill through steel reinforcing rods.
Both actions will damage the carbide.