© 2009 MIMAKI ENGINEERING CO.,LTD.
1.1.5 P.1
1
2
3
4
5
6
7
8
R.1.1
Maintenance Manual > Operating Principle > Basic Operation > Clamp Pressure Switching
Model CJV30/TPC Issued 2008.08.04 Revised 2008.09.17 F/W ver. 1.20 Remark
1.1
1.1.5 Clamp Pressure Switching
Indication on LCD
Processing sequence
Step Processing Description
Indication
on LCD
1 Connection of the cut head 1. Refer to "1.1.6 Operation for Connecting the Heads" .
2 Clamp pressure switching 1. The head carriage moves from the right end to the left end.
2. While moving the head carriage, check the position of the pinch roller
with the PR sensor.
• In the malfunction, [ERROR181 PR POSITION] is displayed and
the system goes down.
3. Change over the clamp pressure using the solenoid.
4. By repeating the operations described above, change over the clamp
pressure of all the pinch rollers positioned from the right to the left.
3 Stand by of head carriage 1. Move the head carriage to the standby position of the cut head.
Switch the clamp pressure before printing under the following conditions:
•The machine draws a stored pattern which can be selected by the user for printing or cutting.
• The clamp pressure switching command was received by output software.
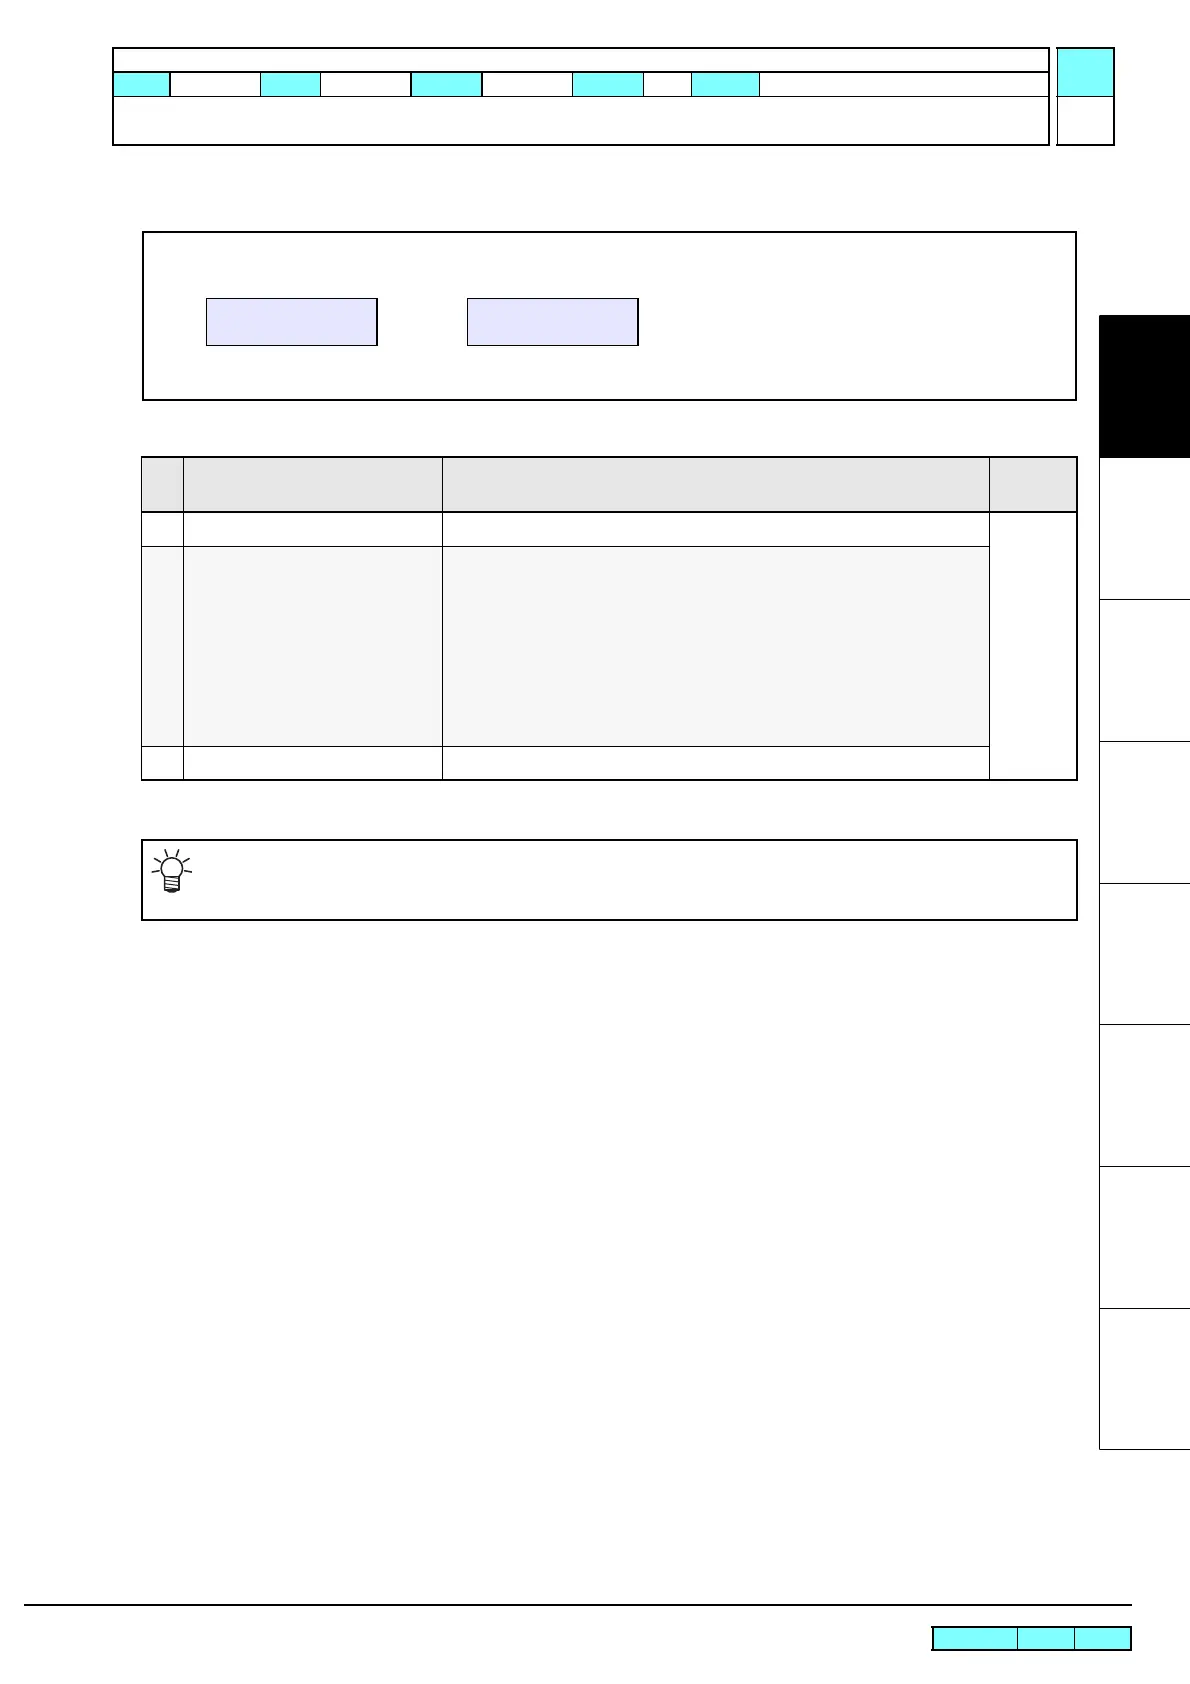
Display during media detection
DETECTING MEDIA NOW
PLEASE WAIT
Display before printing
PLEASE WAIT

 Loading...


