9
CONTENTS
Coils
Selecting the correct coil size and configuration will optimise your GPX 6000’s
performance in a range of detecting scenarios. Understanding when to use each coil
will increase the productivity of your detecting sessions.
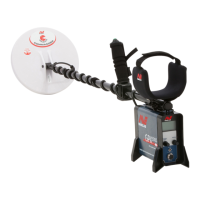
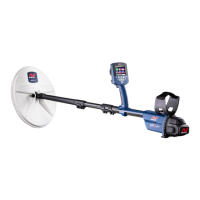
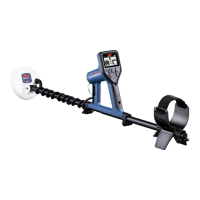
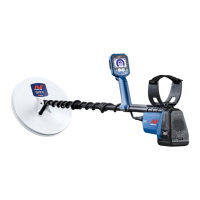
The GPX 6000™ is supplied with two coils — a GPX 11™, plus either a GPX 14™ or GPX 17™ coil depending on your region.
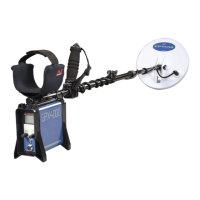
GPX 11™ Mono
The 11-inch round monoloop coil is a great general-purpose coil that is recommended for most detecting conditions. It is
a good all-rounder that has excellent depth and sensitivity, is very sensitive to smaller nuggets, and is easy to manoeuvre
around obstacles.
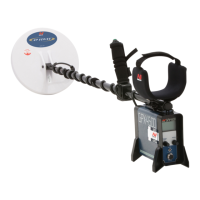
GPX 17™ Mono
The 17 × 13-inch elliptical monoloop coil is the top performer when searching for larger deep nuggets in less conductive
(salty) ground. It can effectively cover large areas of ground quickly and efficiently.
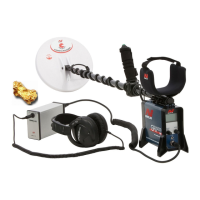
GPX 14™ Double-D
The 14-inch round Double-D coil excels in the following conditions:
`Where there are high levels of electromagnetic interference.
`In very conductive (salty) soils.
It can operate successfully in conditions that render monoloop coils unusable. Conductive (salty) soils commonly occur when
soil contains salt, and is often most noticeable after rain when ground salt is dissolved in water.
Use of a Double-D coil is only recommended if good results cannot be achieved using a monoloop (Mono) coil.
When a Double-D coil is connected, there are two Double-D modes available to choose from. It is best to set the Double-D
mode based on the source of noise. For more information, see "Choosing the Right Double-D Mode" (page 21). Generally,
the Factory Preset Double-D mode (EMI Cancel) will be adequate when first getting started.
Changing the Coil
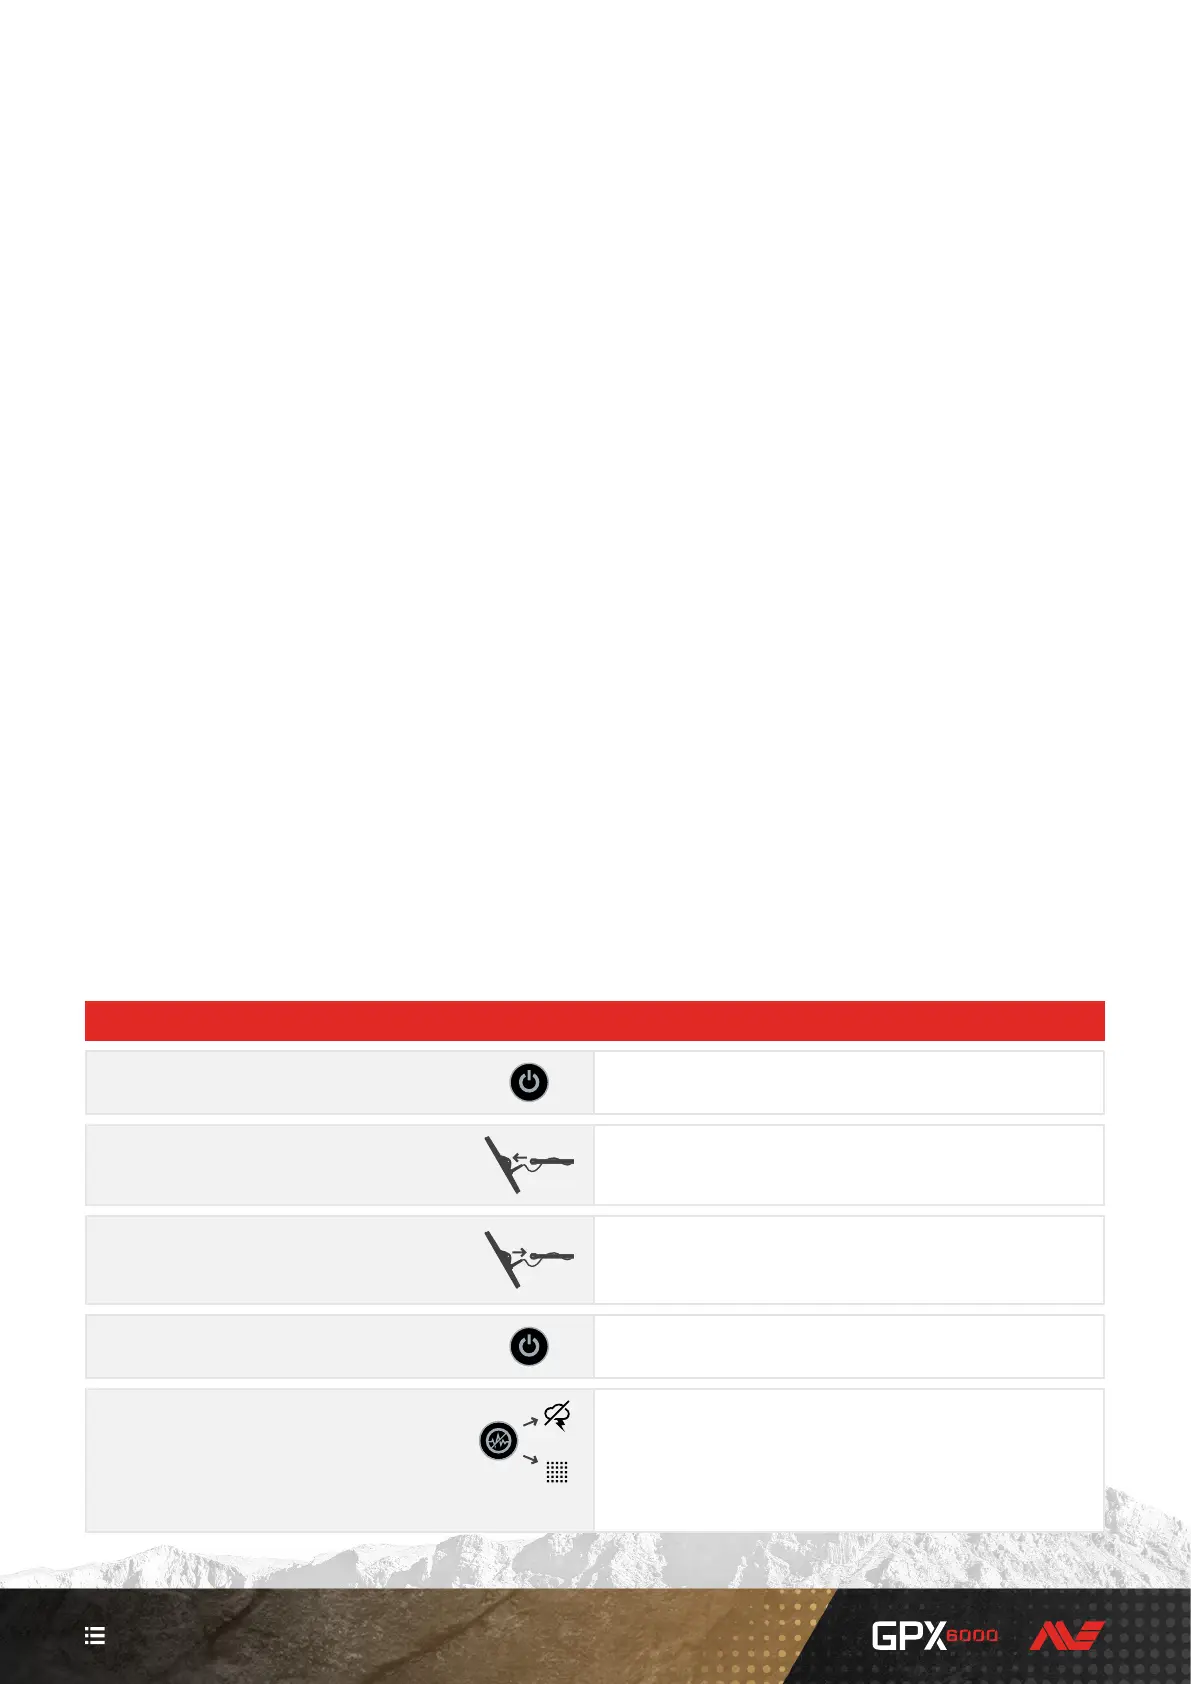
START `
1. Turn the detector off.
Ensure the detector is turned off before unplugging
the coil connector.
2. Unplug and remove the coil.
Unplug the coil connector from the control box. Undo the coil
bolt and remove the coil.
3. Attach and plug-in the new coil.
Attach the new coil, confirming that the two yoke washers are in
place. Fasten the coil with the plastic bolt — do not over-tighten.
Plug the coil connector into the control box.
4. Turn the detector on.
Turn the detector back on.
5. If using a Double-D coil,
select a Double-D mode.
(Default)
Long press for at
least 2.5 s
Set the Double-D mode based on the source of noise.
EMI Cancel (default) is adequate for first time use, however
experienced users should set the Double-D mode based on the
conditions present. For more information, see "Choosing the
Right Double-D Mode" (page 21).
 Loading...