9 | minnkotamotors.com
©2022 Johnson Outdoors Marine Electronics, Inc.
1
NOTICE : If new hardware is required to install the Mount
Kit to the MKA-42 or MKA-52/62 Quick Release Bracket,
Minn Kota recommends purchasing Bag Assembly
(Part #2994829) online at
minnkotamotors.com.
Nylock NutNylock Nut
Slide Slide
PlatePlate
Pan Head Pan Head
ScrewScrew
Base Base
ExtrusionExtrusion
OutboardOutboard
InboardInboard
Hold Hold
Down Down
StrapStrap
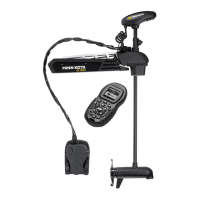
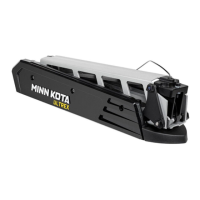
Installing the Ultrex Accessory Mount to the MKA-42 or MKA-52/62 Quick Release Bracket
1
NOTICE: If new hardware is required to install the Mount
Kit to the MKA-23 or RTA-19 Quick Release Bracket,
Minn Kota recommends purchasing Bag Assembly
(Part #2994854) online at
minnkotamotors.com.
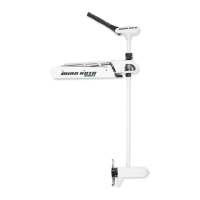
Installing the Ultrex Accessory Mount to the MKA-23 or RTA-19 Quick Release Bracket
1b
Base Base
ExtrusionExtrusion
ScrewScrew
Outer Outer
PlatePlate
BuckleBuckle
Flat Flat
WasherWasher
Relief Relief
CutCut
Nylock Nylock
NutNut
SideplateSideplate
OutboardOutboard
InboardInboard
Hold Hold
Down Down
StrapStrap
NOTICE: Depending on the bolt pattern used to install
the Ultrex Mount to the Outer Plate of the Quick Release
Bracket, the Right Sideplate may need to be removed to
access the mounting holes in the base of the Mount. Use a
#2 Screwdriver to remove the Right Sideplate if necessary.
a. Align the Base Extrusion with the mounting holes of
the Outer Plate. Place the Hold Down Strap between
the Base Extrusion and the Outer Plate. The strap
must be located in the Relief Cut on the Outer Plate,
or Quick Release Bracket failure may occur.
b. Use six 1/4” x 1 1/8” Socket Head Screws, six Flat
Washers, and six Nylock Nuts retained from the
disassembly to fasten the motor mount to the Outer
Plate. The Screws should pass through the Base
Extrusion, the Outer Plate, then the Flat Washers
and be secured by a Nylock Nut. Secure with a
Socket Wrench and a 7/16” Box End Wrench.
c. If the Right Sideplate was removed, reinstall it with a
#2 Screwdriver.
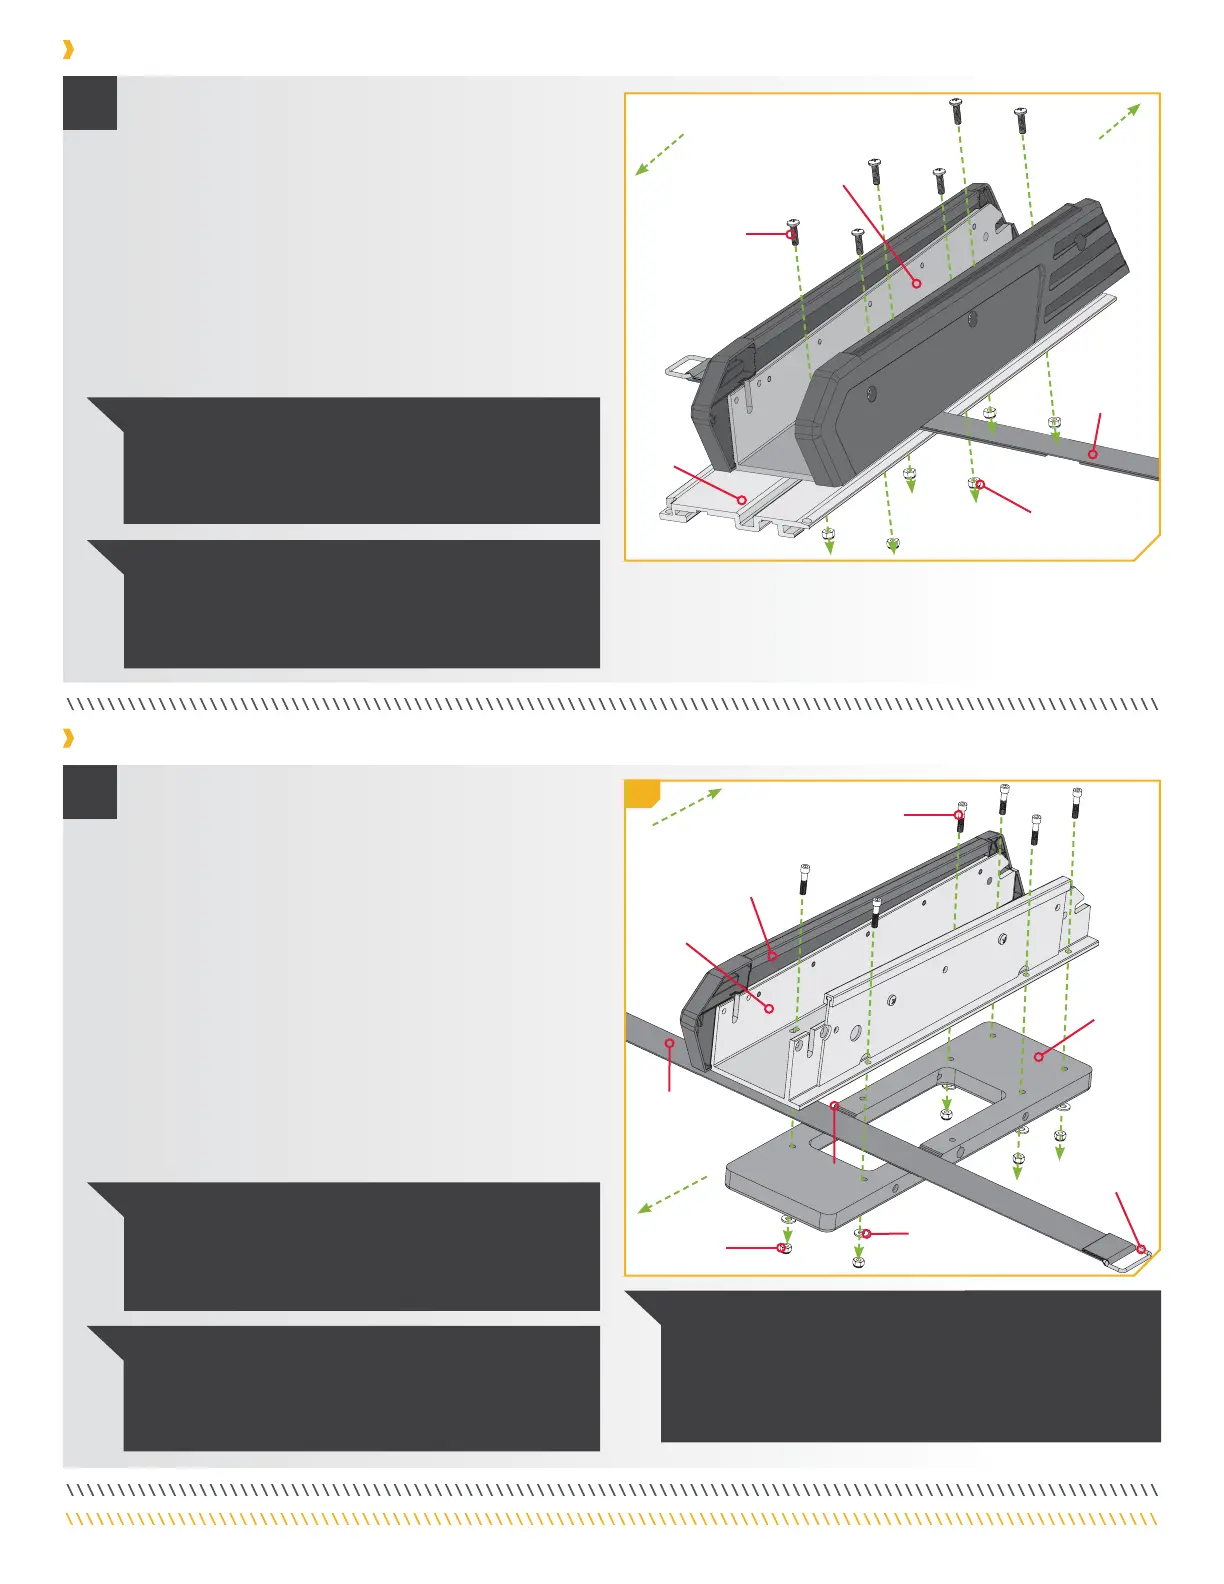
a. Take the Slide Plate and align the mounting holes
on the plate with the mounting holes on the Base
Extrusion. The mounting holes closest to the short
edge of the plate should face outboard. Make sure
the Hold Down Strap is placed between the Mount
and Slide Plate.
b. Using a #3 Screwdriver, fasten the Base Extrusion to the
Slide Plate with six 1/4” x 7/8” Pan Head Screws and six
Nylock Nuts retained from the previous installation.
The Screws should pass through the Base Extrusion
and Slide Plate, then secured with a Nylock Nut.
NOTICE: To prevent seizing of the stainless steel
hardware, do not use high-speed installation tools.
Wetting the screws or applying an anti-seize may help
prevent seizing.
NOTICE: To prevent seizing of the stainless steel
hardware, do not use high-speed installation tools.
Wetting the screws or applying an anti-seize may help
prevent seizing.
 Loading...