OOPPEERRAATTIIOONN AAUUTTOOPPIILLOOTT
5
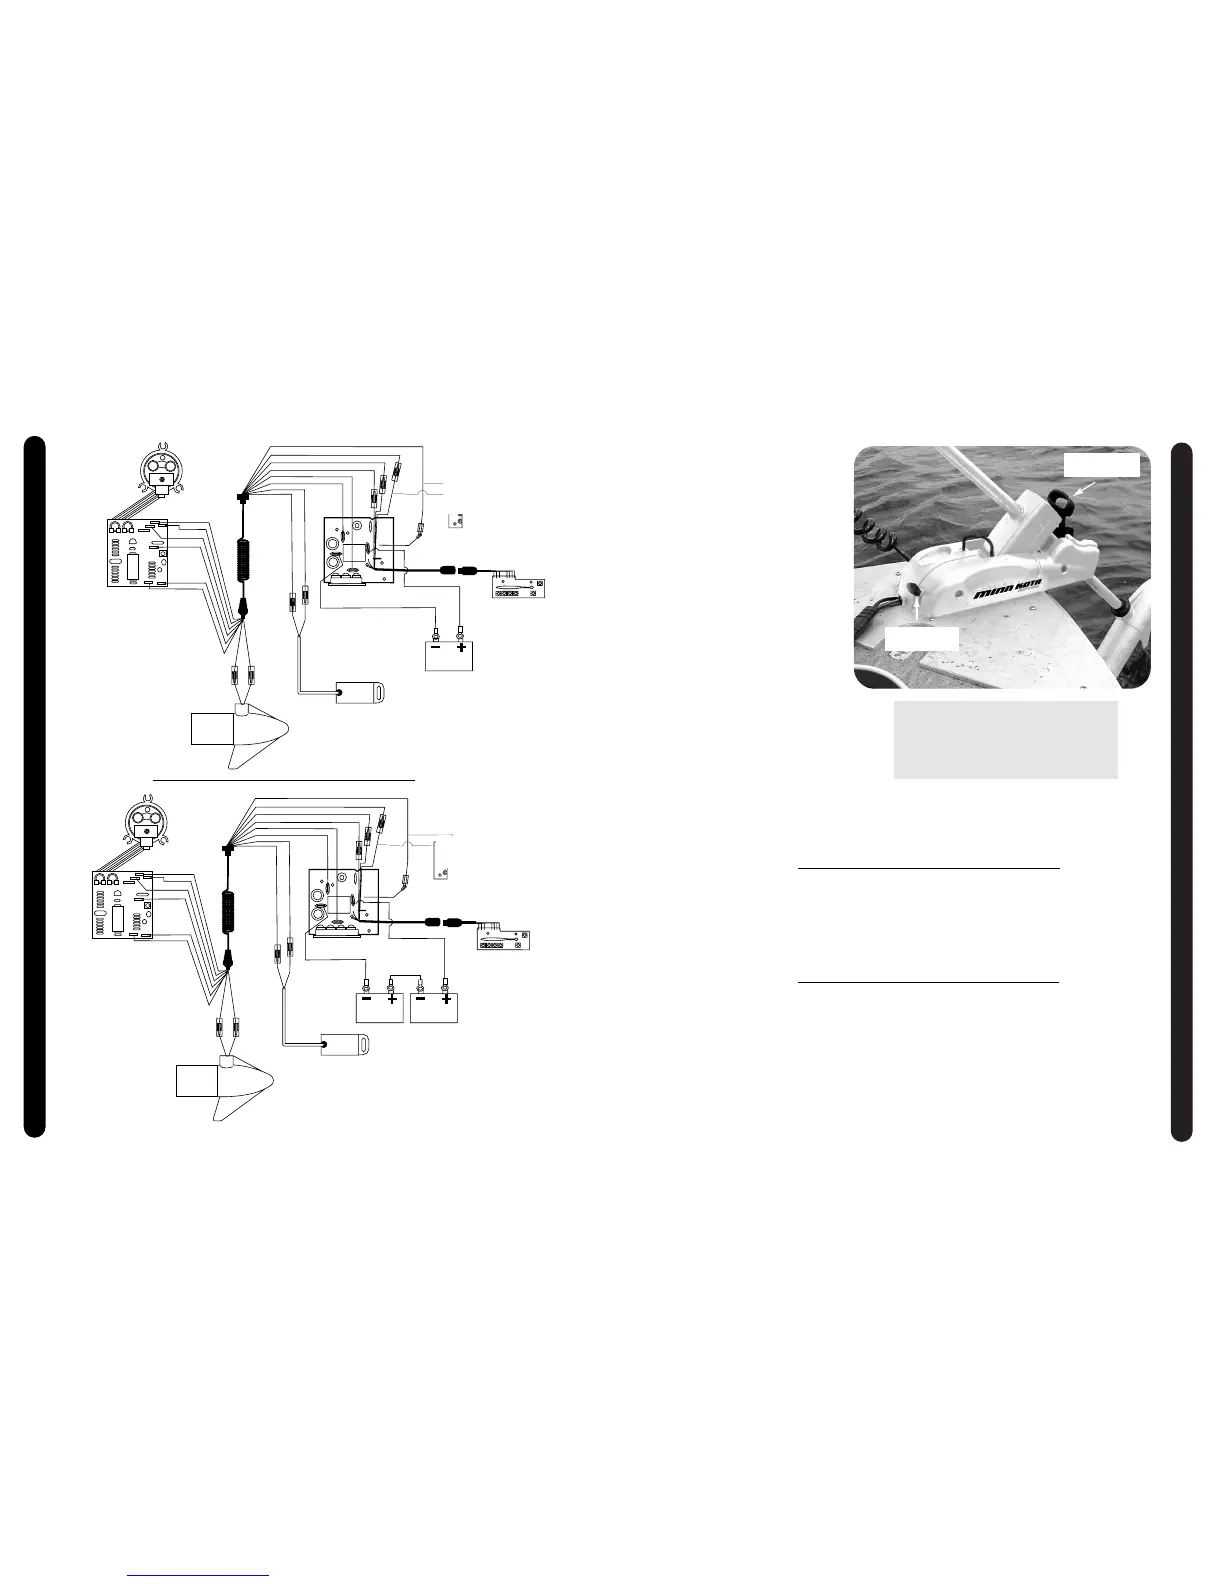
TTOO SSTTOOWW::
Push down to release tilt lock lever
and raise the motor by pulling up
on the composite shaft or control
head. Pull the motor toward the
stern until it rests securely on the
ramp and the Grip Glide Lever
captures the collar.
TTOO DDEEPPLLOOYY::
Pull firmly on the Grip Glide Lever
to release the collar and slide the
motor forward, out from the ramp.
Lower the motor to the desired
depth. Make sure it clicks into a
secure, vertical position.
TTOO AADDJJUUSSTT DDEEPPTTHH::
Firmly grasp and hold the composite shaft
above the PowerDrive housing. Loosen
the depth/drive collar knob until the shaft
slides freely. Raise or lower the motor to
the desired depth. Tighten the
depth/drive collar knob to secure the
motor in place.
TTOO AADDJJUUSSTT LLAATTCCHH CCOOLLLLAARR::
The latch collar is adjustable. If needed, loosen the Phillips head screw and rotate the collar up or
down to re-align the latch and collar. The ideal adjustment is a slightly loose fit that completely cap-
tures the collar.
Grip Glide Lever
Tilt Lock lever
WWAARRNNIINNGG:: WWHHEENN RRAAIISSIINNGG OORR LLOOWW--
EERRIINNGG MMOOTTOORR,, KKEEEEPP FFIINNGGEERRSS
CCLLEEAARR OOFF AALLLL HHIINNGGEE AANNDD PPIIVVOOTT
PPOOIINNTTSS AANNDD AALLLL MMOOVVIINNGG PPAARRTTSS..
AAUUTTOOPPIILLOOTT™™ CCOONNTTRROOLLSS::
The MINN KOTA AutoPilot uses a magnetic
compass and a microprocessor chip to keep
the trolling motor pointed in the direction you
want to go. Each time the wind or water cur-
rent moves the boat off course, the AutoPilot
senses the change and steers itself back to
the original heading. The AutoPilot direction
is set every time a steering change is made.
To change direction, steer until the control
head points to the desired course. The
AutoPilot will pull the bow of the boat around
and correct automatically until the boat is
moving in the direction you chose.
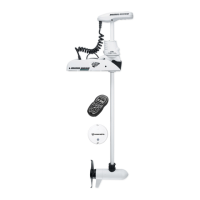
The AutoPilot push button on the control head
turns the automatic steering on or off.
MMIICCRROO TTOOUUCCHH FFOOOOTT PPEEDDAALL::
NNoonn--CCaarrppeetteedd BBooaatt UUssee--
Enclosed with your
motor are four (4) rubber bumpers. If the foot
pedal is to be used primarily on non-carpeted
surfaces, peel off the backing and install the
bumpers on the circular indented standoffs on
the underside of the pedal.
CCoonnttrrooll CCoorrdd--
The foot pedal cord is flexible and
long enough to allow the pedal to be posi-
tioned almost anywhere on your boat.
WWIIRRIINNGG DDIIAAGGRRAAMMSS
8
 Loading...