11
10
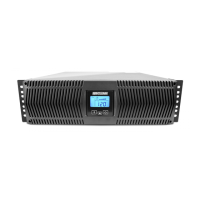
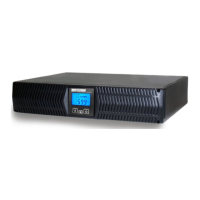
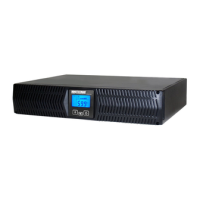
RACKMOUNT CONFIGURATION
This UPS series comes with mounting brackets for the standard 19" (46.5cm)
rack pre-installed on the UPS. There are optional Rail Kits for the 4-post
racks and cabinets available. The screws for mounting the UPS to the rack
are included. NOTE: The Rail Kit for a 4-post rack and/or cabinet is included
with the EC3000RT2U.
CAUTION! DO NOT USE THE MOUNTING BRACKETS TO LIFT THE
UPS. The mounting brackets are ONLY for securing the UPS to the rack.
1. Mount the UPS into the rack and secure with the retaining screws (provid-
ed). WARNING: Use two or more people when installing the UPS, the
UPS is extremely heavy. Do not move the rack after the units have been
installed. The rack may become unstable due to the weight distribution.
2. The Rackmount Configuration is complete. See Connecting your Equipm-
ent.
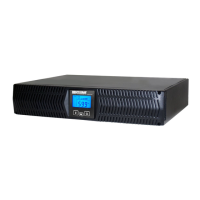
CONNECTING THE BATTERIES
(QUALIFIED SERVICE PERSONNEL ONLY)
Please read all of the WARNINGS and CAUTIONS before attempting to con-
nect the batteries.
WARNING: Use two or more people when installing the UPS, the UPS is
extremely heavy.
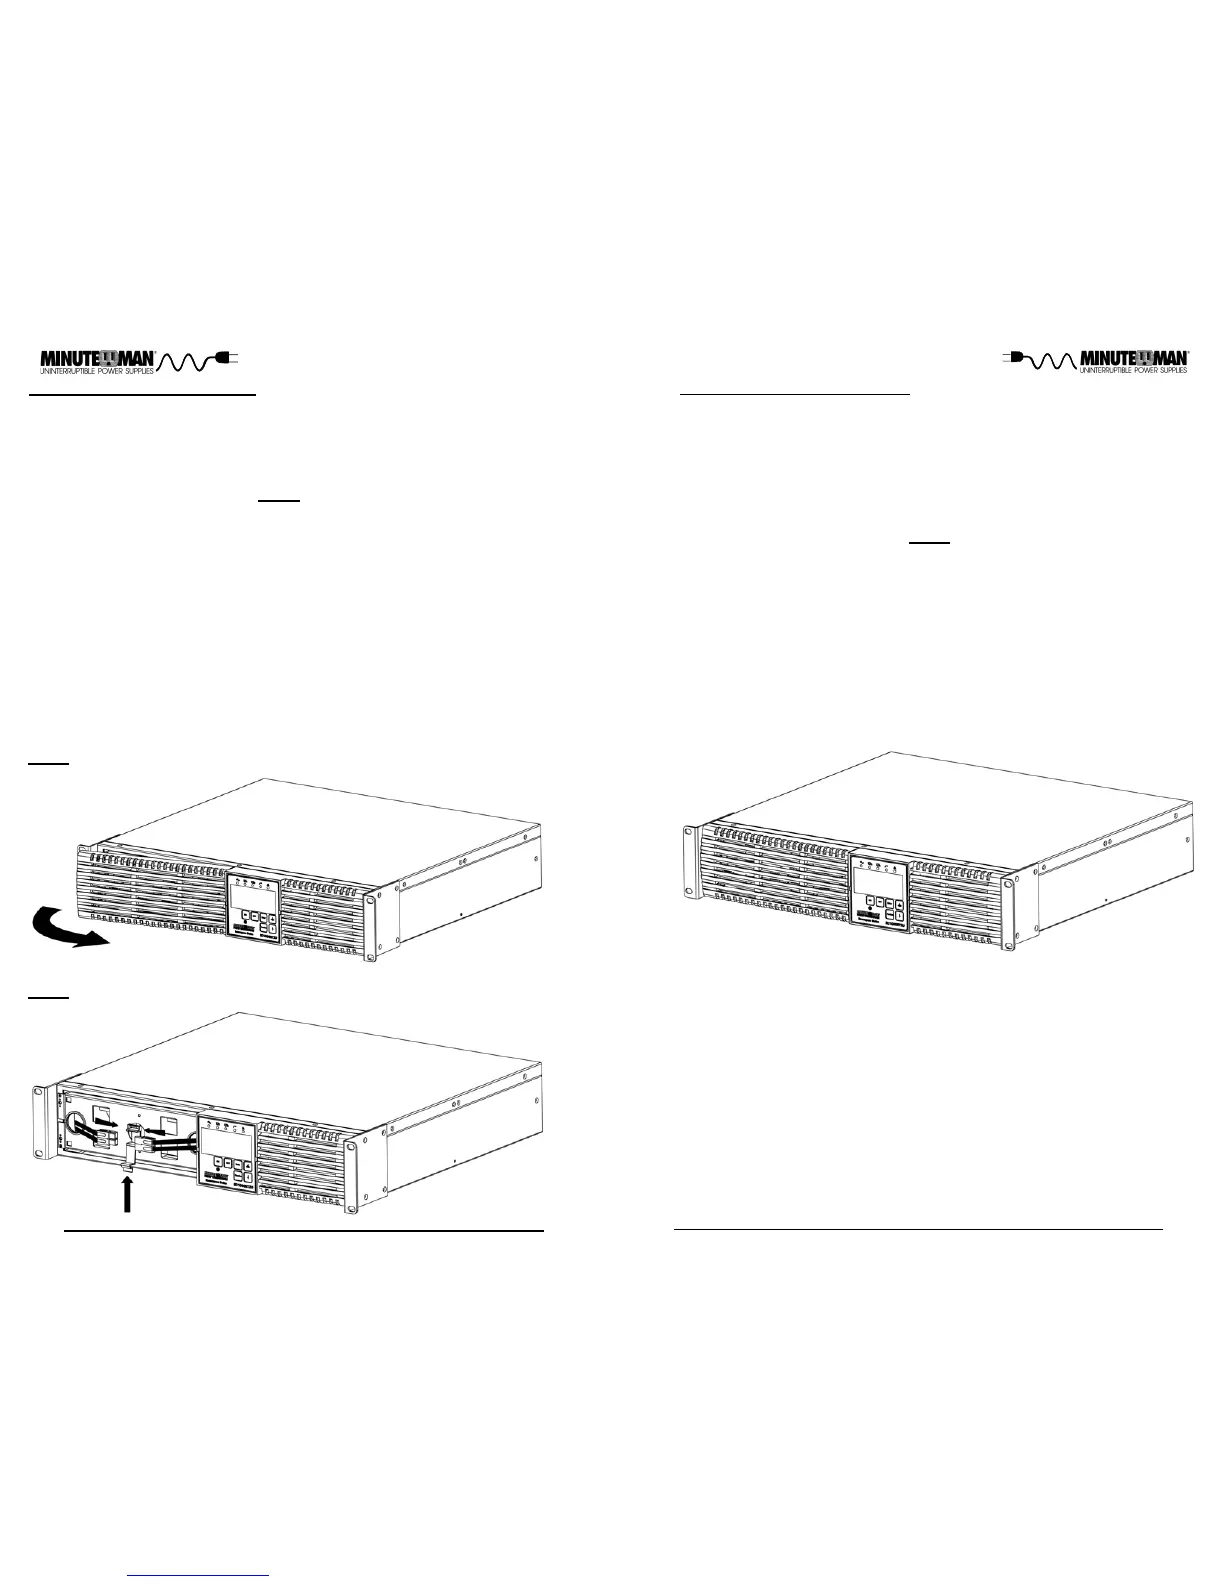
1. Remove the UPS from the shipping box and place on a flat surface.
2. Grasp the battery door on the left hand side, pull it outward and then set it
aside (FIG. 1).
3. Press down to unlock the battery connector holder. Verify proper polarity.
Connect the battery connectors (red and black) together. Place the batt-
ery connectors in the battery connector holder and then relock the battery
connector holder (FIG. 2).
NOTE: Some sparking may occur this is normal.
4. Re-install the battery door on the UPS.
5. Connecting the Batteries is complete. See the Rackmount Configuration.
CAUTION! DO NOT USE THE MOUNTING BRACKETS TO LIFT THE
UPS. The mounting brackets are ONLY for securing the UPS to the rack.
FIG. 1
FIG. 2