18
INSTALLATION
1. Manually unscrew the screw threads on the top plate at the back of the device and, eventually, the ones from the side
plate (on the right side of the ice bank) for easier access to the tank.
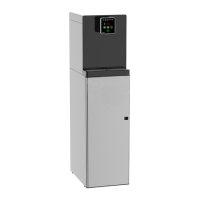
2. Remove the cap of water tank (Figure 3).
Figure 3
3. Connect the 6x8 black pipe on water inlet. Make sure there is a shut-off vavle with 3/4 male thread.
4. Connect the other side of the pipe to the sut-off valve.
ATTENTION : Check that the shut-off valvle is in the locked position.
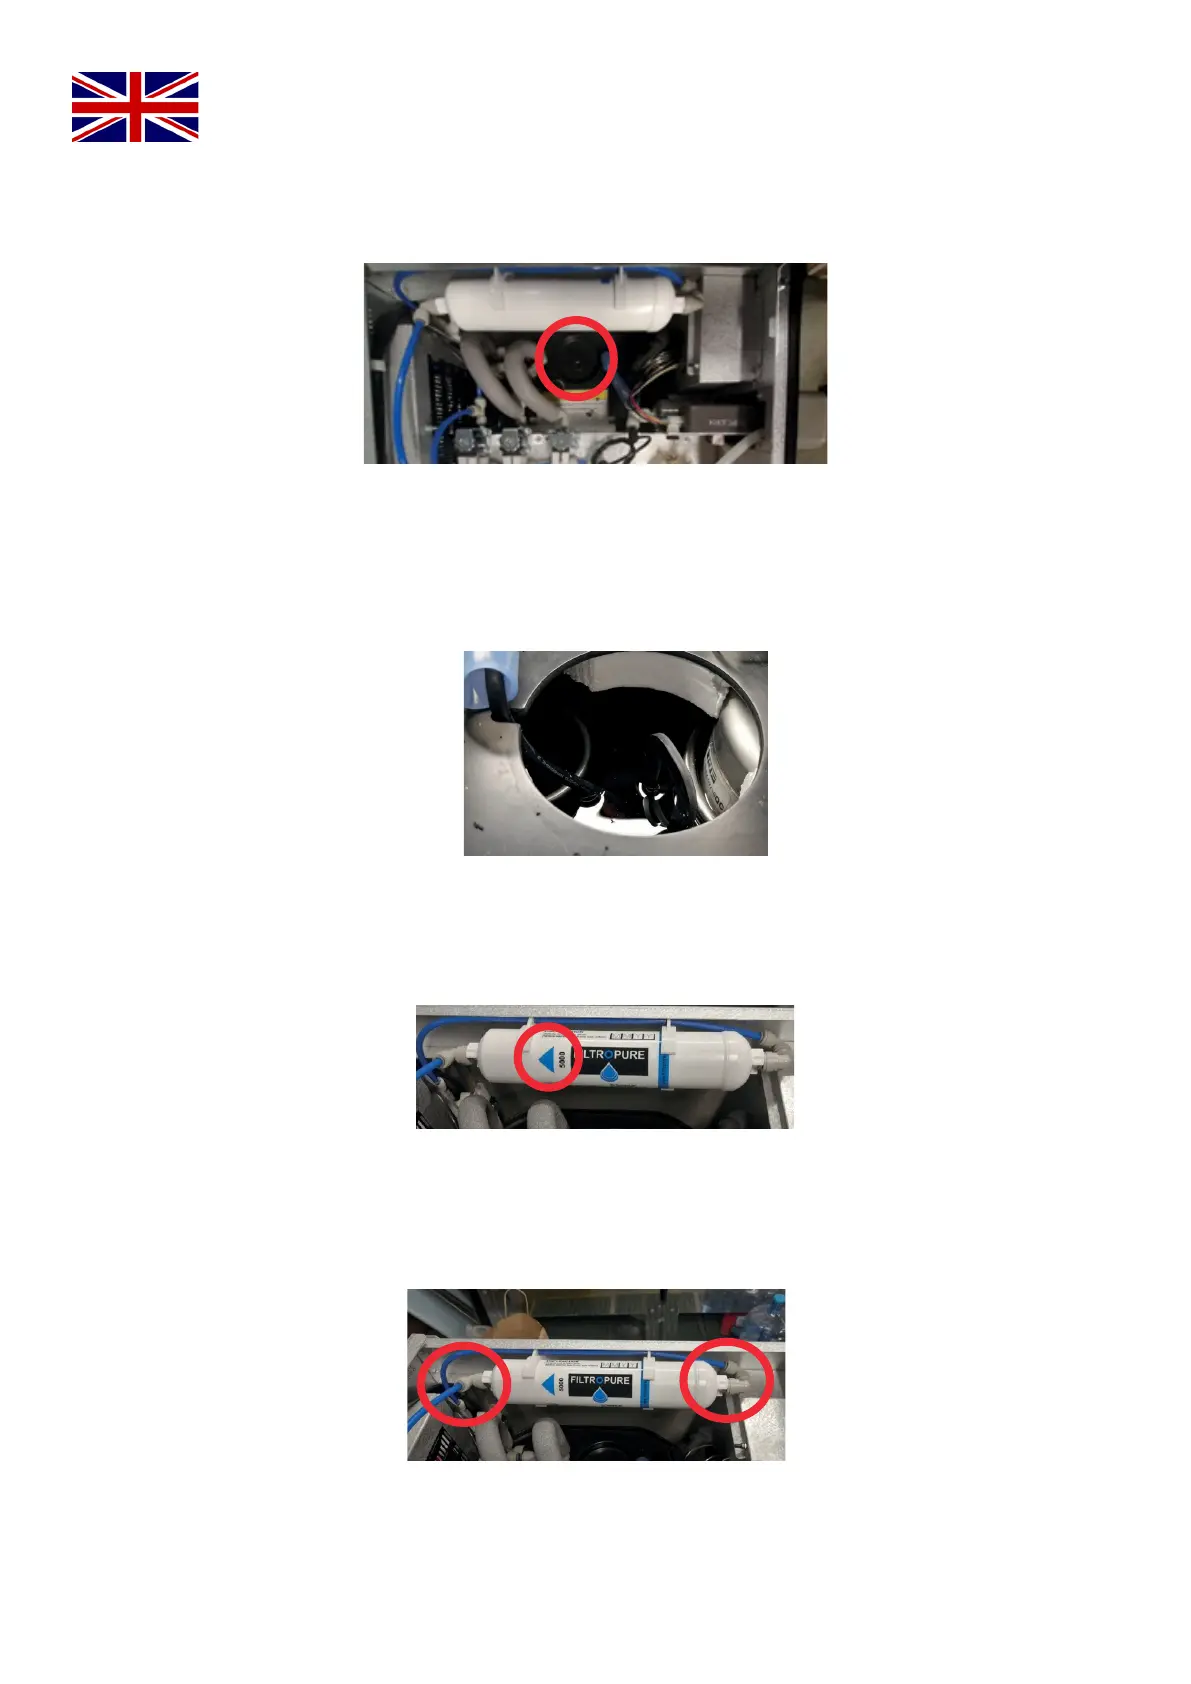
5. Place the sut-off valve and the pipe in the water tank (Figure 4).
6. Open the shut-off valve to fill the water tank. Water must entirely covered coil. Once the filling is done, close the shut-
off valve and water inlet.
Figure 4
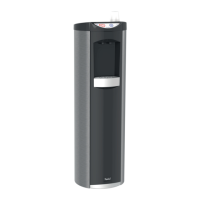
7. Filter installation
8. Remove one of the end caps from the filter holder and connect it to the filter.
9. Connect the 1/4 blue pipe to the filter and connect it to water inlet. Follow the blue arrow to respect the connection
direction (figure 5).
Figure 5
10. Open water inlet and rince the filter in an external container until water is clear (around 5 litres).
11. Once the rinse is over, remove the 1/4 blue pipe.
12. Place the filter in its location (Figure 6) and connect the filter outlet connection.
ATTENTION : Filter inlet is placed at the entrance of the water cooler, and the oulet at the back (Figure 4).
Figure 6
Filter outlet
Filter inlet
13. Connect the power cord.
14. Connect the Watersafe® at the back of the device.