Connections (cont’d.)
Optional Connections
After connecting the voice switch to the LAN, you can make optional connections, including input
from a music-on-hold source or output to an internal paging system.
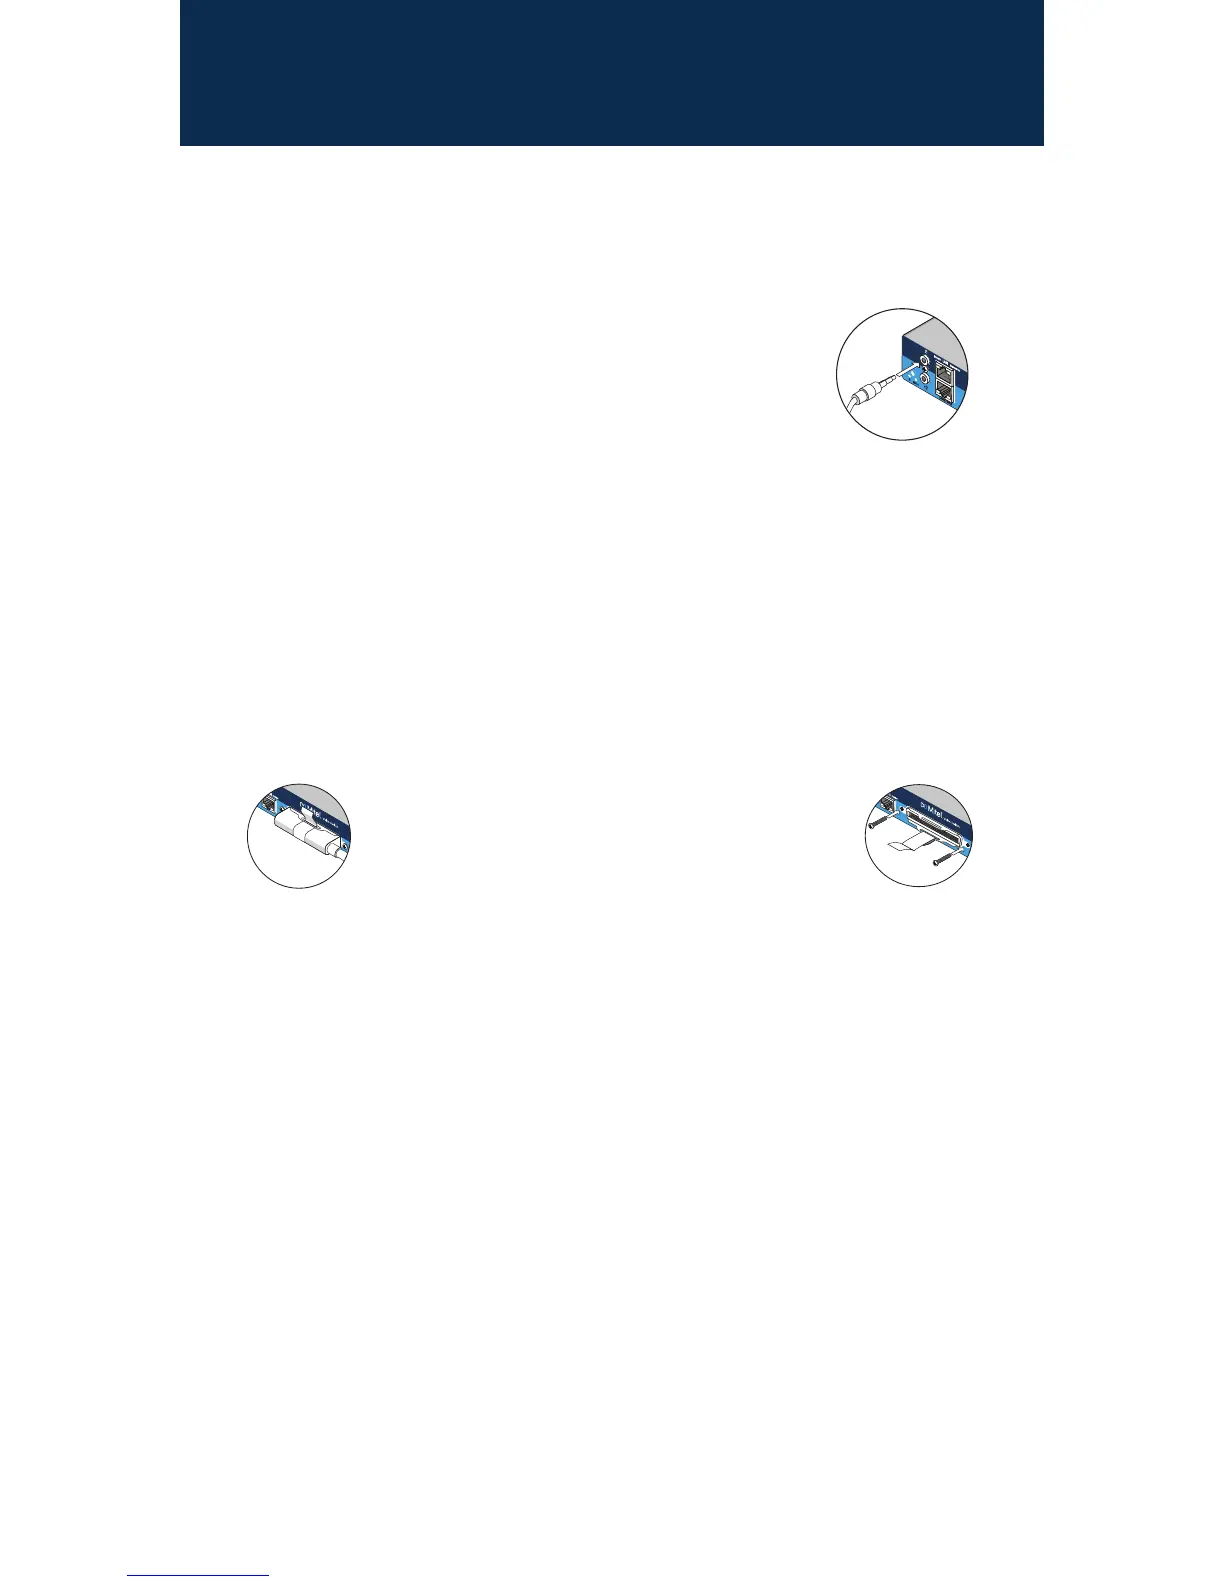
1. Connect a music-on-hold source (CD player or other audio source) to
the audio input port.
2. Connect your site’s paging system to the audio output port. Mitel
provides a Paging Adapter to facilitate paging connections. Refer to the
Mitel Paging Adapter Quick Install Guide for more information.
AftersettingupthenetworkconnectionsandconguringtheST100DAVoiceSwitchforoperations,
you can connect your T1 or E1 line to the switch.
Use an RJ-45 T1 or E1 cable to connect your T1 or E1 line to the Telco port.
Fordetailedinformationonswitchportandtrunkconguration,refertothesections“Conguring
Switches”and“ConguringTrunks”intheMitel Connect System Administration Guide.
Connecting a T1/E1 Line
Connecting Trunk and Telephone Lines
Use an RJ-21 cable and the provided cable retainer to connect the voice switch to the telephone
company’s punch-down block or patch panel.
1. Use a #1 Phillips screwdriver to remove the two screws on
either side of the RJ-21X port, then place the retainer on the
port and re-attach the screws.
2. Plug the Telco cable into the port, then pull the Velcro strap
tightly around the cable connector and fasten it.
3. Connect the other end of the Telco cable to the punch-down
block or patch panel.
CAUTION:Toreduceriskofre,useonlyNo.26AWGorlarger(e.g.24AWG)ULListedorCSA
certiedtelecommunicationlinecord.
VORSICHT:UmdasBrandrisikozuverringern,verwendenSienurTelekommunikationsleitungen
Nr.26AWGodergrößer(z.B.24AWG)mitUL-oderCSA-Zulassung
Fordetailedinformationonswitchportandtrunkconguration,seethe“ConguringSwitches”
and“ConguringTrunks”sectionsintheMitel Connect System Administration Guide.