9
Conguration and deployment process
Before you turn on the T2, build the appropriate conguration using the graphical
conguration screen on the management portal.
Scenarios for most hardware devices are applied as templates and adaptively assign the
wiring connections on the rear of the T2.
When on-site, wire the solution exactly as detailed in the graphical conguration
(downloadable).
During the setup phase for the T2, a device specic engineer pin code will be
required in order to enable and congure the device.
Under no circumstances should
your DC power supply or PoE
switch be placed outside or
exposed to water.
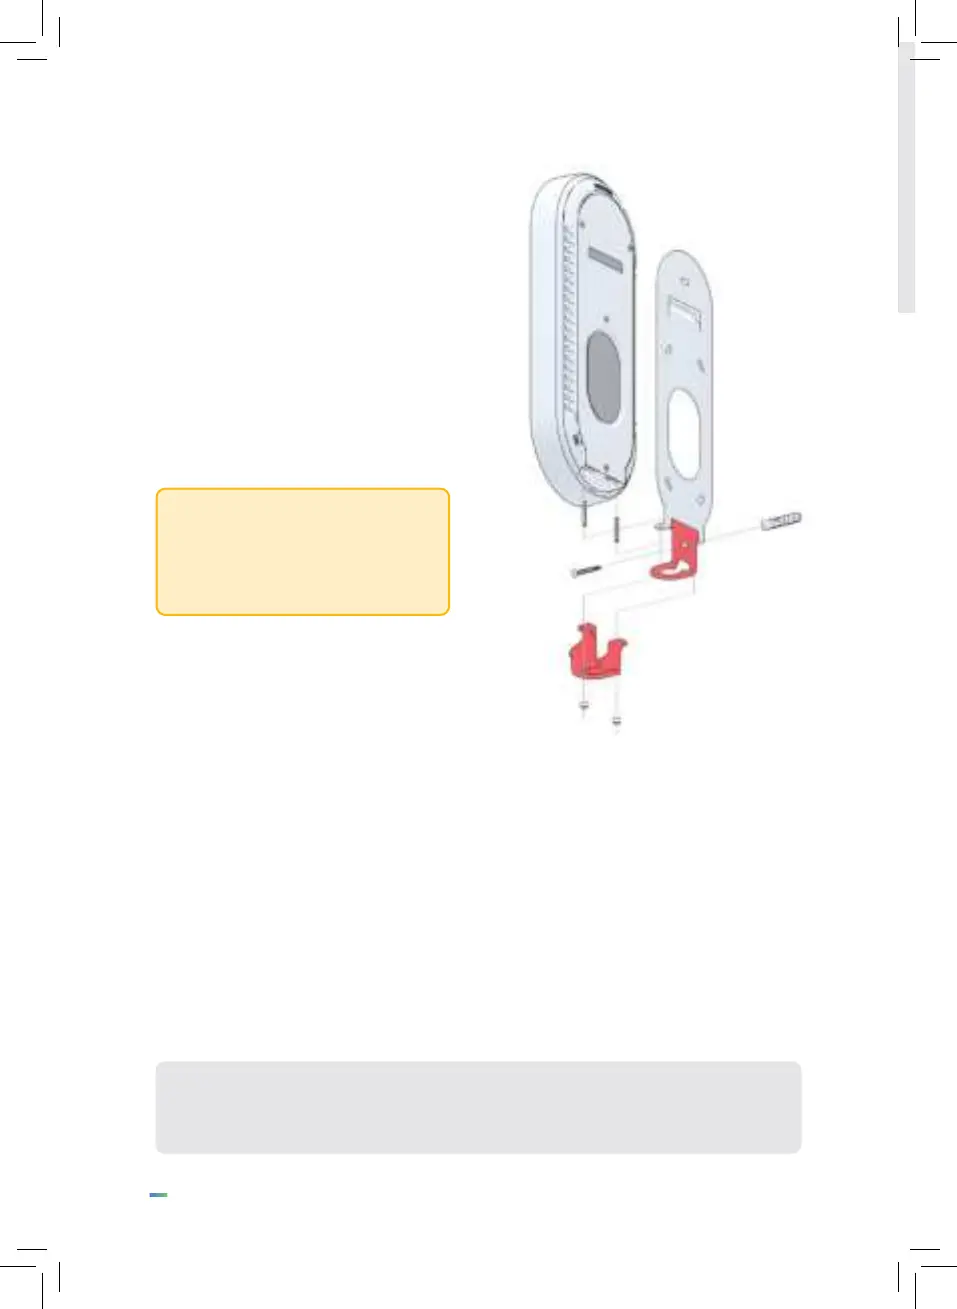
Optional conduit adapter
For installations requiring a bottom
entry, Mitrench can supply an optional
conduit adapter which enables power
and data cables coming in via a 20mm
standard conduit to be junctioned to the
bottom of the T2.
In this case the two rubber bungs are
removed to enable the cables to enter
into the bottom of the unit.