F9Q ENGINE – Piston
11A-13-2
REMOVAL SERVICE POINTS
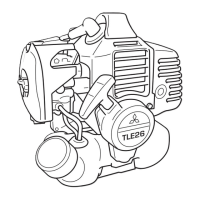
AA" CONNECTING ROD CAP REMOVAL
(1) Mark the cylinder number on the side of the connecting
rod big end for correct reassembly.
Caution
D Do not use a scriber tool for the marking, in order
to avoid starting any cracks in the connecting
rods.
Use an indelible pencil instead.
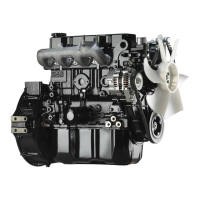
AB" PISTON PIN REMOVAL
(1) Remove the snap ring securing the piston pin.
INSTALLATION SERVICE POINTS
"AA PISTON PIN INSTALLATION
(1) Apply engine oil to the piston pin before inserting it into
the piston and connecting rod.
Caution
D Set the connecting rod with its marked side
positioned as shown in the illustration.
(2) Install the snap rings to secure the piston pin.
"BA PISTON RING INSTALLATION
(1) Install the piston rings with the side having T (top mark)
upward.
(2) Arrange the piston ring end gaps as shown in the
illustration.
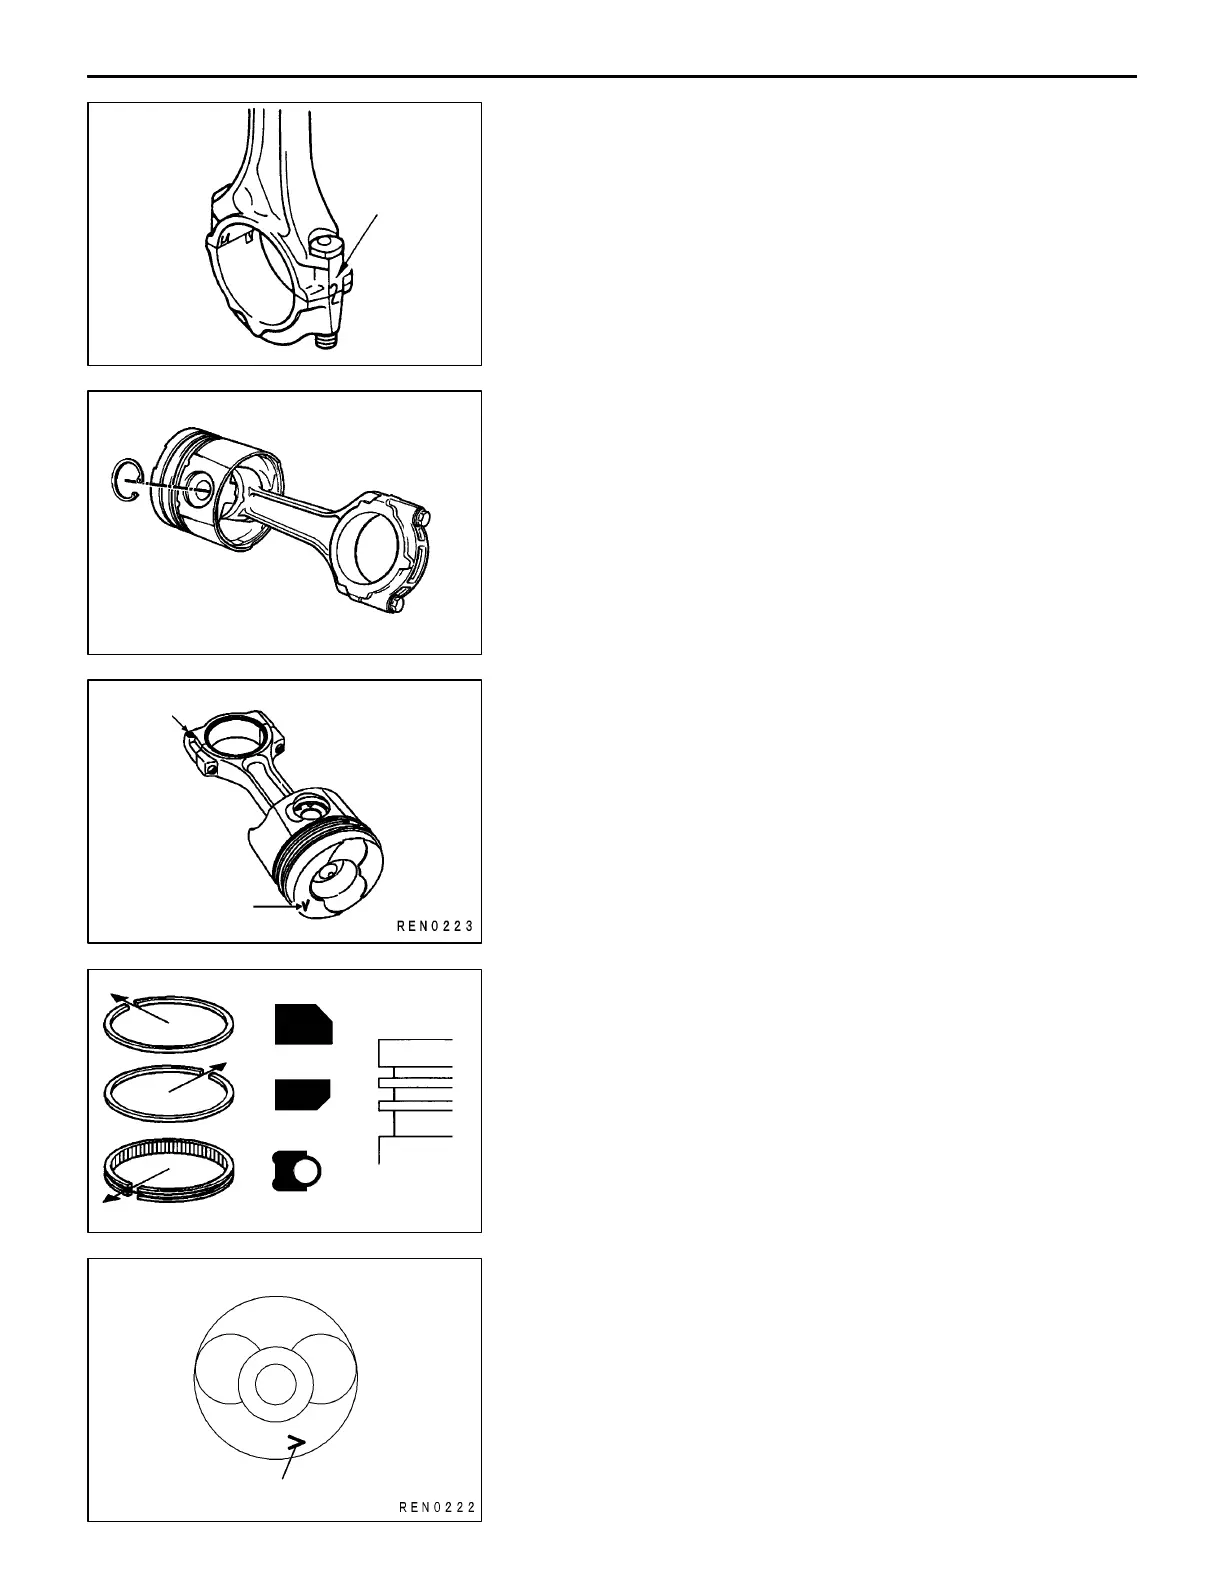
"CA PISTON AND CONNECTING ROD INSTALLATION
(1) Fit the connecting rod/piston assemblies into the cylinder
block using a bush, taking care to ensure the fitting
direction is correct (V towards flywheel).
(2) Fit the connecting rods onto the lubricated crankshaft
crankpins.
(3) Fit each connecting rod bearing cap with its marked side
located in the same side with the marked side of the
connecting rod.
DEN0050
Cylinder No.
PWEE0001-A
E
Mar. 2001Mitsubishi Motors Corporation Revised
REN0196
Mark
Marking
REN0198
1
2
3
1
2
3
Mark
Timing belt side Flywheel side
 Loading...