11
11
1-5. Refrigerant pipe and drain pipe specifications
To avoid dew drops, provide sufficient antisweating and insulating work to the re-
frigerant and drain pipes.
When using commercially available refrigerant pipes, be sure to wind commer-
cially available insulating material (with a heat-resisting temperature of more than
100 °C and thickness given below) onto both liquid and gas pipes.
Be also sure to wind commercially available insulating material (with a form
polyethylene’s specific gravity of 0.03 and thickness given below) onto all pipes
which pass through rooms.
1 Select the thickness of insulating material by pipe size.
Pipe size Insulating material’s thickness
6.4 mm to 25.4 mm More than 10 mm
28.6 mm to 38.1 mm More than 15 mm
2 If the unit is used on the highest story of a building and under conditions of
high temperature and humidity, it is necessary to use pipe size and insulating
material’s thickness more than those given in the table above.
3 If there are customer’s specifications, simply follow them.
11
11
1-5.1. Refrigerant pipe and drain pipe specifications
Item
Model
PEH-7, 8MYB PEH-10MYB
Liquid pipe ø15.88
Gas pipe ø25.4 ø28.58
Drain pipe RC1 (Male screw)
11
11
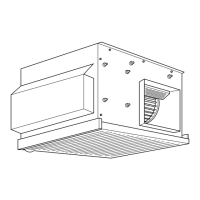
1-5.2. Refrigerant pipe, drain pipe and filling port
11
11
1-6. Connecting refrigerant pipes and drain pipes
11
11
1-6.1. Refrigerant piping work
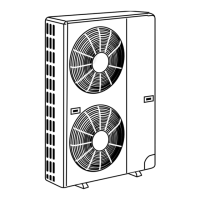
This piping work must be done in accordance with the installation manuals for
outdoor unit.
• For constraints on pipe length and allowable difference of elevation, refer to
the outdoor unit manual.
• The method of pipe connection is brazing connection.
Cautions on refrigerant piping
s Be sure to use non-oxidative brazing for brazing to ensure that no for-
eign matter or moisture enter into the pipe.
s Provide a metal brace to support the refrigerant pipe so that no load is
imparted to the indoor unit end pipe. This metal brace should be pro-
vided 50 cm away from the indoor unit’s brazing connection.
Warning:
Do not mix anything other than the specified refrigerant (R22) into the refrig-
erating cycle. Mixing air may cause the refrigerating cycle to have abnor-
mally high temperature, resulting in a burst.
Caution:
• Install the refrigerant piping for the indoor unit in accordance with the
following.
1. Remove the rubber cap.
Refrigerant pipe
11
11
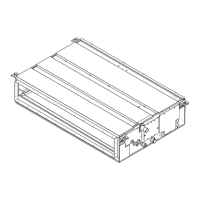
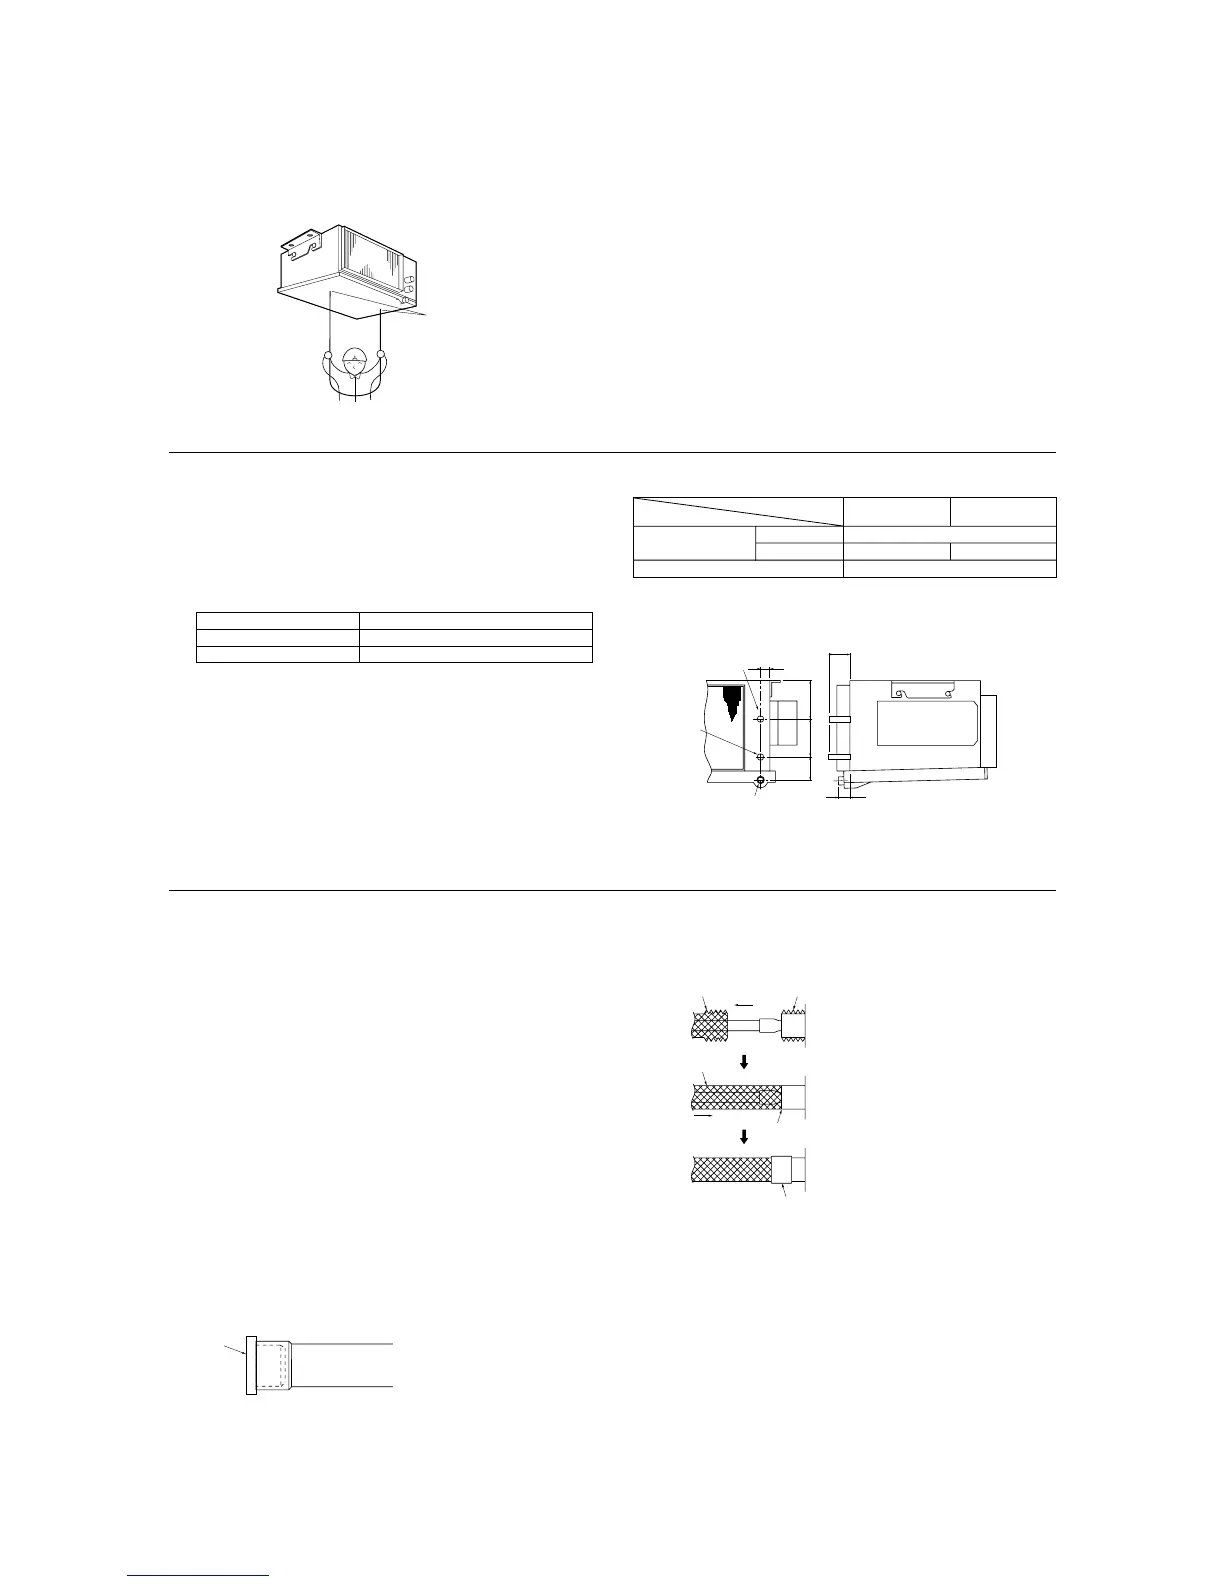
1-4.2. Confirming the unit’s position and fixing hang-
ing bolts
s Use the gage supplied with the panel to confirm that the unit body and
hanging bolts are positioned in place. If they are not positioned in place,
it may result in dew drops due to wind leak. Be sure to check the positional
relationship.
s Use a level to check that the surface indicated by A is at level. Ensure
that the hanging bolt nuts are tightened to fix the hanging bolts.
s To ensure that drain is discharged, be sure to hang the unit at level using
a level.
Caution:
Be sure to install the unit body at level.
Note:
• Pay strict attention when wrapping the copper piping since wrapping the
piping may cause condensation instead of preventing it.
• Before brazing the refrigerant piping, always wrap the piping on the main
body, and the thermal insulation piping, with damp cloths to prevent heat
shrinkage and burning the thermal insulation tubing. Take care to ensure
that the flame does not come into contact with the main body itself.
 Loading...