www.mo-sys.com
9
Quick start guide and geometry alignment
Make a copy of the LED screen
geometry for nDisplay
The position, rotation and scale of the
screen found in the previous paragraphs is
also used to fill in the data for nDisplay
config. You can write it down and copy or
use alternatively use a level to hold the data.
The following section describes how to use
it.
Duplicate the parent actor and the mesh
attached to it. While both copied actors
selected, go to levels panel and right click on
AlignementSharedGeometry and click Move
selected actors to level. This will transfer it
to the sublevel containing the layout of the
LED volume. It might be necessary to toggle
the duplicated actors as not “visible” in
details. Now in world outliner drag the
copies and attach them to StageShared.
Make sure the parenthood is preserved.
Save all to save both AligningXR and
AlignementSharedGeometry.
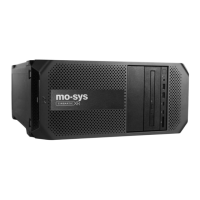
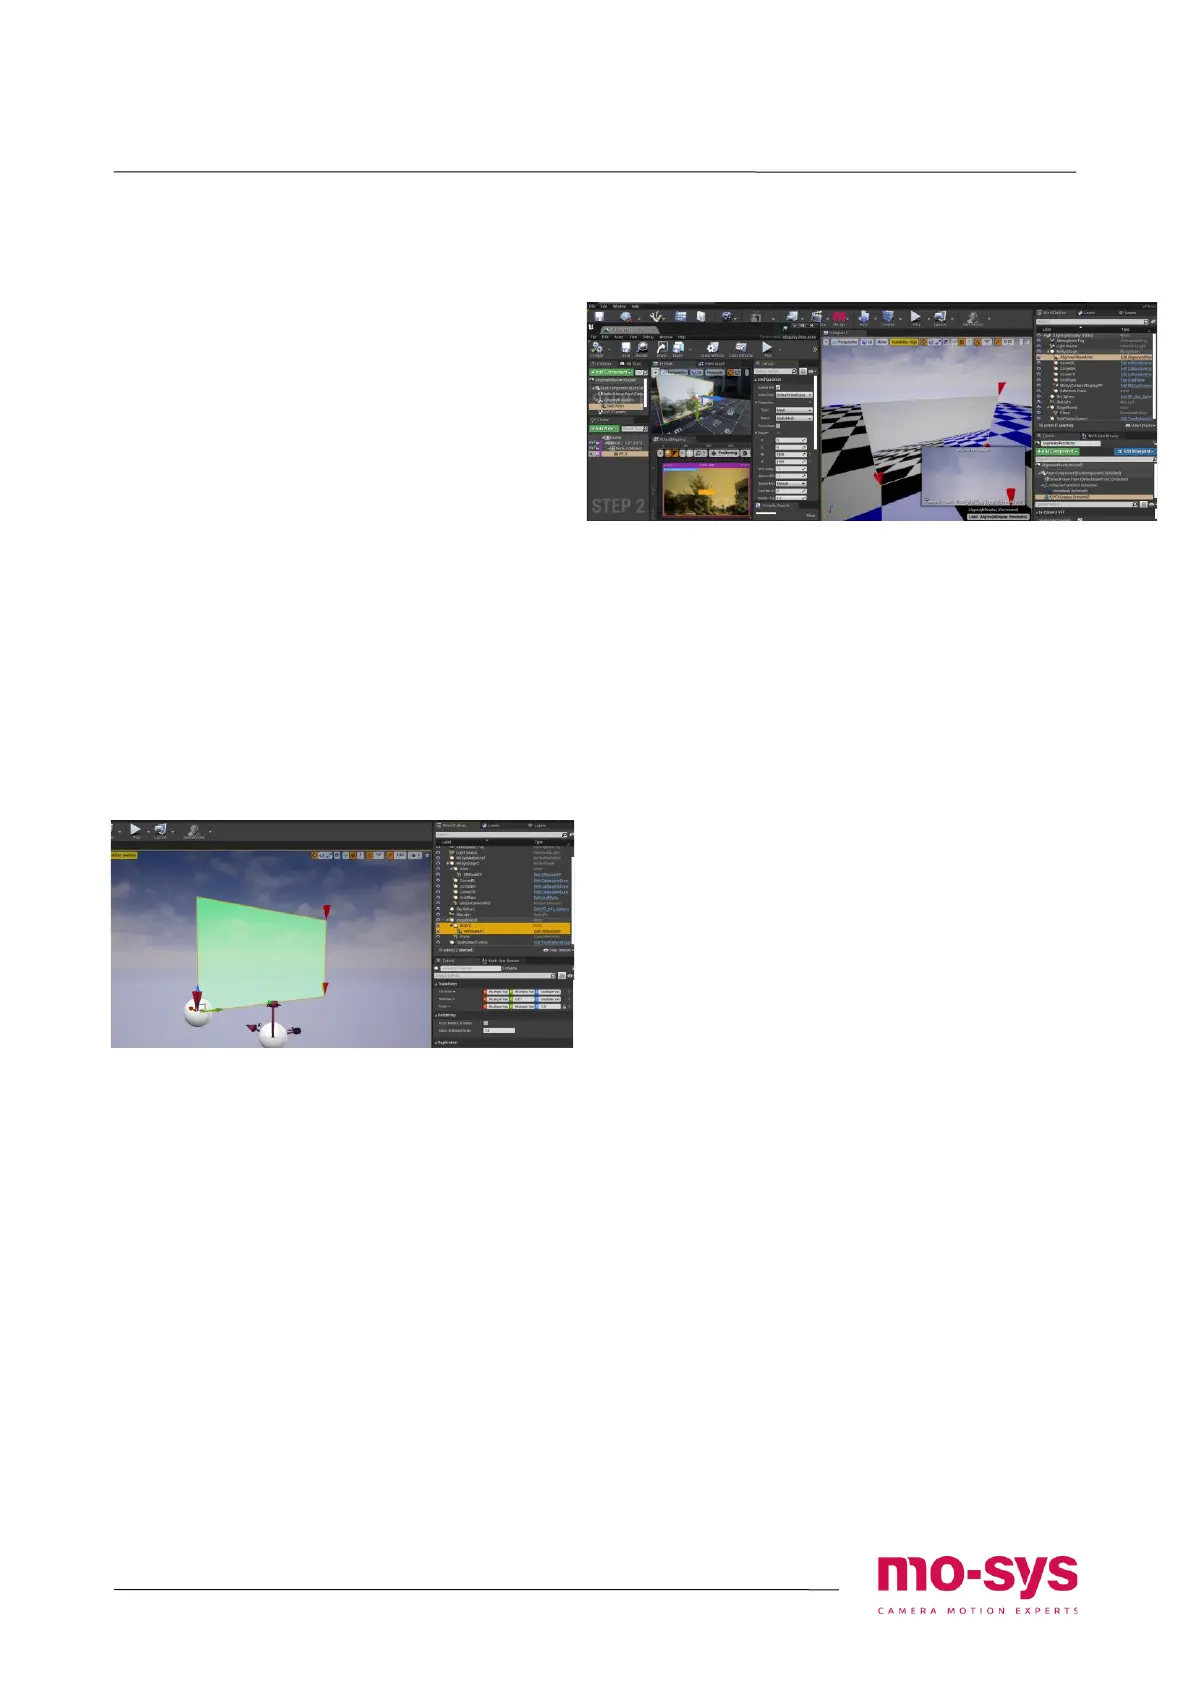
nDisplay
Move to AligningNDisplay level. Edit the
AlignmentRootActor. Set the Static mesh on
nDisplayScreen to the one used in for XR
mask alignment. If working with simple
planes, make sure the static mesh is set to
Plane and not plane_1x1. Copy the parent
empty actor’s transform on
nDisplayTransform and the XRMaksBP’s
transform onto nDisplayScreen.
Go back to the main viewport and on Mesh
Builder load the marker cones by clicking
Load from file with Load parent transform
checked. Compare if the cones are aligned
with the nDisplay screen corners.
Configure the rest of nDisplay
configurations. For a quick check, you can
connect one of the LED screens to the XR
Engine video output and launch the
nDisplay instance from there. Otherwise
distribute the project across the rendering
nodes.
Remember to create an extra livelink preset
that listens to tracking data on a different
port than the one configured before for XR.
Apply the LiveLinkPreset on the
MoSysCameraNDisplayPP and select the
livelink subject representation, so the virtual
camera is receiving tracking.
Go back to AliginingXR level and load the
non-nDisplay preset. Launch nDisplay
through Switchboard and pilot the
MoSysCameraXR.
Observe to verify whether the grid is
consistent throughout the whole frame so
on both LED screen and the CG extended
area.
XR Engine full setup
See pages 20 – 23
Primary Render Node full
setup
See pages 14 - 17