General Operation
(continued)
Selecting a Camera View or Input Source to Monitor:
Camera View:
Select any camera view by pressing the SRC button.
AUX, A/V Input (Front and Rear Panel Input): (Optional HAR-M130-AUX harness required.)
Manually select the audio/video input by pressing the SRC button on the monitor until
AUX appears in the display. The AUX input is shared between the rear RCA input and the
front monitor A/V input. If a product is plugged into the front input, it will override the rear
A/V input as long as the 3.5 jack is plugged in.
5
Automatically Activating a Camera View:
Left Side Camera:
The left side view camera (LEFT CAM) is designed to automatically turn on whenever the
vehicle’s left turn signal is activated.
Right Side Camera:
The right side view camera (RIGHT CAM) is designed to automatically turn on whenever
the vehicle’s right turn signal is activated.
Rearview Camera:
The rearview camera (REAR CAM) is designed to automatically turn on whenever the
vehicle is placed into the reverse gear.
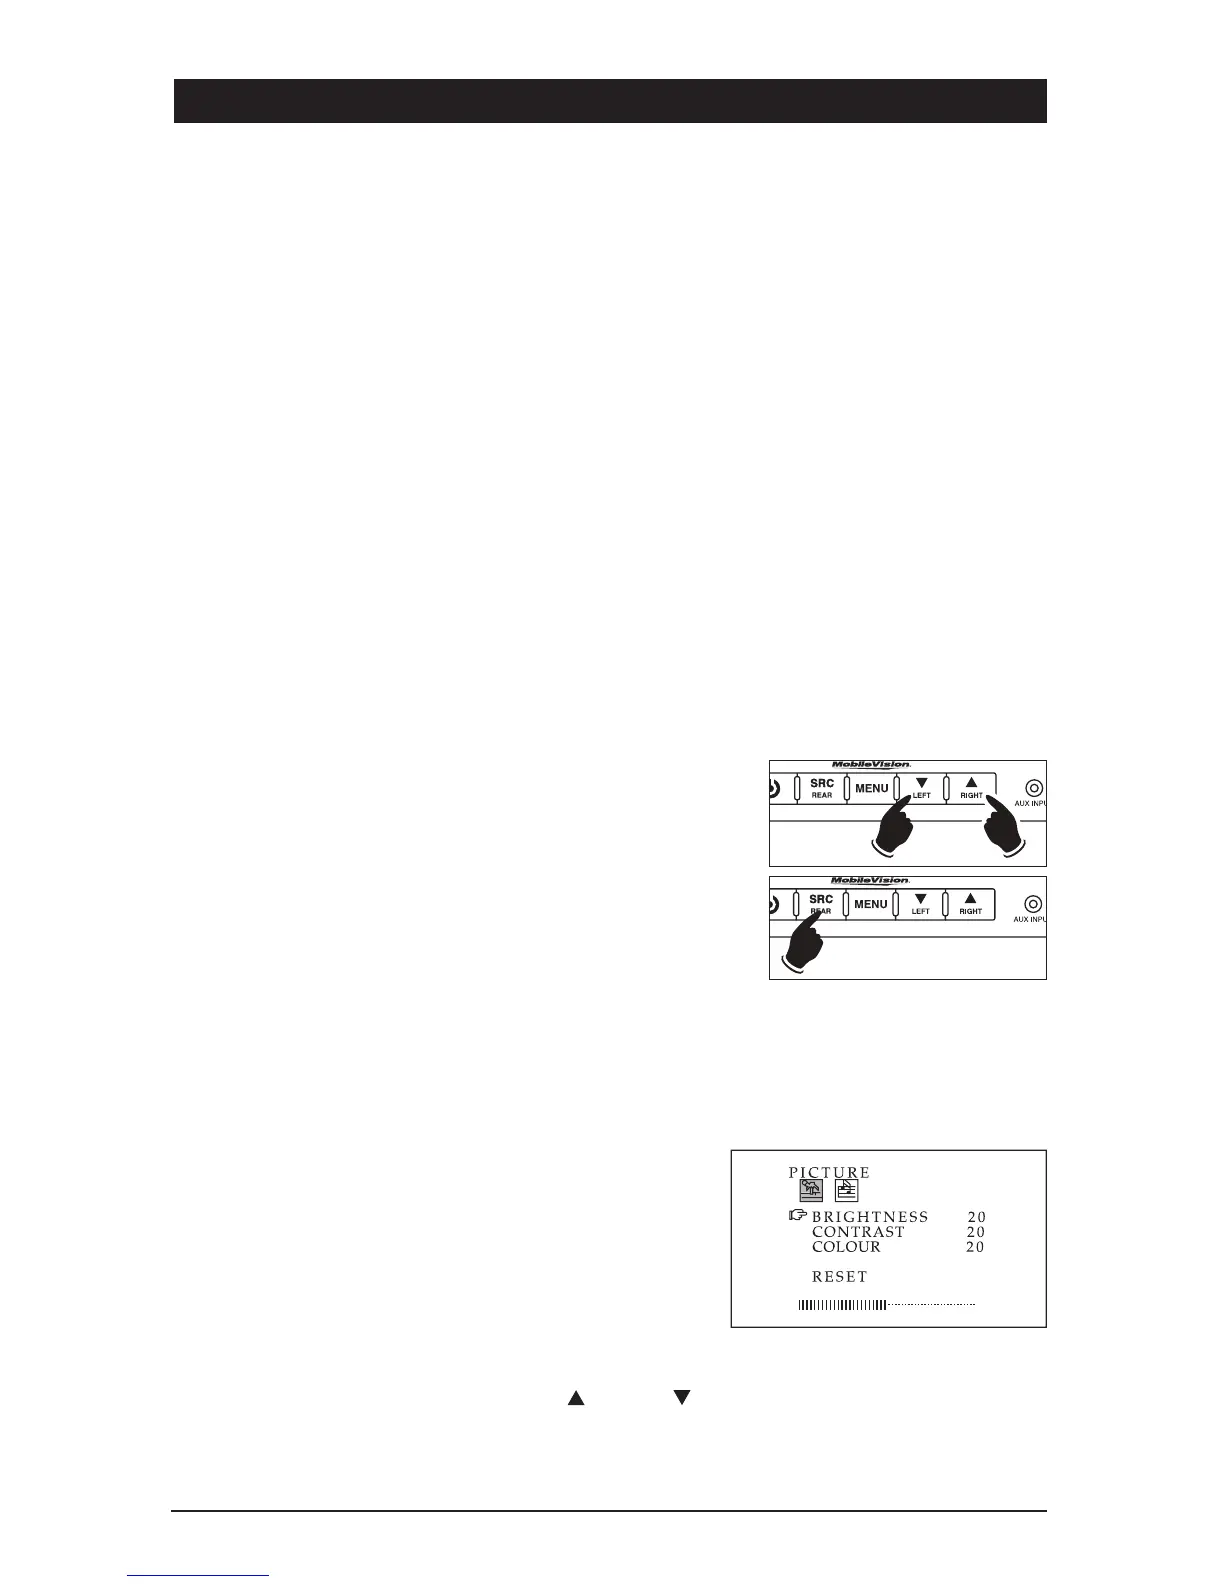
Note: With the vehicle still placed in reverse, you can
switch the camera view from the rear to either the left or
right by pressing the LEFT or RIGHT button. To return to
the rear camera view press the REAR button. The selected
camera view will remain until either the vehicle is taken
out of reverse or another camera view is selected.
Monitor Adjustment
The monitor has two menus: PICTURE and VOLUME. To access the PICTURE adjustments
menu, press the MENU button. To access the Volume Adjustment, press the MENU button a
second time.
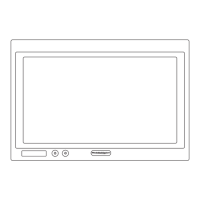
Picture Adjustments Menu
Press the MENU button on either the monitor’s front
panel or remote control until the PICTURE adjust-
ments menu screen is displayed. Repeatedly press
the SRC button to scroll through the menu items
:
BRIGHTNESS, CONTRAST, COLOUR and RESET
.
Once the desired item is highlighted, use the volume
buttons to make adjustments.
Note: You can use the navigation (up
or down )
buttons on the remote to scroll through menu.