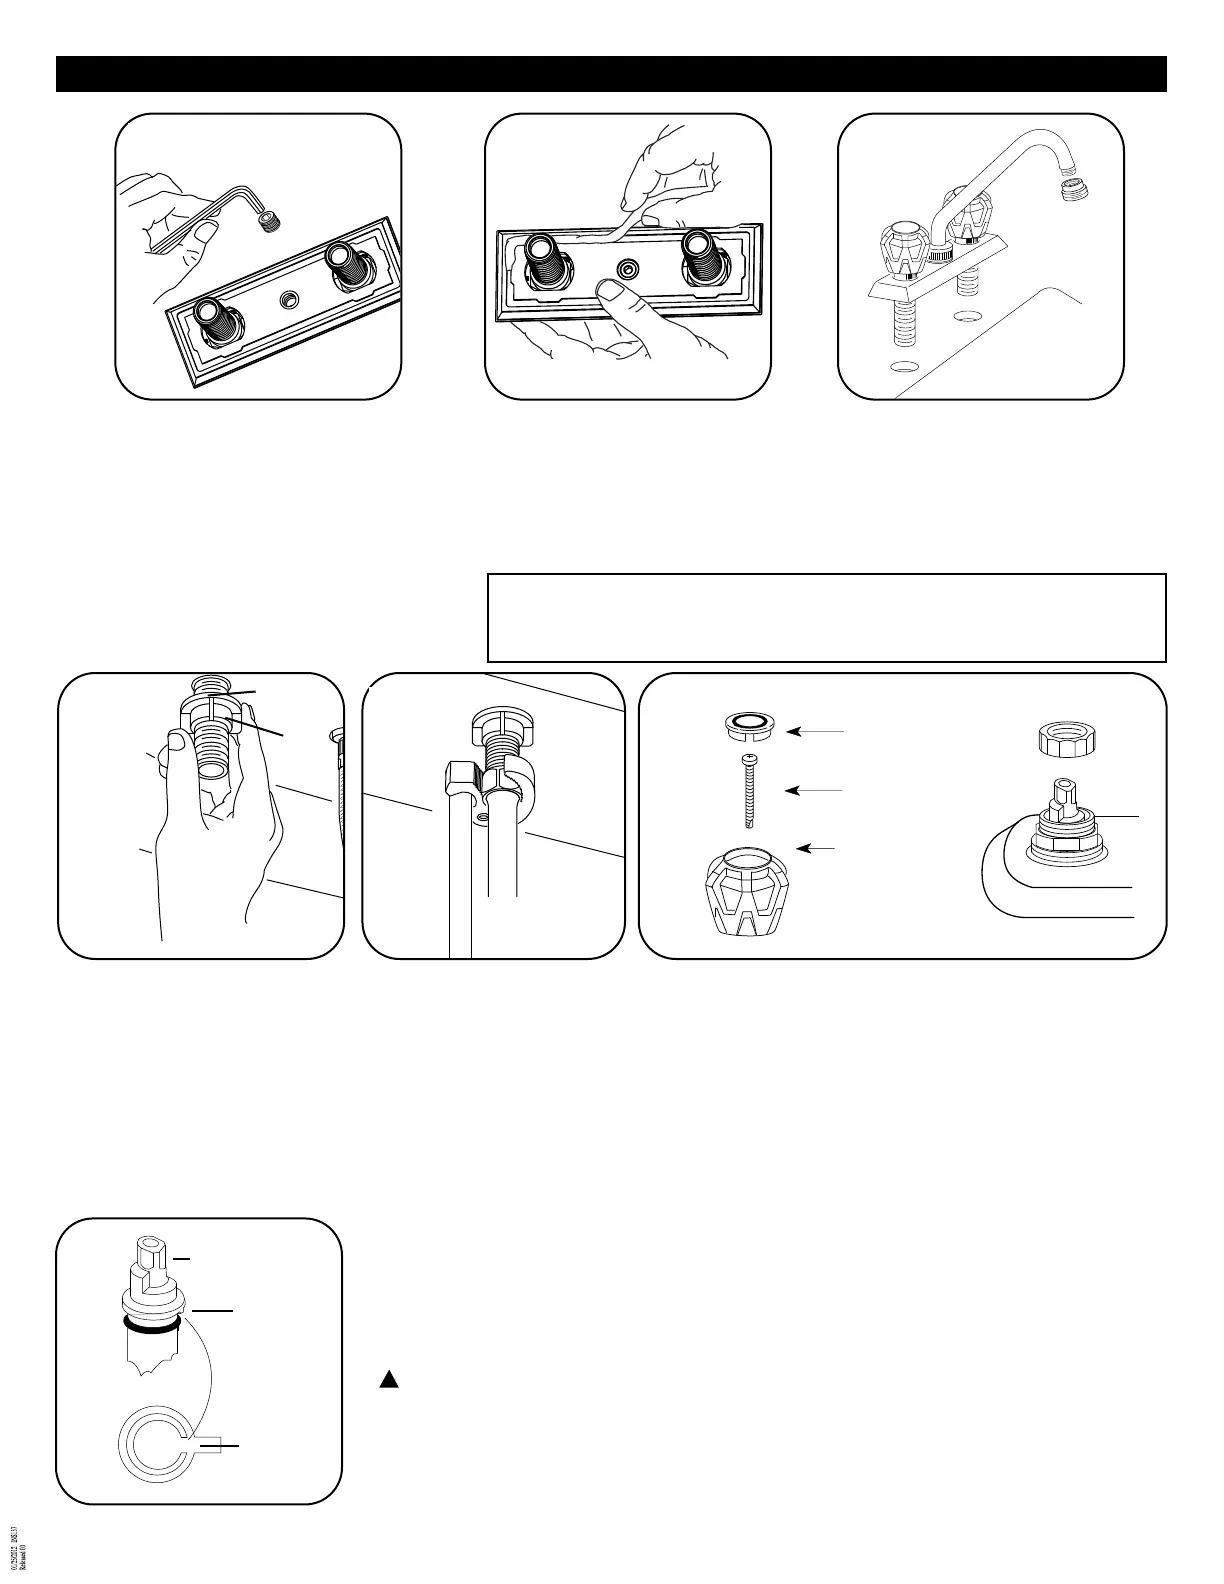
7. Loosen and unscrew the cartridge nut (4) with adjustable wrench. Then grasp
cartridge stem with pliers, pulling cartridge (5) straight up and out.
To reassemble, reverse the steps above.
CAUTION: Be careful not to damage the rubber seals on the cartridge when re-
installing cartridge. During installation be sure of the following.
• Turn stem to ON position
• Waterway holes in cartridge are lined up
• Key in cartridge fits into notch on body
• Start cartridge nut by hand
• Do not cross thread, tighten firmly
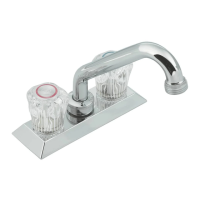
INSTALLATION INSTRUCTIONS
2
2. Be sure mounting surface is
clean and dry. Holding faucet
assembly upside down, place
a 1/4" (6mm) bead of
plumber's putty in the groove
of the deck plate (8).
1. To install Seal Trap Primer,
remove set plug with standard
Allen Key (3/16”, not included) by
rotating tool counter clockwise
approximately 8 turns.
Prior to inserting adapter, put thread
seal tape on tapered thread for sealing
valve body against leakage.
STEM
KEY
NOTCH
➤
➤
➤
➤
➤
HANDLE
CAP
HANDLE
SCREW
HANDLE
KNOB
3. Place faucet in position on
the sink, being careful not to
disturb the putty bead.
5. To connect supply lines
(not included), thread
onto faucet supplies
finger tight. Then tighten
with a wrench by rotating
one half turn.
4. From under the sink, thread
mounting nut/washer (10)
(large side up) onto faucet
shanks (9). Check faucet
position and alignment
on sink top, then
HAND-TIGHTEN. Connect
supplies to faucet shanks
(hot - left, cold - right).
Disassembly
6. Carefully remove handle cap (1) with a flatbladed
screwdriver. Remove handle screw (2) and handle (3).
CAUTION: Always turn water OFF before removing or disassembling
the valve. Open valve handles to relieve water pressure to insure that
complete water shut-off has been achieved.
3
2
1
4 5 6
7
9
10
!
STEM
KEY
NOTCH