Do you have a question about the Moen Hilliard 84532 and is the answer not in the manual?
Contact information for installation help, missing, or replacement parts in the USA.
Contact information for installation help, missing, or replacement parts in Canada.
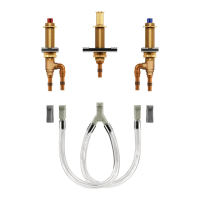
Always turn water supply OFF before removing existing faucet or disassembling the valve.
Legend for icons indicating component placement relative to the sink.
Indicates component placement above the sink basin.
Indicates component placement below the sink basin.
Sealing component for faucet installation.
Fasteners used to secure the faucet to the sink.
Component of the drain assembly.
Controls the drain stopper operation.
Part of the drain assembly that seals with the plug.
Connects the lift rod to the drain stopper mechanism.
Main component of the drain assembly.
Seals the drain assembly to the sink.
Secures the drain assembly to the sink.
Part of the drain stopper linkage.
Secures the pivot rod.
Secures the pivot rod.
Tool for aerator maintenance.
Tool for tightening connections.
Clean sink surface, install faucet with gasket.
Attach mounting nuts to shanks and tighten.
Apply sealant to the underside of the waste seat.
Turn waste seat over and place in sink opening.
Thread drain body into waste seat from underside of sink.
Insert lift rod and attach strap, finger-tighten bolt.
Rotate pivot rod opening on drain body to face the wall.
Tighten drain nut and place plug into waste seat.
Install pivot rod, securing it with the pivot rod nut.
Push pivot rod down, slide clamp onto it, and insert through strap.
Loosen strap nut, verify pivot rod position, tighten bolt.
Install using 3/8" or 1/2" IPS faucet supply lines only.
Attach supply lines to shut-off stops and tighten.
Insert Hex Wrench into aerator hole and loosen.
Flush aerator for 15 seconds, reinstall and tighten.
Run hot and cold water for 15 seconds to flush system.
Recommendations for cleaning Spot Resist™ finishes.
Details Moen's warranty for homeowners and non-homeowners.
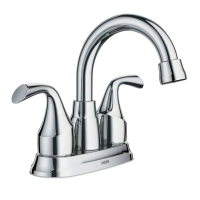
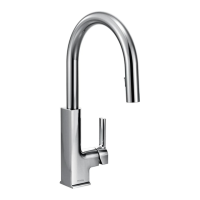
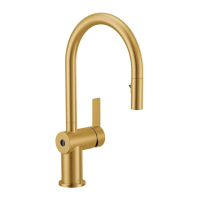
| Collection | Hilliard |
|---|---|
| Handle Type | Lever |
| Number of Handles | 2 |
| Flow Rate | 1.2 gpm |
| Finish | Chrome |
| Valve Type | Ceramic Disc |
| ADA Compliant | Yes |
| Warranty | Limited Lifetime |
| Product Type | Faucet |