Do you have a question about the Moen SINGLE HANDLE and is the answer not in the manual?
Important safety precautions and tips for removing an old faucet before installation.
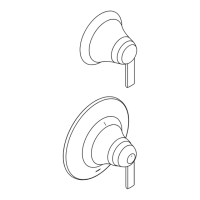
Instruction to remove the covers from the valve components.
Guide for operating the temperature valve stem for calibration.
Instructions to turn on the flow valve and check the water temperature.
Procedure to turn off the flow valve by rotating the stem.
Adjusting the temperature valve stem for precise temperature control.
Procedure for removing the temperature control stem.
Aligning the temperature control stem with the initial stop point.
Instructions for reinstalling the temperature control stem correctly.
Guidance to return to step 2 after stem reinstallation.
Repeat procedure to turn off the flow valve.
Operating the temperature valve stem clockwise and counter-clockwise.
Installing the temperature valve and trim components.
Positioning the bearing in the escutcheon and placing the control handle.
Securing the handle by rotating its base.
Installing the temperature override screw flush with the surface.
Installing the cap for the manual override screw.
Installing the trim for the flow valve.
Applying the new stem to the valve assembly.
Installing the trim for the flow valve, including bearing placement.
Securing the handle by rotating its base to the correct position.
| Number of Handles | 1 |
|---|---|
| Lifetime Limited Warranty | Yes |
| Flow Rate | 1.2 gpm |
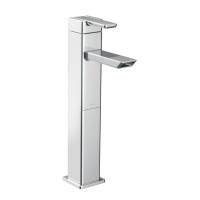
| Finish | Chrome |
| WaterSense Certified | Yes |
| ADA Compliant | Yes |