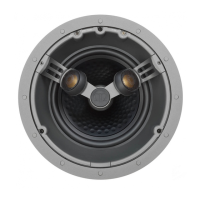
8
Procedure
NOTE: If you are choosing to paint your In-Ceiling loudspeaker, we recommend you do this prior to
installation. We would also recommend using the paint mask for the baffle. Remove the mask after paint has
completely dried. Fit the grille membrane to the inside of the grille after painting.
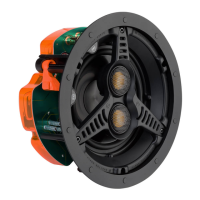
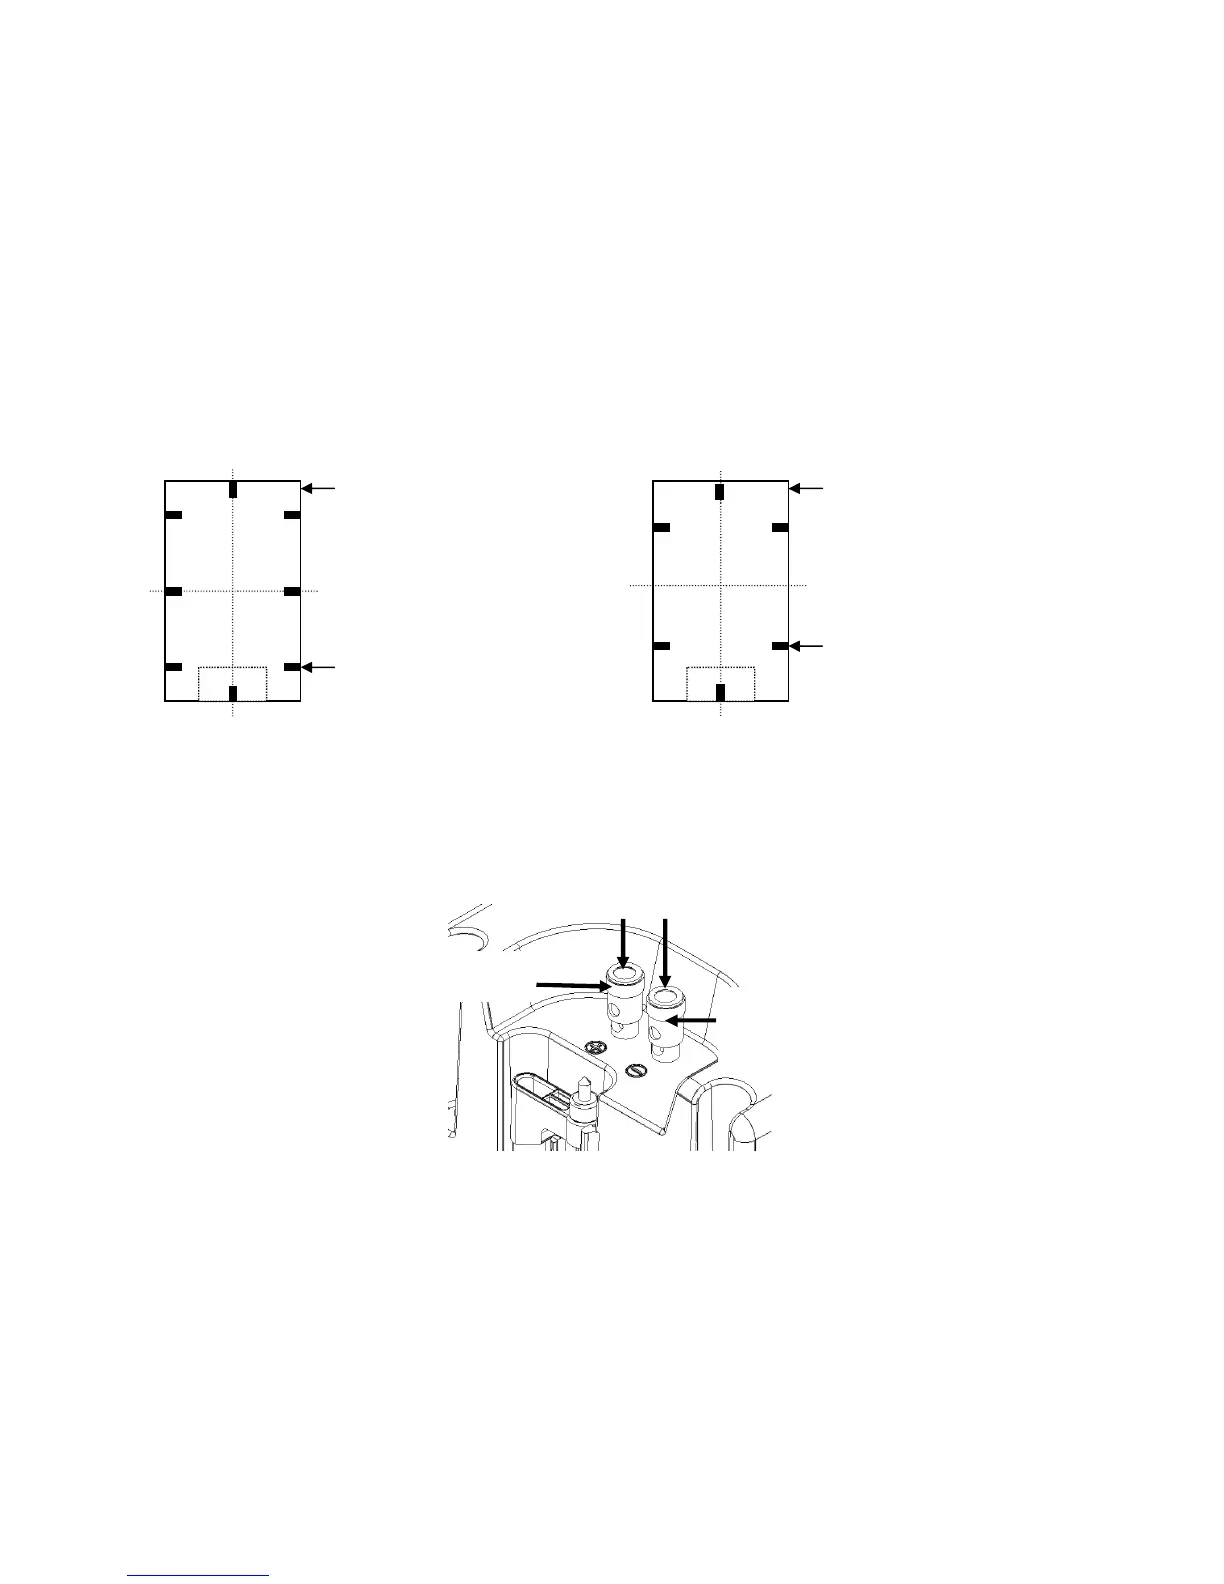
1. Use template to locate position of cut out. Fig 1 for BR, RS & GS In-Ceiling Products and Fig 2 for Radius In-
Ceiling products. The adhesive backing allows for repositioning a number of times.
2. Draw round the perimeter of the cut out –387 x 234mm (15 ¼ x 9
3
/
16
inches ) for BR, RS & GS In-Wall
products, 275 x 172mm (10
13
/
16
x 6 ¾ Inches) for Radius In-Wall
3. Remove template and cut hole.
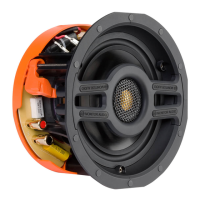
4. Locate speaker cable and connect by pushing the terminals in and releasing to clamp the cables as shown
below Fig 3.
5. Fit back box into prepared hole and tighten fixing clamps. These will move outwards on tightening! DO NOT
OVERTIGHTEN! Once contact is made 2-3 turns are all that is required.
6. TO FINE-TUNE THE SPEAKERS PLEASE REFER TO PAGE 9.
Fig 1
Hole size to be cut
387 x 234mm
(15 ¼ “ x 9
3
/
16
” )