11
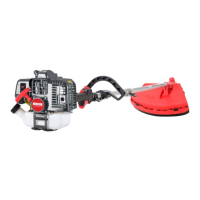
SCYTHING WEEDS. This is cutting by swinging the blade in a level
arc. It can quickly clear areas of field grass and weeds. Scything
should not be used to cut large, tough weeds or woody growths.
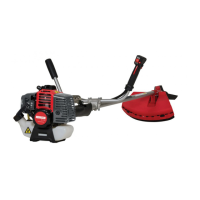
NOTE
Do not use a brush blade to cut trees which exceed a diameter of
1/2 to 3/4 inches.
Scything can be done in both directions, or just in one way which
results in the debris being thrown away from you.
That is using the side of the blade that it is rotating away from you.
Tilt down the blade slightly on this same side .You will be hit by
some debris if you scythe in both directions.
Do not force the blade to cut. Do not change the angle of cut after
into the wood. A void using any pressure or leverage which could
cause the blade to bind or crack.
MAINTAINENCE
BLADE
• Sharpen each cutting edge and make sure the inside corner is
rounded to reduce the risk of cracking.
• Do not quench the blade with water if you are using a grinder
as it may start cracks in the blade.
• The 3 tooth blade may be inverted to
utilise a fresh set of cutting edges.
NYLON CUTTERS
The spools of nylon cord inside these bump-feed cutter heads will
eventually need replacing. While the change can be made with the
cutter head on the machine, it will be more convenient to remove
the cutter head.
CHANGING THE SPOOL
The cutting head consists of the following parts:
• Spool housing
• Spring
• Spool
• “Tap ‘n’ Go” button
• Cover
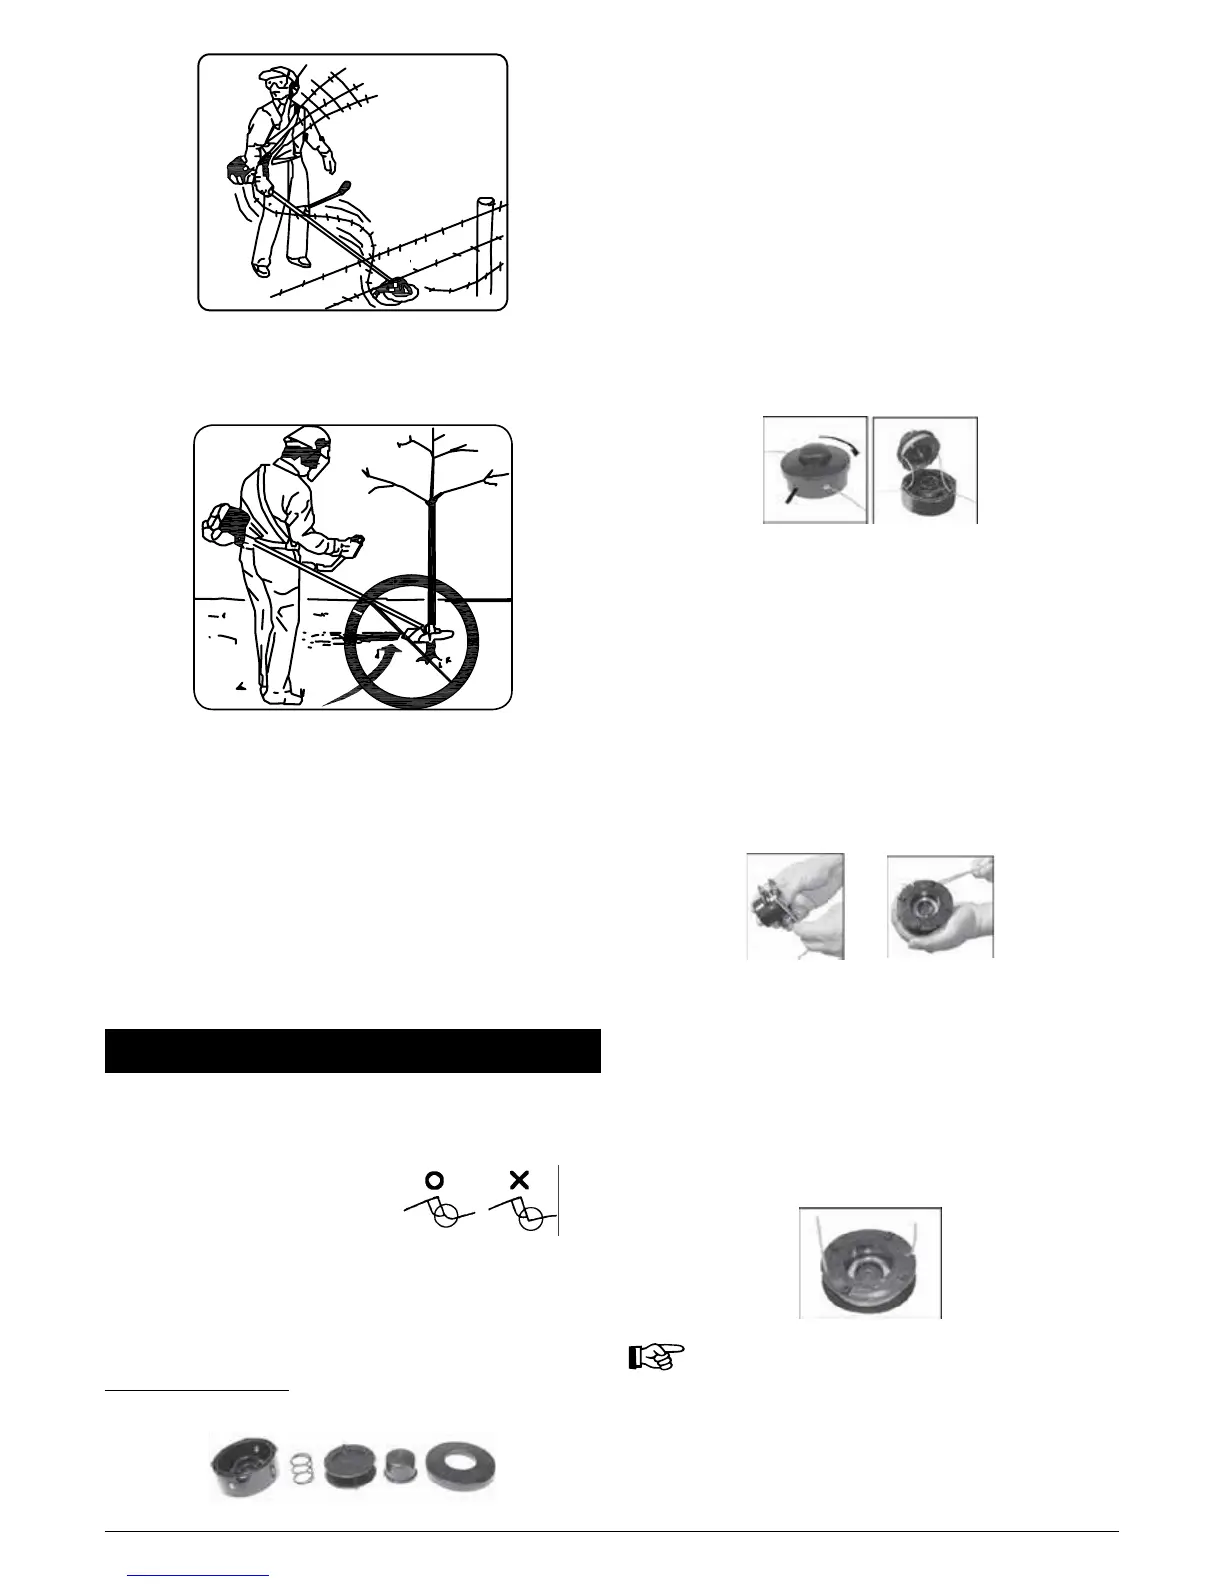
Push the locking latch located laterally on the spool housing (see
picture, action 1).
Push the locking latch located laterally on the spool housing (see
picture, action 1). Then turn the cover clockwise by about 1.5 cm
(see picture, action 2). This will unlock the cover 5 and it can be
removed. Now remove the Tap’n go button 4 a nd then the used-
up spool 3 from the spool housing. Pass the two line ends of the
new spool th rough the eyelets in the spool housing as shown in
the picture . The line ends still stay clamped in the two transpo rt
clamps pf the spool.
Put the line spool in the spool housing. Please turn the spool such
that the clamped line ends are located directly in front of the eyelets
of the spool housing. Make sure that the spring 2 is properly seated
anunder the spool. Now put the Tap’n go button back on the spool.
Then place the cover onto the 4 guiding pins and lock it in place
by turning it anti-clockwise by about 1.5cm. Now vigorously pull
on both line ends at the same time. This will loosen them from the
transport clamps of the spool. The cutting head is now ready for
operation.
You may also coil up the line yourself. If you do so, use the required
line with a diameter of 2.5 mm only.
Use 2 separate lines with a length of about 2.1m each.To Þx the
line ends the spool has 2 eyelets. Put the end of each thread into
an eyelet. Put the line into the eyelet in the direction of the arrow
as shown on the bottom side of the spool. Put each line end in by
about 2cm. Now grab both lines with one hand and concurrently
coil them up in the direction of the arrow.
Finally, fix the line ends by putting each in one of the transport
clamps as shown in the picture. The spool can now be installed.
Proceed as described above to install the spool.
NOTE:
Both nylon cords need to be wound in the same direction
 Loading...