Accessory
Name*
Part Number
Ceiling Tile GX484410-8940
Flexible Duct
Kit
LAY45820-0010
1
1
*Accessories Sold Separately
Accessory
Name*
Part Number
Ceiling Tile
(with 16” hole)
LA146373-8280
1
Condenser Air
Plenum
1
Ceiling Tile
(
with 16” hole)
Flexible Duct
Kit (16” Dia)
Condenser
Air
Plenum
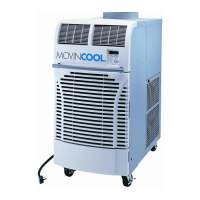
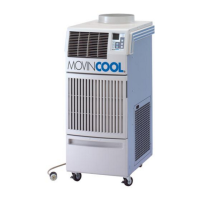
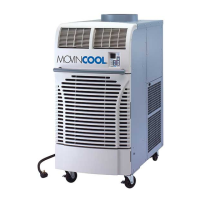
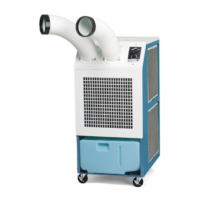
QUICK START GUIDE
Of�ice Pro 36
• Moving the unit:
1 2
3
.
4
NEXT PAGE
Refer to the operaon manual and pay aenon to all the warnings and cauons throughout the manual
Typical Installaon Opons
NOTE: Ensure that the warm air moves away from the ceiling and the heat is dissipated.
If your applicaon does not meet this requirement, then extend the duct to the nearest
exhaust point based on the Maximum Equivalent Length listed in the operaon manual.
NOTE: Refer to the operaon manual for details on choosing the installaon site
A) Roll the unit into the space that needs cooling
Unlock the casters and push the MovinCool unit using the handles to a flat, level
surface and set the casters back to the LOCKED posion.
B) OPTION 1 set up steps
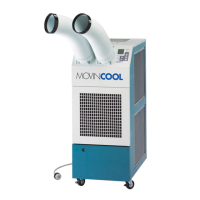
• Warm air flexible duct aachment to the unit:
1) Place the duct over the flange on the top of the unit (see figure below).
1) Slide one end of the flexible duct to the ceiling le flange (see figure below).
2) Secure the flexible duct to the ceiling le flange with the clamp included with the
ceiling le.
2) Secure the duct to the flange with clamp included with the ceiling le (with 16” hole).
• Removal of original ceiling le:
Remove the original selected ceiling le from the ceiling (if the le is 2’ x 4’, then cut
the le into 2’ x 2’ and place one piece back into the ceiling at the end).
• Installaon of the ceiling le with the duct:
Place the ceiling le (with the duct) inside the ceiling.
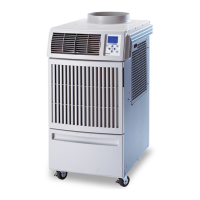
C) OPTION 2 set up steps
• Condenser Air Plenum Installaon:
Ceiling Tile
(with 12” hole)
Self
Supported
Duct (12” Dia)
GX484410-8940
Ceiling Tile
(with 12” hole)
Flexible Duct
Kit (16” Dia)
LAY45820-0010
1
Self Supported
Duct (12” Dia)
481744-0060
1
LAY84270-0020
1
Handle
Unlocked
Locked
Handle
• Warm air flexible duct aachment to the ceiling le:
1) Open the condenser door, remove the filter
and set it aside.
2) Remove the five (5) screws that aach the
filter door hinge to the condenser side panel.
Remove the door hinges from the unit (save the
screws and the filter for later use).
3) Temporarily remove the five screws from the
le side of the rear panel.
4) Turn the latches of the Air Plenum
counterclockwise unl they stop. Place the
Air Plenum over the condenser and align the
hinge/bracket assembly mounng holes with
the respecve holes on the back of the unit.
5) For ease of installaon, turn the latches to the full
clockwise posion. (This will hold the front part of
the Plenum onto the unit). Aach the hinge/bracket
of the Air Plenum to the rear of the unit using the
five screws that were temporarily removed in Step 3.
6) Open the Air Plenum by turning latches counter-
clockwise and install the air filter element (from the
condenser door) onto the Air Plenum (as indicated).
7) Close and secure the Air Plenum to the unit.
NEXT PAGE
Flexible Duct
Kit (16” Dia)
**
-
MovinCool unit is installed and runs using OPTION 1.
-
Door to the room is closed.
-
No other source of air entering the room.
CONDITION TO USE OPTION 2
CONDITION TO USE
OPTION 1
No negave air pressure**
in the room
and the temperature of the infiltrated
air is below the room temperature.
Between
65 °F (18 °C) to 95 °F (35 °C)
Operang temperature Range:
Negave air pressure**
in the room.
Between
65 °F (18 °C) to 95 °F (35 °C)
Operang temperature Range:
Ceiling Tile
(with 16” hole)