IP Address Configuration
NPort Server Pro User’s Manual 3-7
9. A window opens with the question: Activate the new scope now? Click on Yes to
activate.
At this point we explain how to input a unique IP address reserved exclusively for use
by your NPort Server Pro.
10. From the DHCP Manager – (Local) menu bar, click on Scope, and then select Add
Reservations.
11. The Client Properties window that opens contains text input boxes for IP address,
Unique Identifier, Client Name, and Client Comment. First enter the selected IP
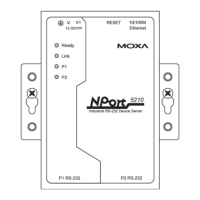
address, and then locate and enter your NPort Server Pro’s MAC address in the Unique
Identifier field. (The MAC address is located on NPort Server Pro’s back panel.)
Be sure to enter the same Client Name that was entered in the Name field of the
Create Scope - (Local) window (see step 8 above). The Client Comment is optional.
At this point you should double-check the MAC address and IP address, and then click
OK to accept the values.