Page: 5
OPERATION
QUICK START
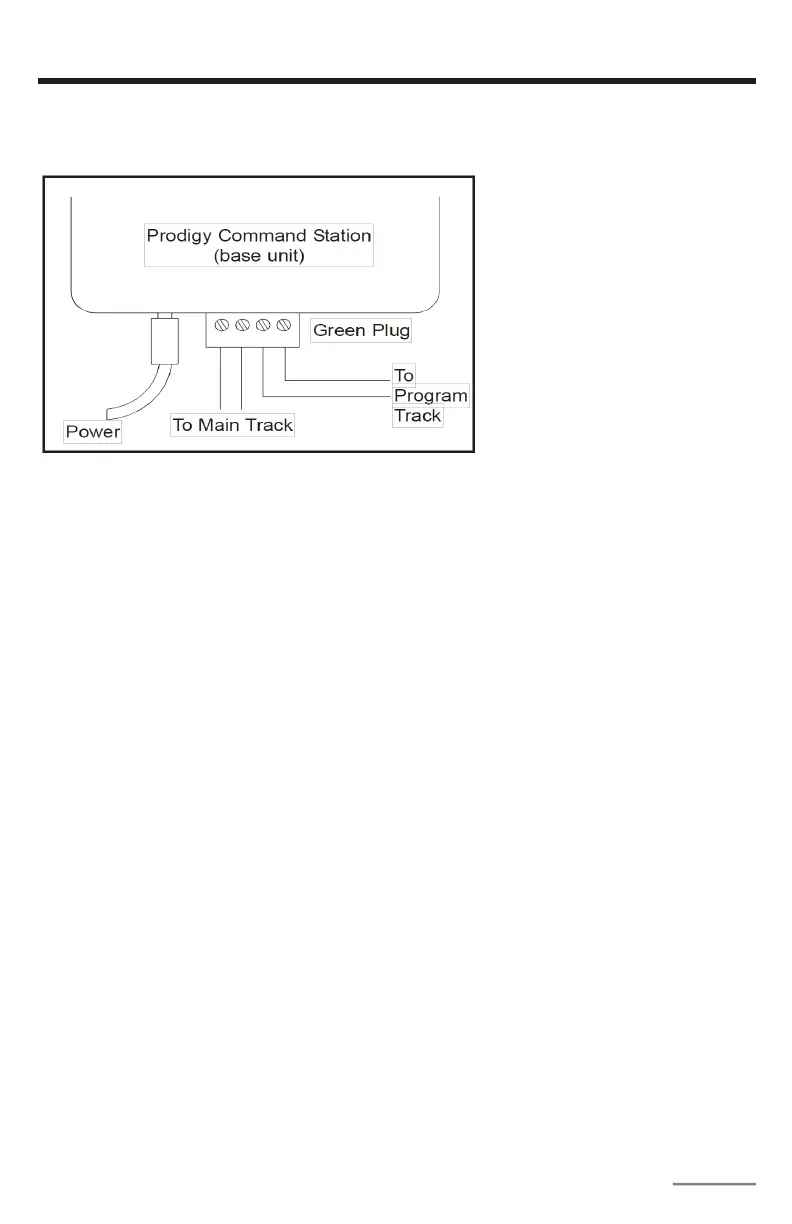
Connecting to Your Layout
Follow the diagram to connect
the Command Station (base unit)
to your layout.
1. Plug the power supply into the
base unit.
2. Plug the AC line cord
(110VAC, 60Hz) into a wall
outlet.
3. Using a small at-bladed
screwdriver, attach two wires
(22 AWG or heavier) from
the Main Track layout to
the terminals marked Main
Track and two wires from
the Program Track to the
terminals marked Program
Track
4. Plug one end of the cable into the Cab/Handheld and the other into a Cab Jack on
the base unit.
NOTE: Do not use the jack labeled “Booster” as this is for future upgrades and power
boosters.
If you have more than one cab, you will need an Extension Plate (Item: 0001501) for your
extra cab. See Adding More Cabs (page 7).
Running a Loco
To run a loco, you have to rst know its address. Most decoders you purchase have the
factory default address #3. If you purchase a decoder equipped loco, its address may be
its road number. Read your decoder and/or loco manual for your decoder address.
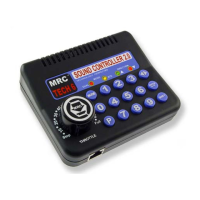
To select a loco, press the LOCO key on your cab. Using the numeric keypad (0 - 9),
enter the loco address. Press ENTER. You have just acquired the loco. The Cab will
automatically remember the loco address for later recall.
Use the DIRECTION key to set the loco’s direction. Use the THROTTLE knob to set the
loco’s speed. The selected loco will begin moving. For increasing or decreasing the loco’s
speed by 1, please tap the +1 or -1 key. Do not hold the -1 key, since this is also the DEL
key and will delete the loco. To toggle the headlight (F0) on or o, press 0.
NOTE: A blinking loco address indicates that another Cab is also controlling that loco.
Cabs are trying to control the same loco simultaneously, the loco may not act as you
expect. One operator will have to relinquish control of the loco by deleting the loco from
his Cab for proper operation.
DO NOT connect the programming track and
the main track. This will damage the unit.