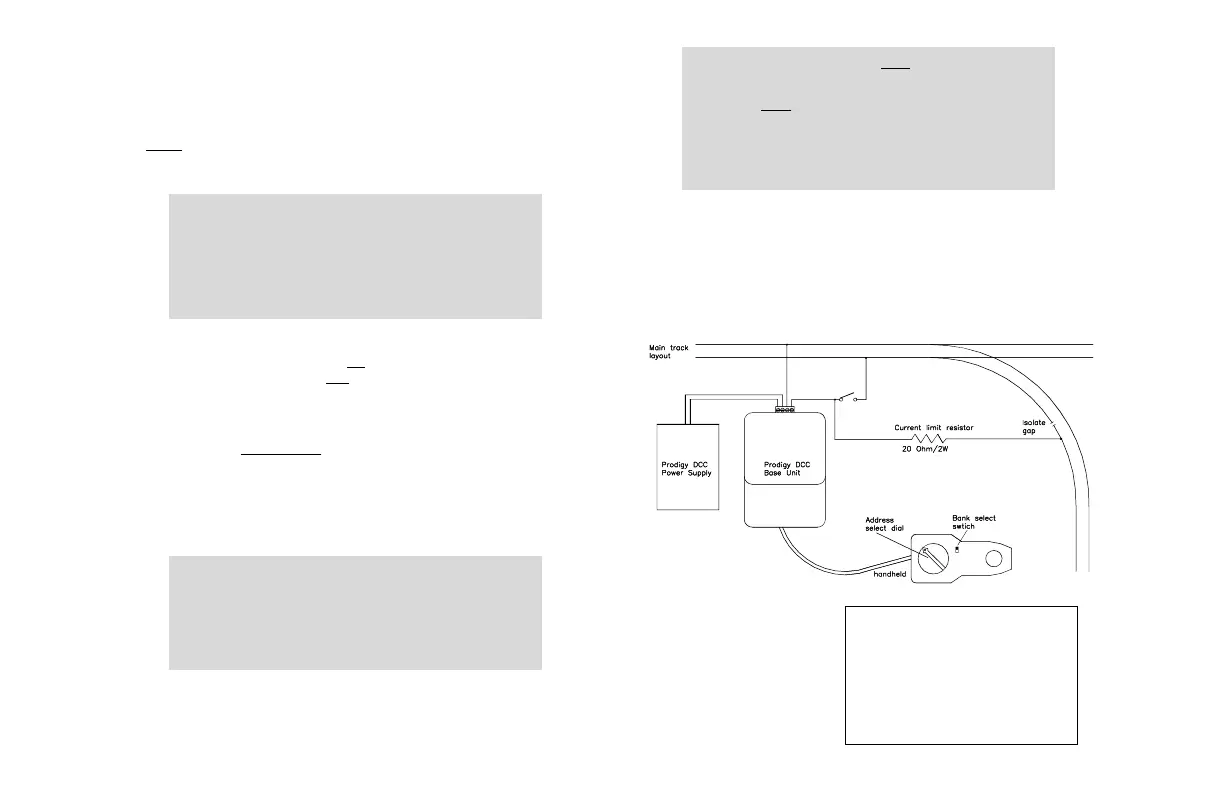
Use this resistor to set up your
program track
For emergency stop, press the Stop button. It will halt all
operations on the layout. The green LED will blink
indicating the emergency stop. To restore operation,
press the
Start button.
When an overload occurs, the unit will stop providing any
power to the rails and the both LEDs (orange and green)
blink. The system will restore the output automatically
once the overload is removed.
Section 3 DECODER PROGRAMMING
Make a Program Track
It is a good practice to make a program track. With the program track
you do not have to remove all locos from the layout in order to program
one loco. You can drive or put a loco onto the program track and switch
off your layout. When you finish programming, switch on the layout and
drive or place the loco back into the layout.
Page 3 MRC PRODIGY
DCC MRC PRODIGY
DCC MRC PRODIGY
DCC MRC PRODIGY
DCC MRC PRODIGY
DCC MRC PRODIGY
DCC Page 4
In case of incorrectly wired
decoder, the 20 ohm resistor
protects it from being
damaged.
Program
track
Section 1 QUICK START
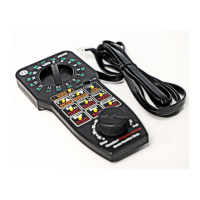
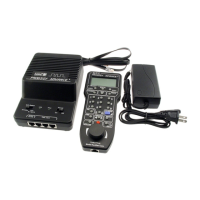
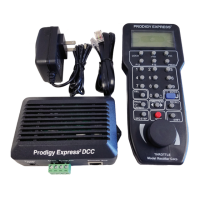
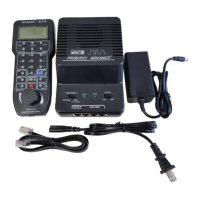
Your PRODIGY DCC package contains a PRODIGY DCC console, a
handheld controller and a power supply. All you need to do is plug the
power supply into the console and connect your layout (track) to the
base unit.
NOTE: If you use a conventional CAB Control/Isolated block system, you
should activate all block switches and disconnect your conventional
Power Pack.
Each handheld has simplified QUICK START instruc-
tions on the reverse side. You should be able to use
it to operate most aspects of the system without any
further reading of the manual. However, we recom-
mend you read all instructions to get the most
enjoyment and to learn about all of the features
offered in the PRODIGY DCC system.
Section 2 RUN OPERATION
1. Switch the power switch to the
On position and select run mode by
placing the mode switch to
Run position.
2. Place a standard loco and loco #3 on your track and plug the
handheld into any one of the 4 jacks.
3. To operate loco #3, turn the address selector dial to #3 and position
the address bank selector switch to 1-16. Acquire the loco by press-
ing the desired direction button. You have now acquired the loco.
Once you acquire the loco, you can adjust its speed by turning the
throttle and change its direction by pushing the direction buttons. You
can also operate its headlight on and off by pressing the light button.
If your decoder has an accessory function #1, you can turn on or turn
off the function by pressing F1.
To acquire a locomotive;
a. Select your desired address.
b. If the current throttle setting is what you desire, press any
button to acquire the address. If not, acquire the address by
turning the throttle knob quickly to your desired setting.
Note: If you turn the throttle too slowly, you will fail to acquire
the new address and you still control the last loco.
4. To operate the standard loco, select and acquire address #1 in the
same manner as above. You should be able to operate it at the
same time loco #3 is moving.
You have just operated 2 locos with your new DCC system. It’s that easy.