Page 8
Operating Instructions
mrcool.com
Range
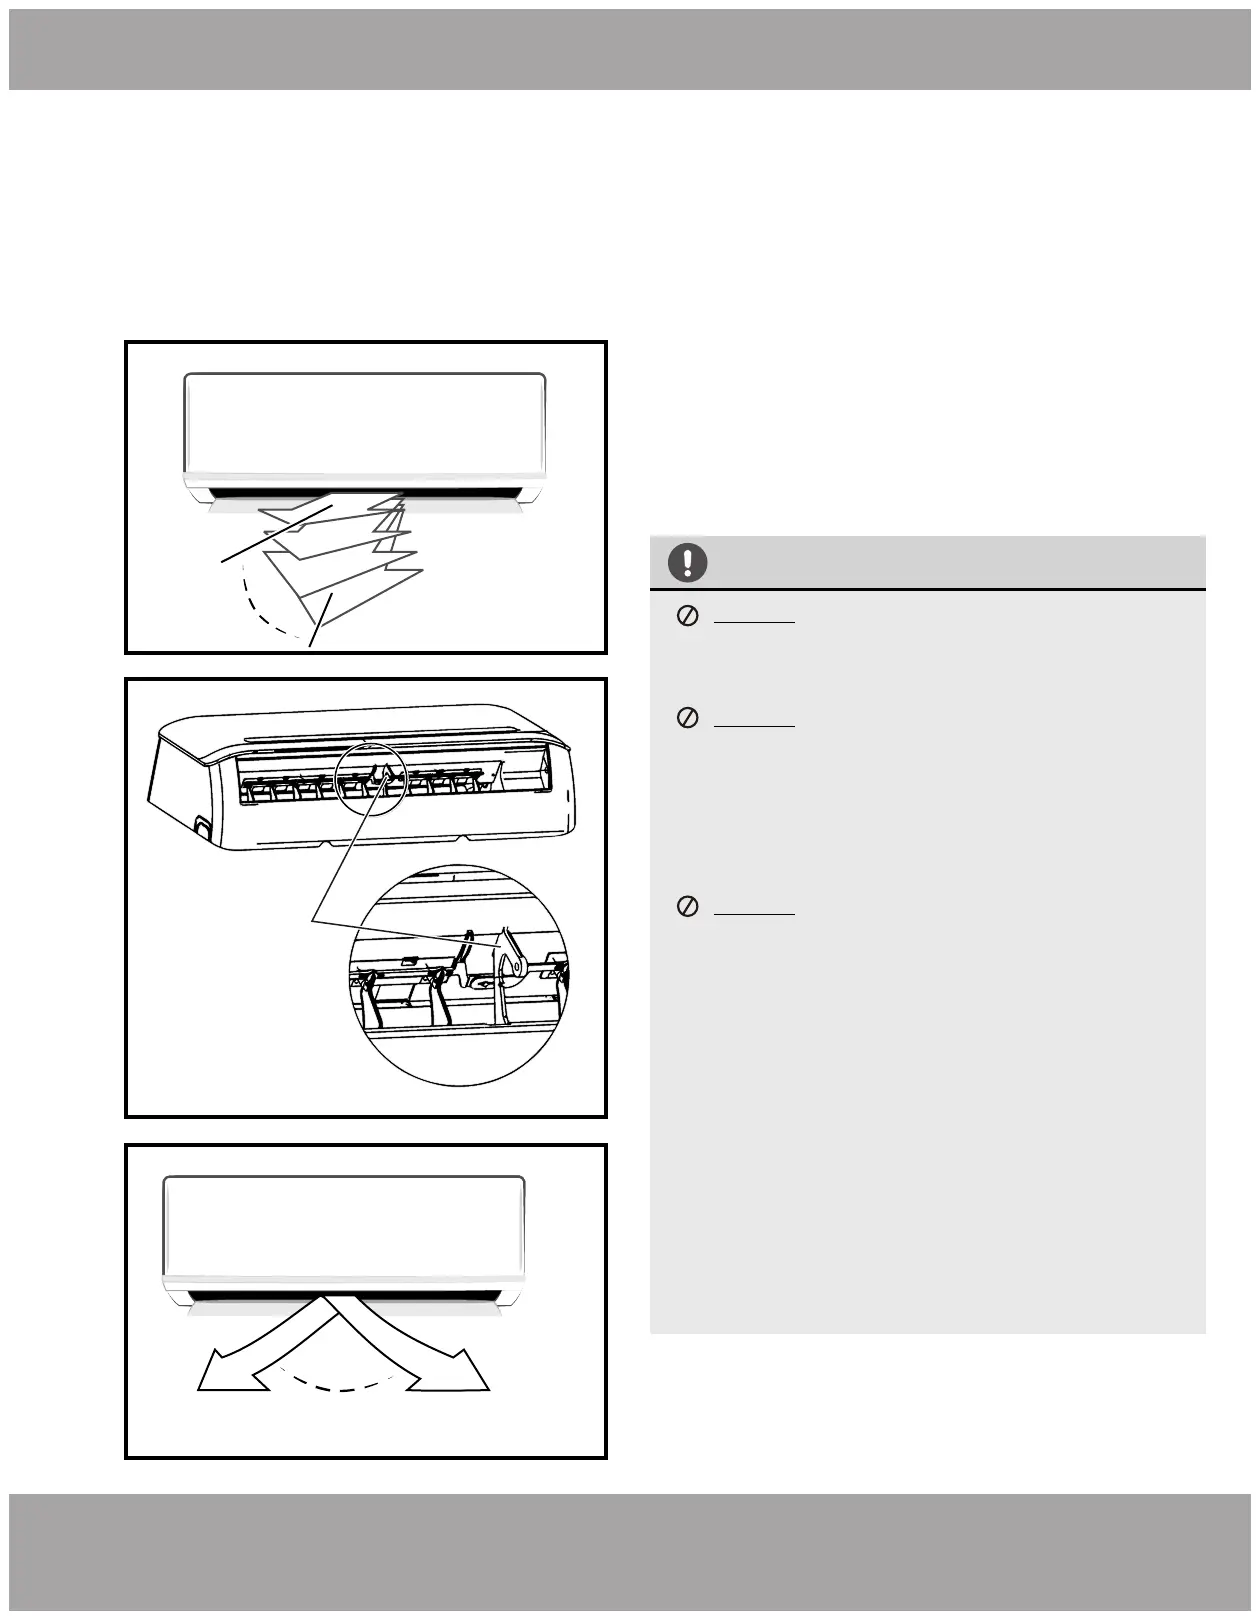
fig 2.4
fig 2.3
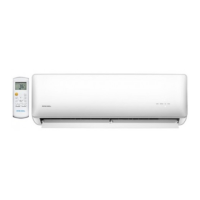
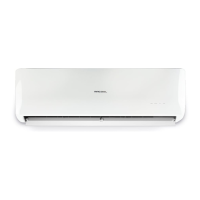
Deflector Rod
Range
fig 2.2
CAUTION
DO NOT Do not put your fingers into the
panel of the blower and suction side. The high
speed fan inside may cause injury.
DO NOT operate the unit for long periods of
time with the airflow direction set downward
in cooling or dehumidifying mode. Otherwise,
condensation might occur on the surface of
the horizontal louver causing moisture to drop
on to the floor or furnishings .
DO NOT move the horizontal louver manually.
Otherwise, the horizontal louver will be out of
sync. IF this happens, cease operation, turn
off power to the unit, remove the wireless
module from the front cover, turn off power to
the circuit (at the breaker), wait for a few
seconds and turn power back on at the break-
er, reinstall wireless module and power the
unit back on.
After a quick restart, the horizontal louver may
remain static for approximately 10 seconds.
Open angle of the horizontal louver should not
be set too small, as it will restrict airflow and
reduce COOLING and HEATING performance.
1.
2.
Adjust Vertical (Up / Down) Air Flow using
Horizontal Louver (fig2.2):
Perform this function while the unit is in operation. Use
the remote control to adjust the Horizontal Louver /
Vertical Air Flow direction. The horizontal louver can
move in small increments for each press, or
continuously swing up an ddown automatically. Please
refer to the “REMOTE CONTROL USER MANUAL” for
details.
Adjust Horizontal (Left/ Right) Airflow using Vertical
Louver (fig 2.3, fig 2.4):
Move the Deflector Rod manually to adjust the air flow
side to side (left / right) as desired.
Airflow Directional Control
·
Adjust the airflow direction properly.
Otherwise, it might cause discomfort or uneven
room temperatures.
· Adjust the horizontal louver using the remote.
· Adjust the vertical louver manually.
 Loading...