Maintenance and Cleaning
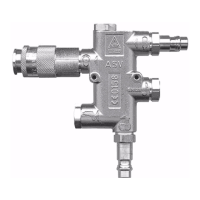
ASV without warning device
16
GB
Assembly of Piston Components in the Housing
(1) Carefully insert piston into the housing.
(2) Check piston for easy motion: with a suitable tool (e.g. screw driver) gently
push piston into housing until it strikes.
After release, the spring must push back the piston to starting position.
(3) Check the O-ring of the long nipple for the compressed air line. Replace if nec-
essary.
(4) Tighten long nipple for the compressed air line with a torque of 12 Nm.
Reverse Valve
(1) Insert reverse valve with O-ring in the housing.
(2) Assemble spring and valve guide on valve shaft. Check for straight assembly.
(3) Check O-ring of the locking screw. Replace if necessary.
(4) Tighten locking screw with a torque of 12 Nm.
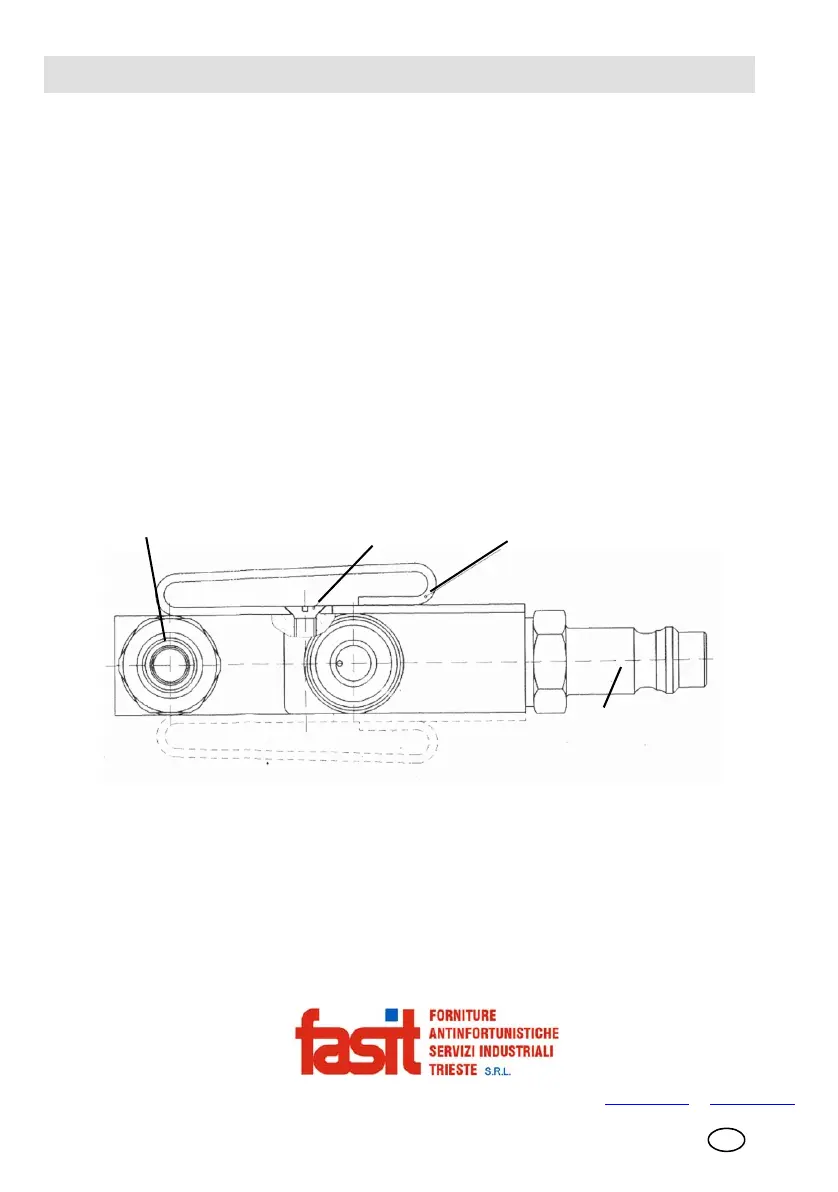
Fig. 4 Overview
When the components have been assembled, the switching points ( chapter 4.3)
must be tested. If the switching points measured do not match the values required,
testing must be repeated after having switched the piston several times (inlet).
1 SCBA (short plug nipple) 3 Carrying plate
2 Screw carrying plate 4 SCBA feeding line (long plug nipple)
FASIT Srl - Via Orsera 13/b - 34145 TRIESTE - ITALY - Tel +39 040 825604 - www.fasit.it - info@fasit.it