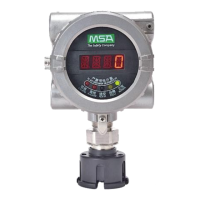
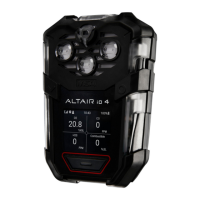
[M-06] ——LED testing
LED testing. All segments of the nixie tube display and the LED flickers.
(1) Press “+” to select menu item M-06.
(2) Press “ON” , and then the screen flickers to display “OFF” .
(3) Press “+” , and then all the segments of the nixie tube with the LED diodes are
lighted.
(4) Press “OFF” to exit menu item M-06.
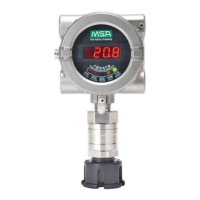
[M-07] ——Loop testing
This menu can be used to conduct (4~20) mA loop testing.
(1) Press “+” to select menu item M-07.
(2) Press “ON” and the screen will display 04, which means that the initial current is 4
mA.
(3) Press “ON” again, and 04 starts to flicker. This means that the device has enter
loop testing mode, and the output current of the loop is 4 mA.
(4) Press “+” or “-” to change data. At this time, both the flicker value and the output
current will also change.
(5) Press “OFF” to exit the loop testing status and return to upper menu M-07.
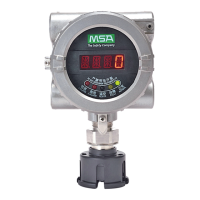
[M-09] ——Sensor information display
This menu is used to display information related to the sensor, through which the
sensor working status can be determined preliminarily.
(1) Press “+” to select the menu item M-09.
(2) Press “ON” and the scroll display will show “parameter name = parameter value.”
Press “+” or “-” to select the parameter you want to see (TEMP=..., CURRENT=...,
S+=...).