13
3103-1001 Rev. 0
3. System Start-up / Set-up
3.1 Power-Up Sequence
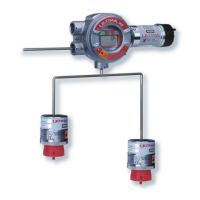
Remove pump tie down. Activate the pump circuit breaker and then activate the system circuit
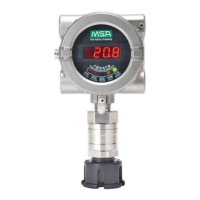
breaker. Refer to Figure 3.1 for location of components referred to in this section.
Observe the following sequence:
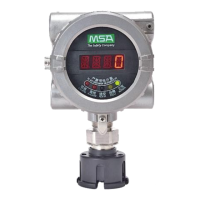
1. Power indicator on controller power supply turns on.
2. Pump turns on.
3. Display turns on.
4. Processor “OK” LED will remain red for a few seconds. The controller will perform a series of
internal checks. During this time the controller LED’s will flash on and off. Once the system checks
have been completed, the “OK”, “I/O”, “LINK 1” and “RUN” LED’s will become green. “LINK 2”
will flash steadily green.
5. Approximately 45 seconds into start-up, the unit will begin to sequence and flow should be
observed on the flow meter.
3.2 Flow Adjustment
Use the system control screen to place the unit in manual mode (see section 4.1.6). Step the system
to the line with longest length of tubing or least amount of flow as observed on the flowmeter.
Adjust the flow meter valve for nominal sensor/analyzer flow (refer to Section 1 for the appropriate
value for your specific system). This flow rate is dependent on the sensor(s) installed in the unit.
Reset the unit to auto-sequencing mode.
All calibration gases should be equipped with a dual stage pressure regulator. Connect the gas to
the appropriate calibration port. Refer to Section 1 for the type of gas and port assignment for your
specific system. Use the Manual Calibration display screen (see section 4.1.5) to activate the
calibration port being adjusted. Adjust the pressure regulator to obtain the required flow as viewed
on the flowmeter (approximately 2 PSI). DO NOT adjust the valve on the flowmeter at this point.
Repeat this procedure for the other calibration gases used by the system.