5
MSI Reminds You...
Overheating
Overheating will seriously damage the CPU and system, always make sure the cooling fan can
work properly to protect the CPU from overheating.
Replacing the CPU
While replacing the CPU, always turn off the ATX power supply or unplug the power supply’s
power cord from grounded outlet first to ensure the safety of CPU.
LGA775 CPU & Cooler Installation (The CPU Clip is optional)
When you are installing the CPU, make sure the CPU has a cooler attached on the top to prevent
overheating. If you do not have the cooler, contact your dealer to purchase and install them
before turning on the computer. Meanwhile, do not forget to apply some silicon heat transfer
compound on CPU before installing the cooler for better heat dispersion.
Follow the steps below to install the CPU & cooler correctly. Wrong installation will cause the
damage to your CPU & mainboard.
1. The CPU has a land side cover on the bottom to protect the CPU contact from damage.
Rotate it to make the pin 1 indicator (yellow triangle) in the left-bottom
corner. The availability of it depends on the CPU packing.
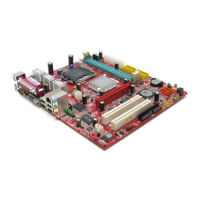
2. Take out the accompanying CPU Clip (shown in the right) and rotate it
for the same direction as the CPU (Pin 1 indicator is in the left-bottom
corner).
3. Use 2 hands to remove the land side cover (if any). Please note not to touch the pins.
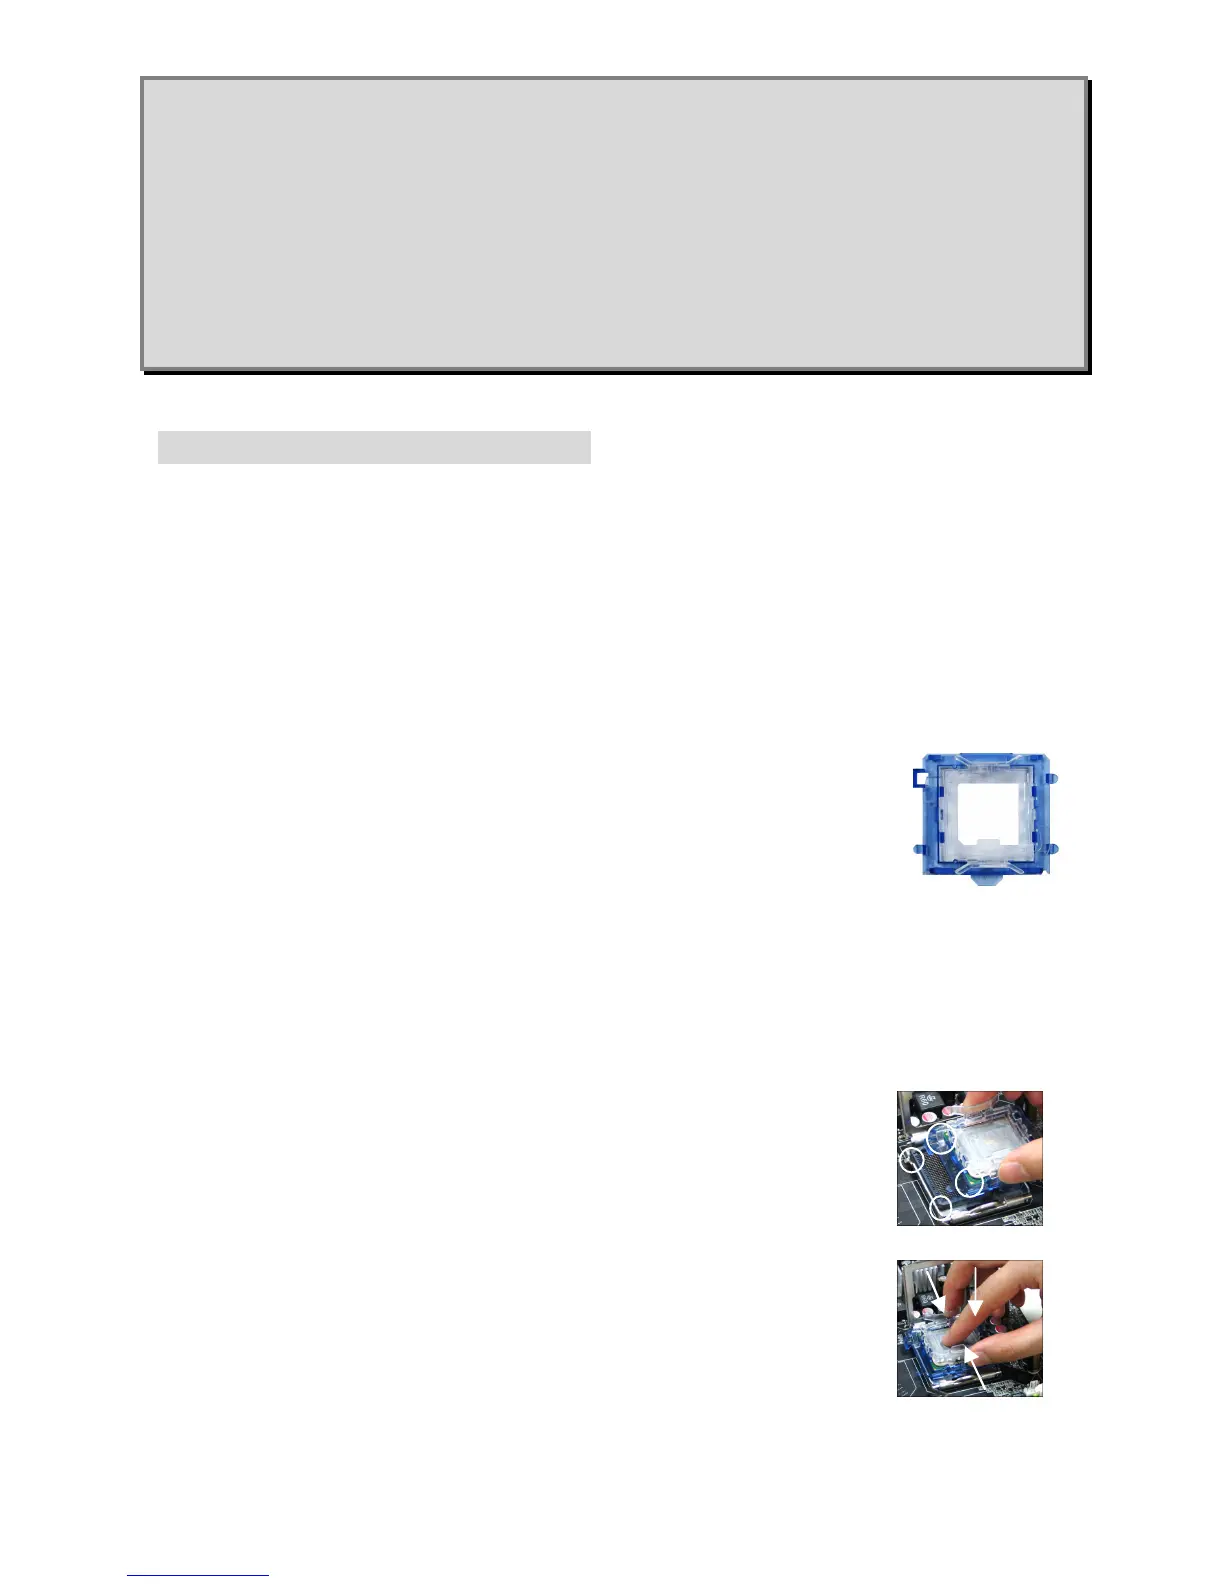
4. Align the two pin 1 indicators (the triangles on the CPU & the CPU Clip), and use the CPU
Clip to clip the CPU up, pressing the clips on both sides to the center, as the arrows
shown.
5. The CPU has a plastic cap on it to protect the contact from damage. Before you have
installed the CPU, always cover it to protect the socket pin.
6. Remove the cap from lever hinge side. The pins of socket reveal.
7. Lift the load lever up and open the load plate.
8. Correctly align the triangle of CPU Clip with the CPU chamfer, and
the square on the CPU Clip to the hook of the socket.
9. Use your thumb and the middle fingers to push the clips to release
the CPU, then press down the CPU with your index finger to allow
the whole module to be installed onto the CPU socket.
10. The CPU is installed well on the CPU socket.
11. Visually inspect if the CPU is seated well into the socket, then
remove the CPU Clip with 2 fingers. Then cover the load plate onto
the package.
 Loading...