2-4
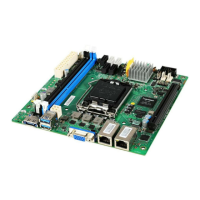
Hardware Setup MS-S0891
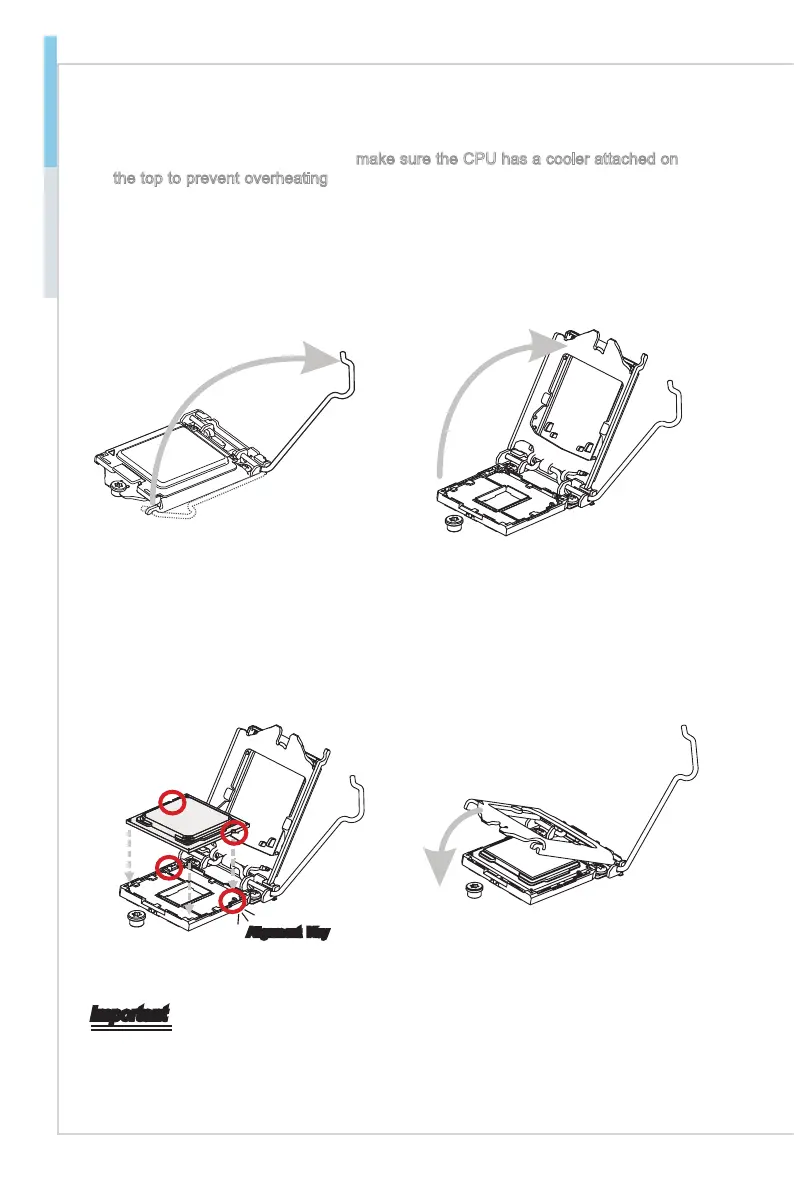
CPU Installation
When you are installing the CPU, make sure the CPU has a cooler attached on
the top to prevent overheating. Meanwhile, do not forget to apply some thermal
paste on CPU before installing the heat sink/cooler fan for better heat disper-
sion.
Open the load lever and remove the
plastic cap.
1.
Lift the load lever up to fully open
position.
2.
After conrming the CPU direction for
correct mating, put down the CPU in
the socket housing frame. Be sure to
grasp on the edge of the CPU base.
Note that the alignment keys are
matched.
3. Engage the load lever while pressing
down lightly onto the load plate.
4.
Alignment Key
Important
Visually inspect if the CPU is seated well into the socket. If not, take out the CPU with
pure vertical motion and reinstall.
Secure the load lever with the hook
under the retention tab.
5. Make sure the four hooks are in proper
position before you install the cooler.
Align the holes on the motherboard
with the cooler. Push down the cooler
until its four clips get wedged into the
holes of the motherboard.
6.
Press the four hooks down to fasten
the cooler. Turn over the motherboard
to conrm that the clip-ends are
correctly inserted.
7. Finally, attach the CPU Fan cable
to the CPU fan connector on the
motherboard.
8.
Important
Conrm if your CPU cooler is rmly installed before turning on your system.
Do not touch the CPU socket pins to avoid damage.
Whenever CPU is not installed, always protect your CPU socket pins with the plastic
cap covered.
Please refer to the documentation in the CPU cooler package for more details about
the CPU cooler installation.
Read the CPU status in BIOS.
•
•
•
•
•