25
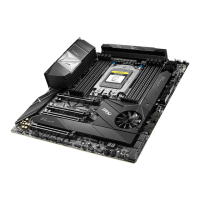
Overview of Components
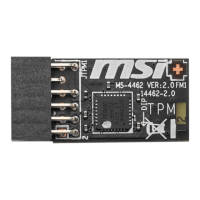
Installing M.2 XPANDER-Z Gen4 card
To install the M.2 XPANDER-Z card, please follows the steps below.
1. Remove the heatsink by loosening four screws on the back of the M.2 XPANDER-Z
card.
2. Loosen M.2 screw from M.2 standoff.
3. Loosen M.2 standoff.
4. Move and fasten M.2 standoff to the appropriate location for your M.2 SSD.
5. Insert your M.2 SSD into the M.2 slot at a 30-degree angle.
6. Secure the M.2 device in place with M.2 screw.
30º30º
5
4
6
8 8
8 8
Screw
Standoff
7. Remove the protective film from the thermal pad of the heatsink.
8. Reinstall and secure the heatsink with four heatsink screws.
7
*The speeds may vary for different
devices
1 1
1 1

 Loading...