3-3
Wind Box Series
Creating System Recovery Disc
For the rst-time use, it is highly recommended that you create a system recovery
disc as the backup solution in the event of a catastrophic disk failure or other ac-
cidents. Before moving forward, please make sure your system booting setup is
complete and go over the following procedures to get it done.
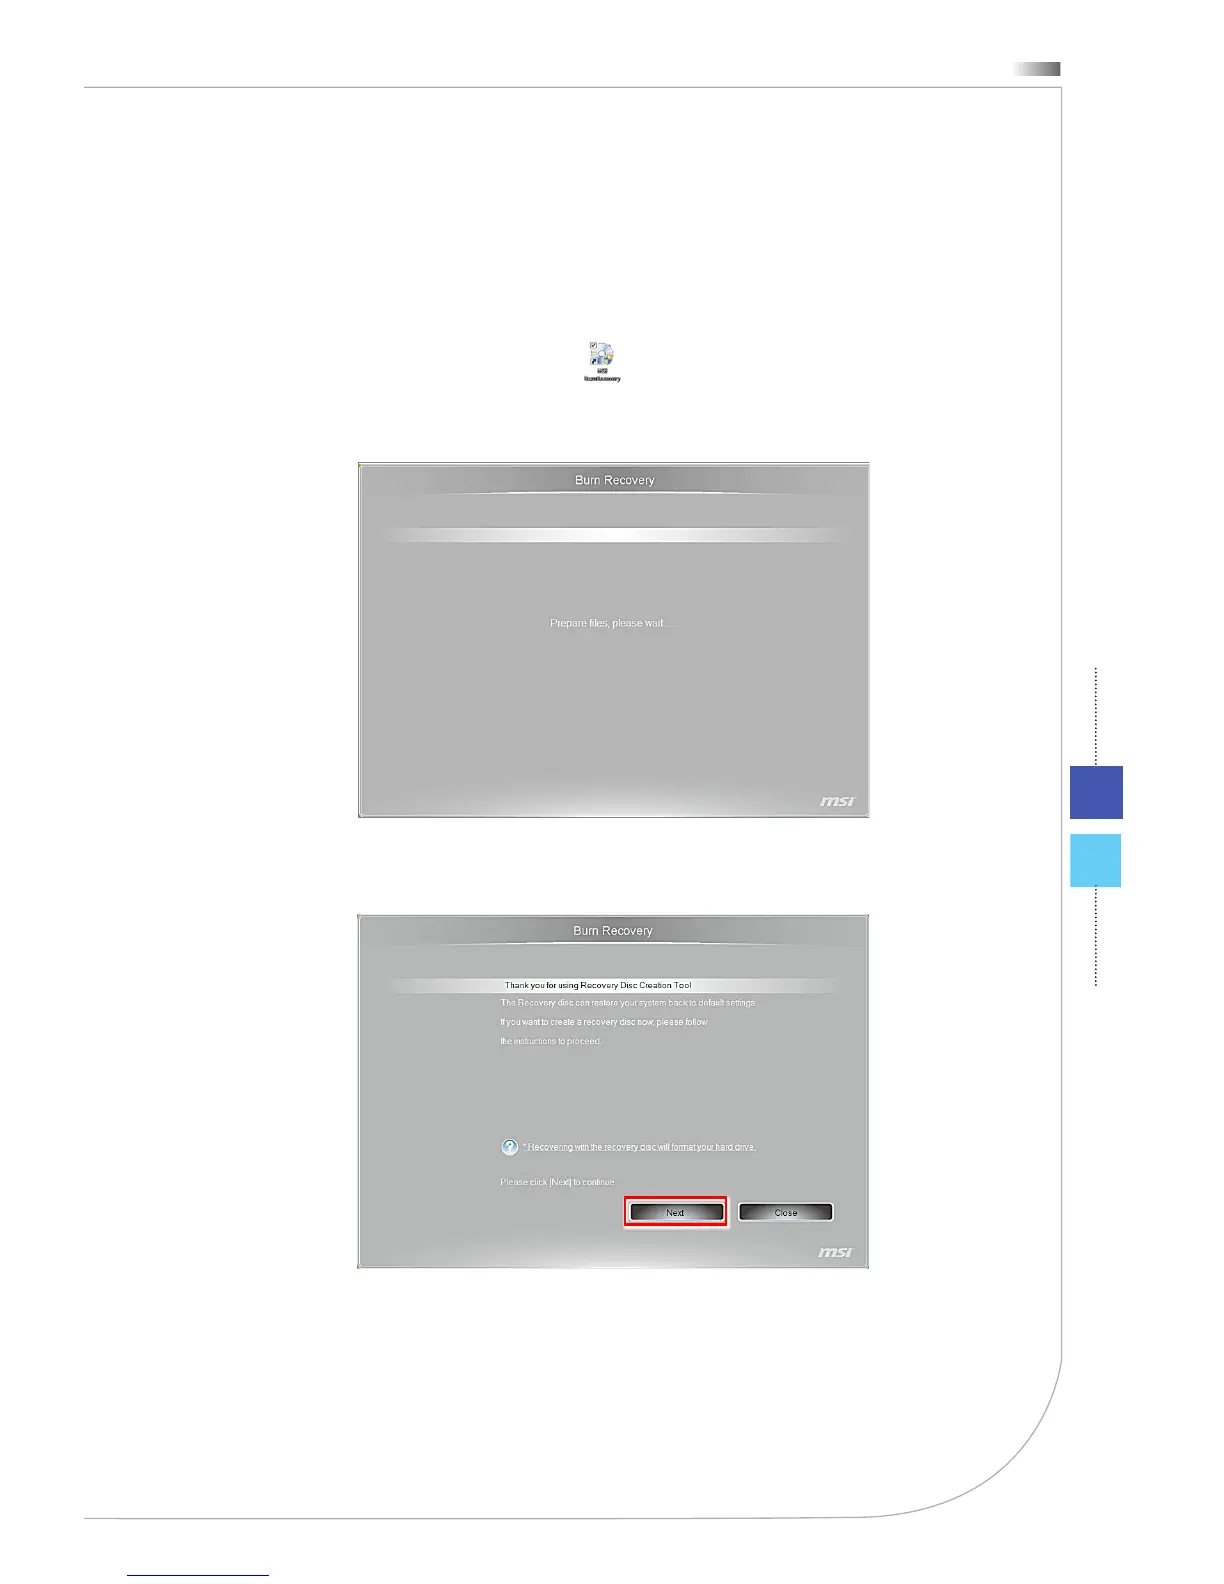
1. Double-click the “BurnRecovery” icon on the desktop to launch the
Recovery Disc Creation Tool. Please note that it may take a while for the
operating system to prepare recovery les.
2. Click [Next] to start the image creation of the recovery disc.
System Booting Setup for the rst
time
For the rst-time use, you will need to go over the following steps to start using
your Wind Box Series. The entire booting setup will take you around 30 min-
utes.
1. Windows setup starts running. Please wait until Windows setup nishes the
progress loading.
2. Select the language of the operating system and click [Next] to continue.
3. Choose the “Country or region”, “Time and currency”, and “Keyboard layout”
you need. Click [Next] to continue.
4. Choose a user name for your account and name your computer to distin-
guish it on the network. Click [Next] to continue.
5. Set a password for your account to protect your user account from unwanted
users. (Leave this eld blank if no need for password.) Click [Next] to con-
tinue.
6. Please read the license terms. Check the “I accept the license terms” box
and click [Next] to continue.
7. Select [Use recommended settings] for “Help protect your computer and
improve Windows automatically.”
8. Review your time and date settings. Click [Next] to continue.
9. Please choose a wireless network you intend to join from the provided
WLAN list. Click [Next] to continue. You may also click [Skip] to skip this step
and set up the WLAN later.
10. (Optional) Followingly comes the anti-virus software screen. Click [Agree]
to accept the license agreement terms and activate the anti-virus software.
Alternatively, choose [Stay Unprotected] and click [Next] to proceed without
activating the anti-virus software.
11. The “Software Installation Menu” pops up. Click [Install] to continue.
12. The software is being installed. Please do not turn o the computer when
software installation is running. When the progress bar completes loading,
click [Finish] to continue.
13. The system enters the Windows 7 OS to start its personalized settings. Get
ready to explore your Wind Box Series after the personalized settings are
done. Have fun with it!