Do you have a question about the MTX RFL152 and is the answer not in the manual?
Loosen keps nuts holding terminals to the basket and remove terminals.
Use hex key to remove screws holding the spider ring to the basket.
Use hex key to remove screws holding the gasket to the basket.
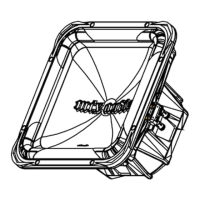
Carefully remove the cone assembly from the woofer, protecting the magnetic gap.
Inspect the magnetic gap for any particles that could interfere with the voice coil.
Insert the new cone assembly, align tinsel leads and spider ring holes.
Tighten spider ring screws evenly to secure the assembly to the basket.
Replace the gasket and tighten screws evenly to compress the surround.
Ensure the voice coil moves freely after reassembly; check for interference.
Reinstall terminals, terminal bases, and keps nuts using the wrench.
Apply an even bead of glue on the back side of the dust cap for attachment.
Place and align the dust cap on the cone body, pressing down to spread glue.
Allow the glue to dry for a minimum of 1 hour before use.
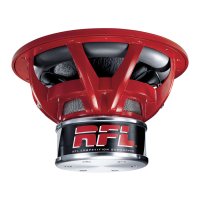
| Type | Subwoofer |
|---|---|
| Sensitivity | 86.24dB |
| Size | 15 inch |
| Voice Coil | 3" |
| Power Handling (RMS) | 1000 Watts |
| Power Handling (Peak) | 3000 Watts |
| Impedance | 2 Ohm |
| Frequency Response | 27 - 500 Hz |