20
IHL_UDARA_2016_11_04_BEGB
5.1 Switching the appliance on and off
Normally, the appliance must always be supplied with
power through the mains power supply. You can follow
the following steps to switch the appliance on and off
during installation or maintenance.
5.1.1 Switching on
Follow the following steps to switch on the appliance:
• Switch on the mains power supply.
• Open the gas valve.
• Set the room thermostat to the required value.
• After a short waiting time, the appliance will ignite.
If the lock-out symbol is displayed on the appliance
screen or an error message is displayed on the RC21
thermostat, you must unlock the appliance by pressing
the reset button. You can also unlock the appliance
through the RC21.
You must thoroughly vent the gas pipe before
starting the appliance with regard to a new installation.
A poorly vented gas pipe can mean that the appliance
will be in the error mode.
If the appliance does not ignite after repeated attempts
and unlocking instances, consult the section about
faults and failures or contact the manufacturer or
installer.
5.1.2 Switching off
Follow the following steps to switch the appliance off:
• Set the room thermostat 5°C lower than the room
temperature.
• Wait until the burner has switched off (the fl ame
symbol will no longer be displayed on the screen).
• Close the gas valve.
• Wait until the appliance has fully cooled down
(discharge air temperature < 30°C).
• Switch off the mains power supply.
5.2 Regulating the combustion
The combustion of the Udara has been set ex-factory
and does not have to be changed normally.
If, however, the burner management control system or
the gas control block have been replaced, for example,
after a fault, the calibration procedure must again be
performed.
The simplest way in which to do this is through manual
calibration using an RC21 thermostat. Having a device
with which you can also measure the NOx (nitrogen
oxide) content in the fl ue gases is recommended to
ensure the procedure is performed correctly.
Enter the installer password to start the procedure;
see the “Technical menu” page of the RC21. This
password is issued when you follow training at
Multicalor.
Next, select the “Calibration, manual complete” option.
The appliance will attempt to start a few times until
there is fl ame detection. When there is fl ame
detection, the correct quantity of gas will be calculated
5 Commissioning
to achieve the best possible start behaviour. This value
is stored in the burner management control system
and cannot be changed by the installer. Next, the
heater will start to burn at maximum power
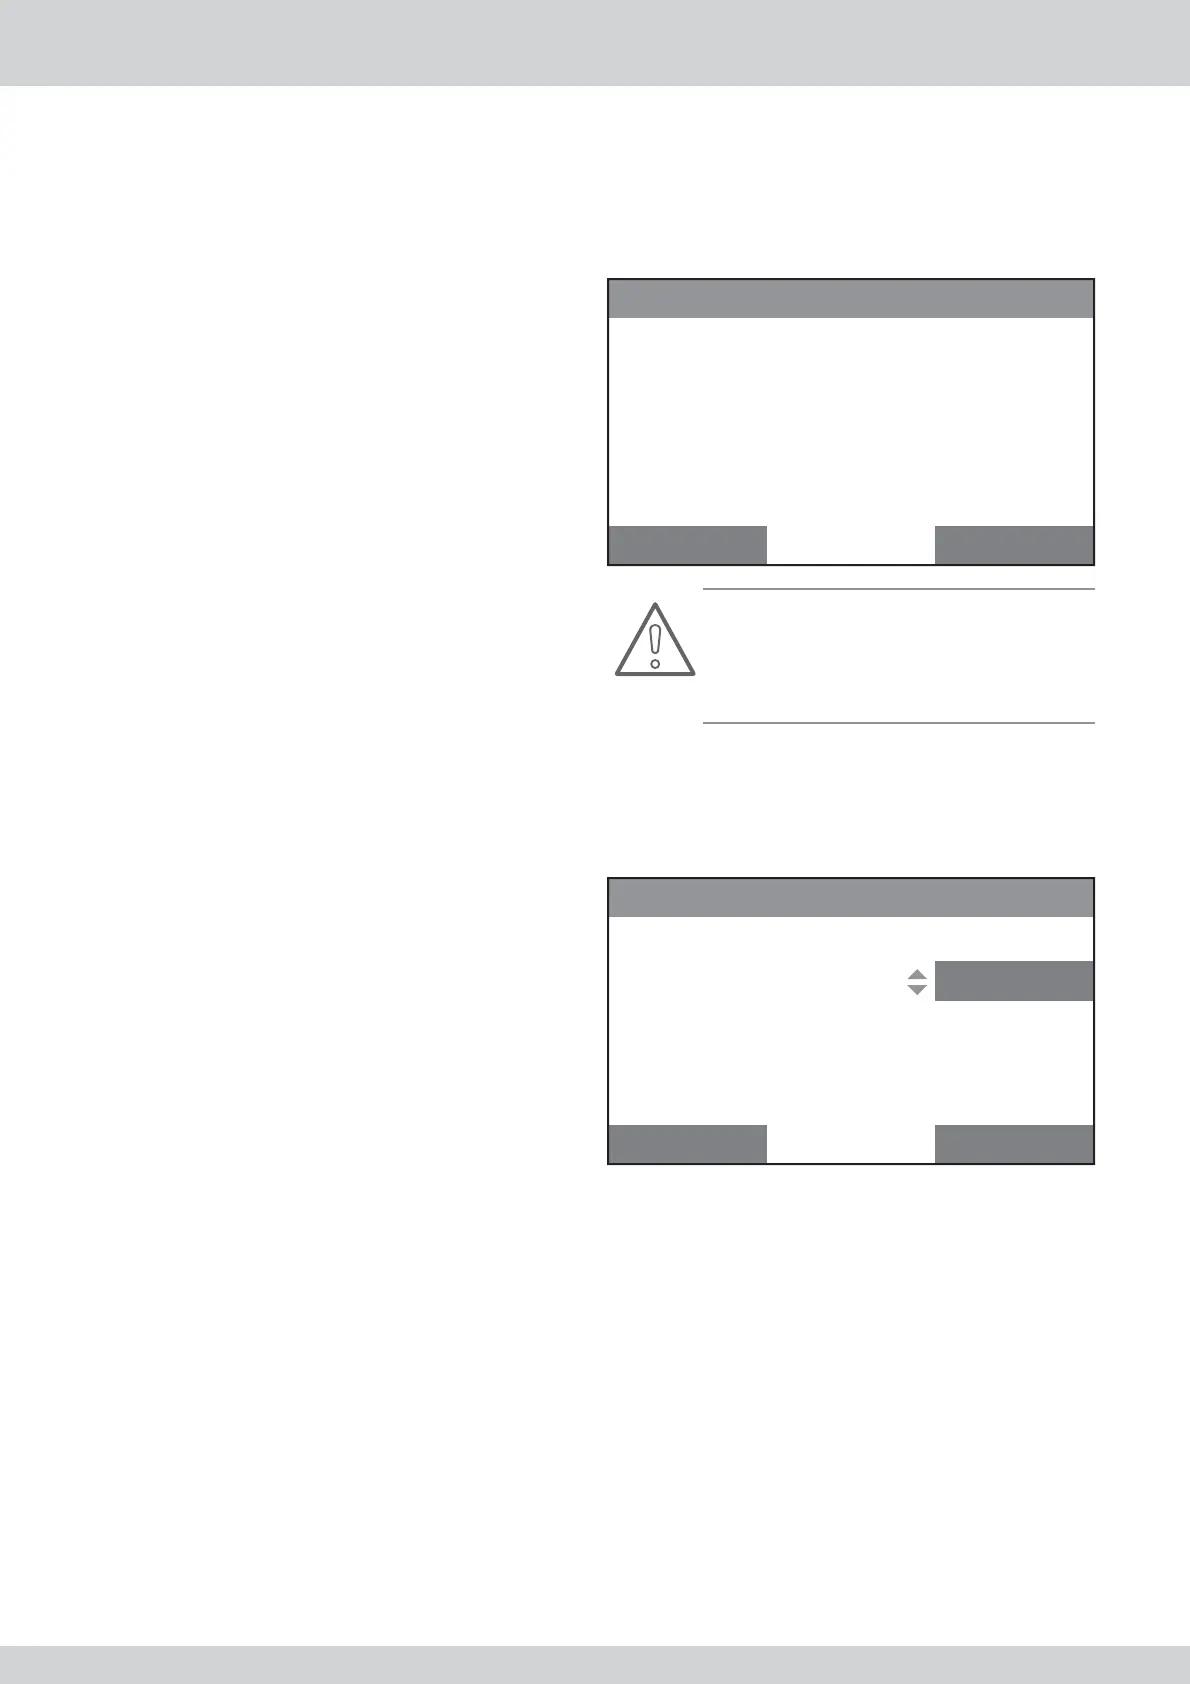
The following will be displayed on the screen:
Boiler calibration
Phase of procedure:
Combustion set:
Power level:
Boiler temp:
Error:
max...
50
100%
75°C
none
Cancel Confirm
Attention!
Ensure that suffi cient vents have been opened so
that the appliance can get rid of its power. If you do
not do so, the overheat control will be activated and
the calibration will be interrupted.
If the fl ame signal is stable, “Max ok” will be displayed
on the screen. Next, you can change the CO2 in the
combustion gases by changing the “Combustion set”
value. If you increase the value, you decrease the
CO2. If you decrease the value, you increase the CO2.
Boiler calibration
Phase of procedure:
Combustion set:
Power level:
Boiler temp:
Error:
max ok
50
100%
75°C
none
Cancel Confirm
If you, next, confi rm the setting by pressing “Confi rm”,
the controller will continue to the next step.
Next, a combustion test will be performed at approxi-
mately 60% of the maximum power.