Multiple Shade V01.3 04 2019
5.2. Cable guides set-up
At each end of the Solar Shade’s housing, you will find a cable guide covered in vinyl. Unroll each
cable, and let them hang flat on the mounting surface.
Insert each cable into their respective holes at the two extremities of the bottom charge bar.
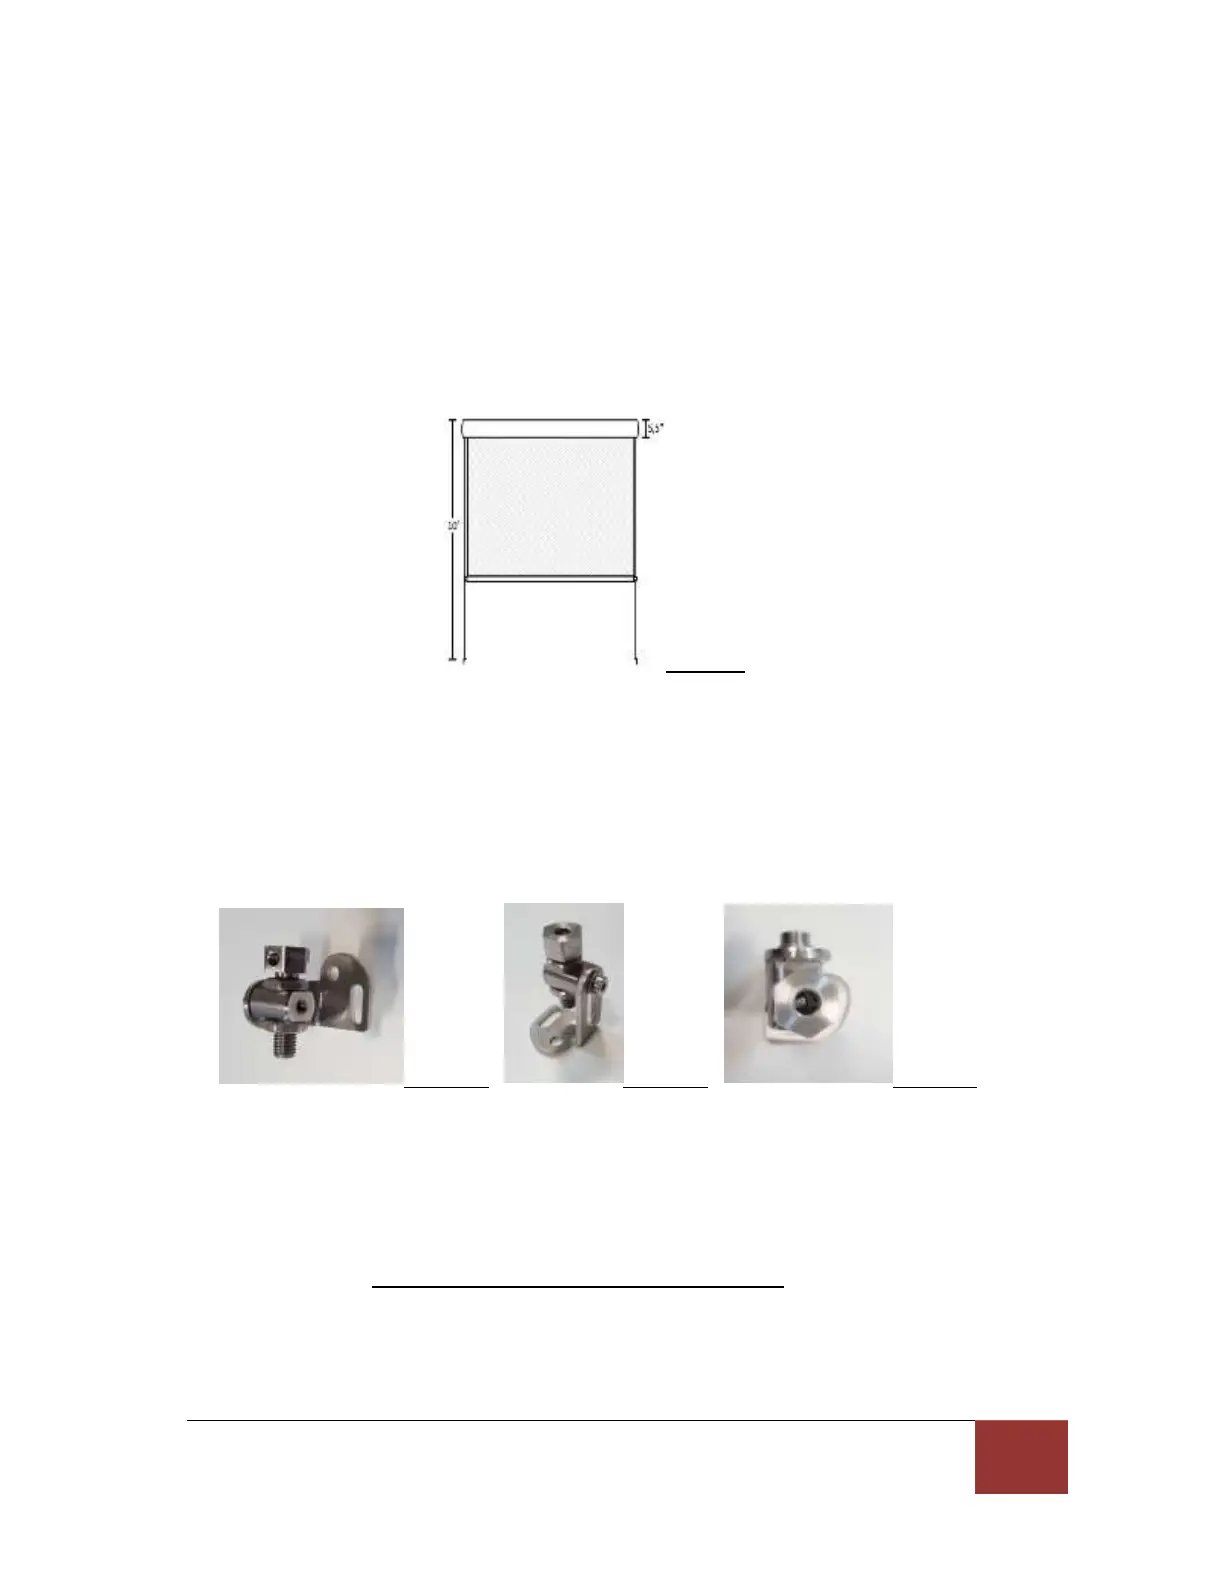
Then define the maximum height to which the Solar Shade will be extended (maximum 114’’
from the housing). At the bottom of each extremity, trace a horizontal line on the wall where you
want the support to be installed. Using the cables as a guide, make sure they are straight and
vertical. Then trace a vertical line that crosses the previous horizontal line. (See figure 1).
Figure 1
Localize the cable guide supports and decide if you will install them on the floor or the wall
(frame). The choice of installation may be dictated by the type of material in which the holes
will be drilled (wood or masonry). The cable guide supports can accommodate each position
and you may adjust this position with a 4 mm Allen key. (See figures 6 and 7). At the locations
identified on the previous paragraph, set some marks to designate the holes where the support
will be installed. Drill the holes with a proper drill bit, and then screw the supports in place very
tightly.
Figure 6 Figure 7 Figure 8
You will note that the support has a top screw with a hole on top. You should introduce the
cable guide in this hole while checking that the set-up screw is sufficiently retracted to let the
cable through (Allen key - 3mm required). Make sure you do not lose this little screw. (See figure
8).
When the wire is properly straightened and tight, you will need to solidly tighten the side screw
with a 3mm Allen key. At this point, do not cut the excess wire. You can adjust the tension of
the wire with the 2 bolts located on each side of the screw holding the cable guide.
If you have a motorized unit, use the remote handset for the next adjustments and
temporarily connect the motor. If you are using a non motorized model, use the manual crank
to open your solar shade.