Multiple Shade V01.3 04 2019
5.3. Testing the strength and opening position of the Solar Shade
To test the solidity of your Solar Shade, open it to its lowest position. If you need to re-adjust
the open position of the motor, both the open and close limits will need to be reprogrammed;
refer to section 8.A. (6.3 for the Solar Panel version) at all times. You can stop the opening of
the Solar Shade by pushing the STOP (middle button) button of the remote. While the shade is
totally opened, move the lower bar to make sure the cables are sufficiently tight to avoid any
knocking on your window or door. If you need to adjust the tension of the wires, please do this
with the 2 bolts located on each side of the screw holding the cable guide. If you judge the cable
guide is sufficiently tight, it is now acceptable to cut the excess cable underneath the holding
screw. Otherwise, it is always possible to adjust the tension of the cable guide while working
with the small screw that holds the cable guide.
ATTENTION: The opening and closing limits of your motor have been programmed and tested
in our factory. Out of the factory, the shade opens to 5’. If you need to change the open limit,
follow and perform completely the instructions in section 8.A. Programming the close (up) limit
and the open (down) limit. Both limits need to be reprogrammed.
5.4. Installing the rubber bumpers on the bottom charge bar
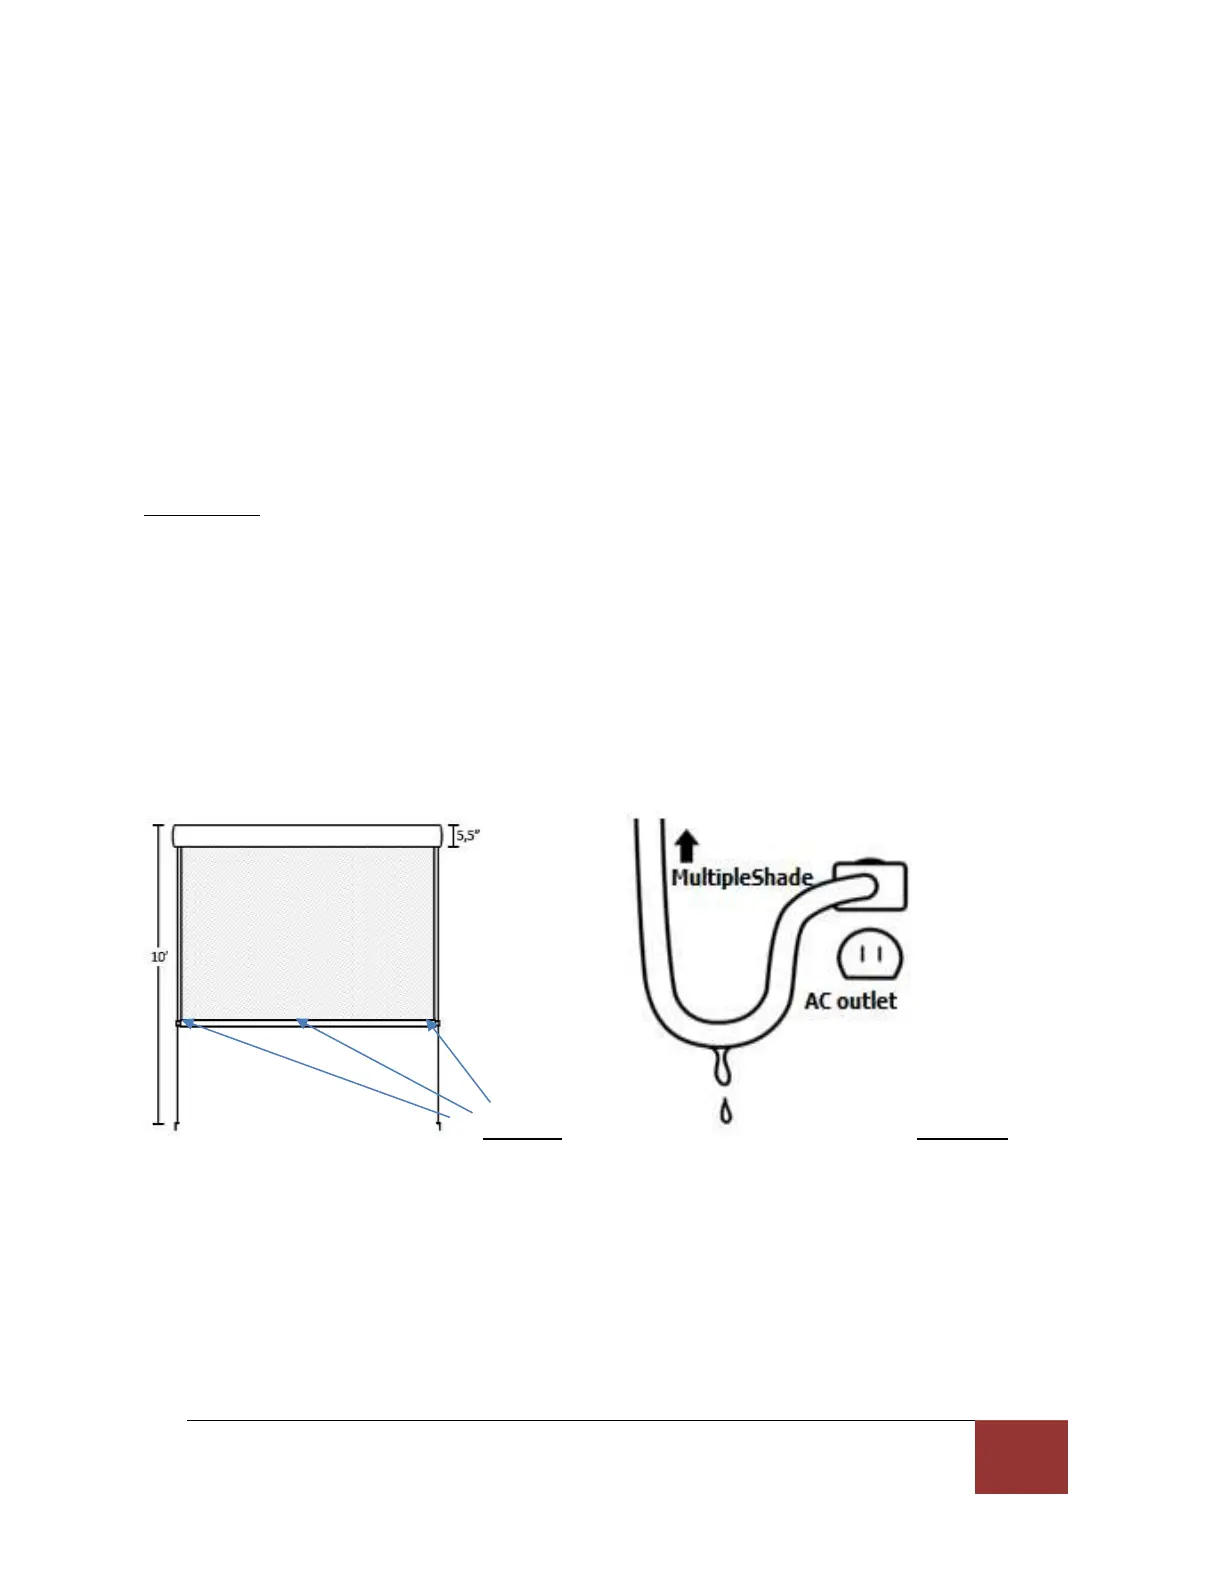
Install the 3 small rubber bumpers on the front or back of the bottom charge bar where there
could be contact with your window or other structure where your Multiple Shade is installed,
please refer to figure 9.
Figure 9 Figure 10
5.5. Connect the motor to the AC outlet and operate your solar shade
Connect the AC electrical cord of the motor to an AC (GFI) outlet, while maintaining a loop
underneath the plug to avoid water seepage into the AC outlet. (See figure 10). We also
recommend using an AC outlet protection cover, which can be found at most Hardware Stores.