EN
7
3. IN-HELMET INSTALLATION
Important: before installing the N-Com system, make a note of the attached product identifier code.
The installation video can be found at www.n-com.it/en in the Support section.
Remove the neck brace (see the helmet’s user manual).
Detach the cheek pads (see the helmet’s user manual).
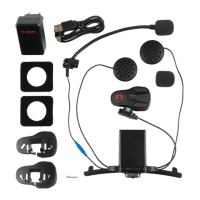
Connect the microphone’s blue connector to
the other end, as shown by the arrows (Fig.
1).
Connect both the speakers’ black connectors
to the other ends, as shown by the arrows
(Fig. 1).
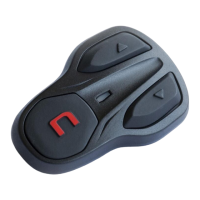
Before installing the B802 system in the helmet, check the system is working. Press and hold the
“n” key for about two seconds until the blue LED lights up on the keypad and you hear a beep in
the headphones. Proceed with installation.
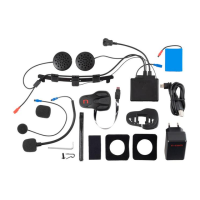
Insert the system in the slot at the back of
the helmet (Fig. 2), taking care to place the
antenna between the polystyrene shell and
the outer shell.
Press the system down until it is completely
inserted.
Fig. 3
Position the left and right speakers in the
appropriate slots in the polystyrene cheek
padding (Fig. 3).