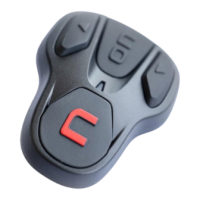
EN
9
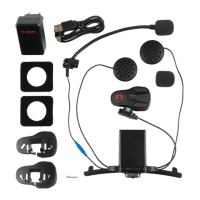
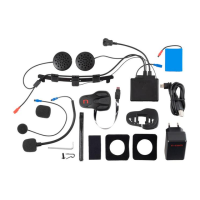
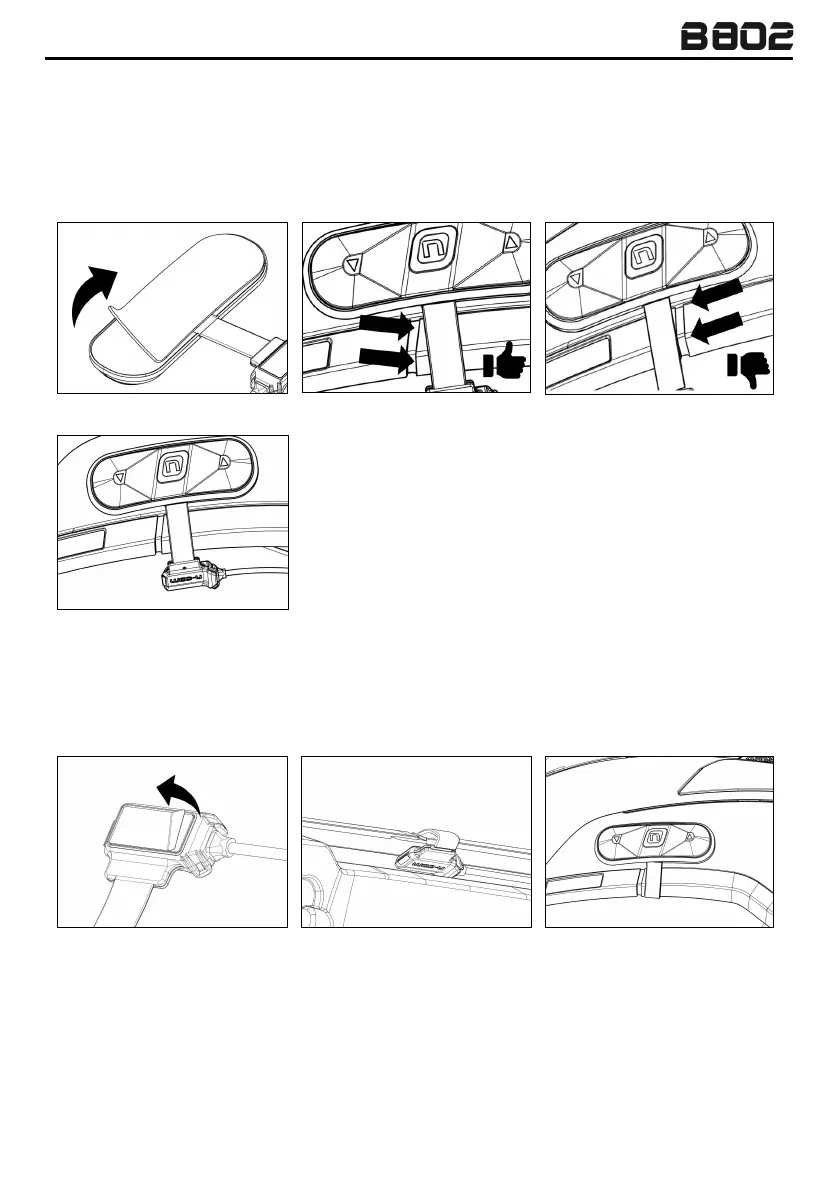
Remove the protective film from the back of the adhesive keypad by pulling the tab (Fig. 6).
NB: the keypad must be completely attached to the shell, avoiding any overlapping at the edges.
Align the keypad’s black cable with the groove running along the edge of the shell (Fig. 7).
Important: to avoid problems with opening and closing the chin guard, do not place the keypad
cable beyond the groove (Fig. 8).
Fig. 6
Fig. 7
Attach the keypad to the shell and apply pressure all over
to ensure it is fully attached (Fig. 9).
NB: should the keypad be positioned incorrectly, remove it
immediately from the helmet and reposition it.
NB: the adhesive takes up to 24 hours to adhere completely. In
this period, do not expose the helmet to the elements.
Remove the protective film from the back of the keypad connector (Fig. 10).
Place the black cable inside the helmet, inserting the keypad connector between the shell and the
polystyrene cheek pad (Fig. 11).
Attach the keypad connector to the shell (Fig. 12).
Fig. 10
Fig. 11
Replace both the cheek pads (as shown in the helmet user manual).

 Loading...