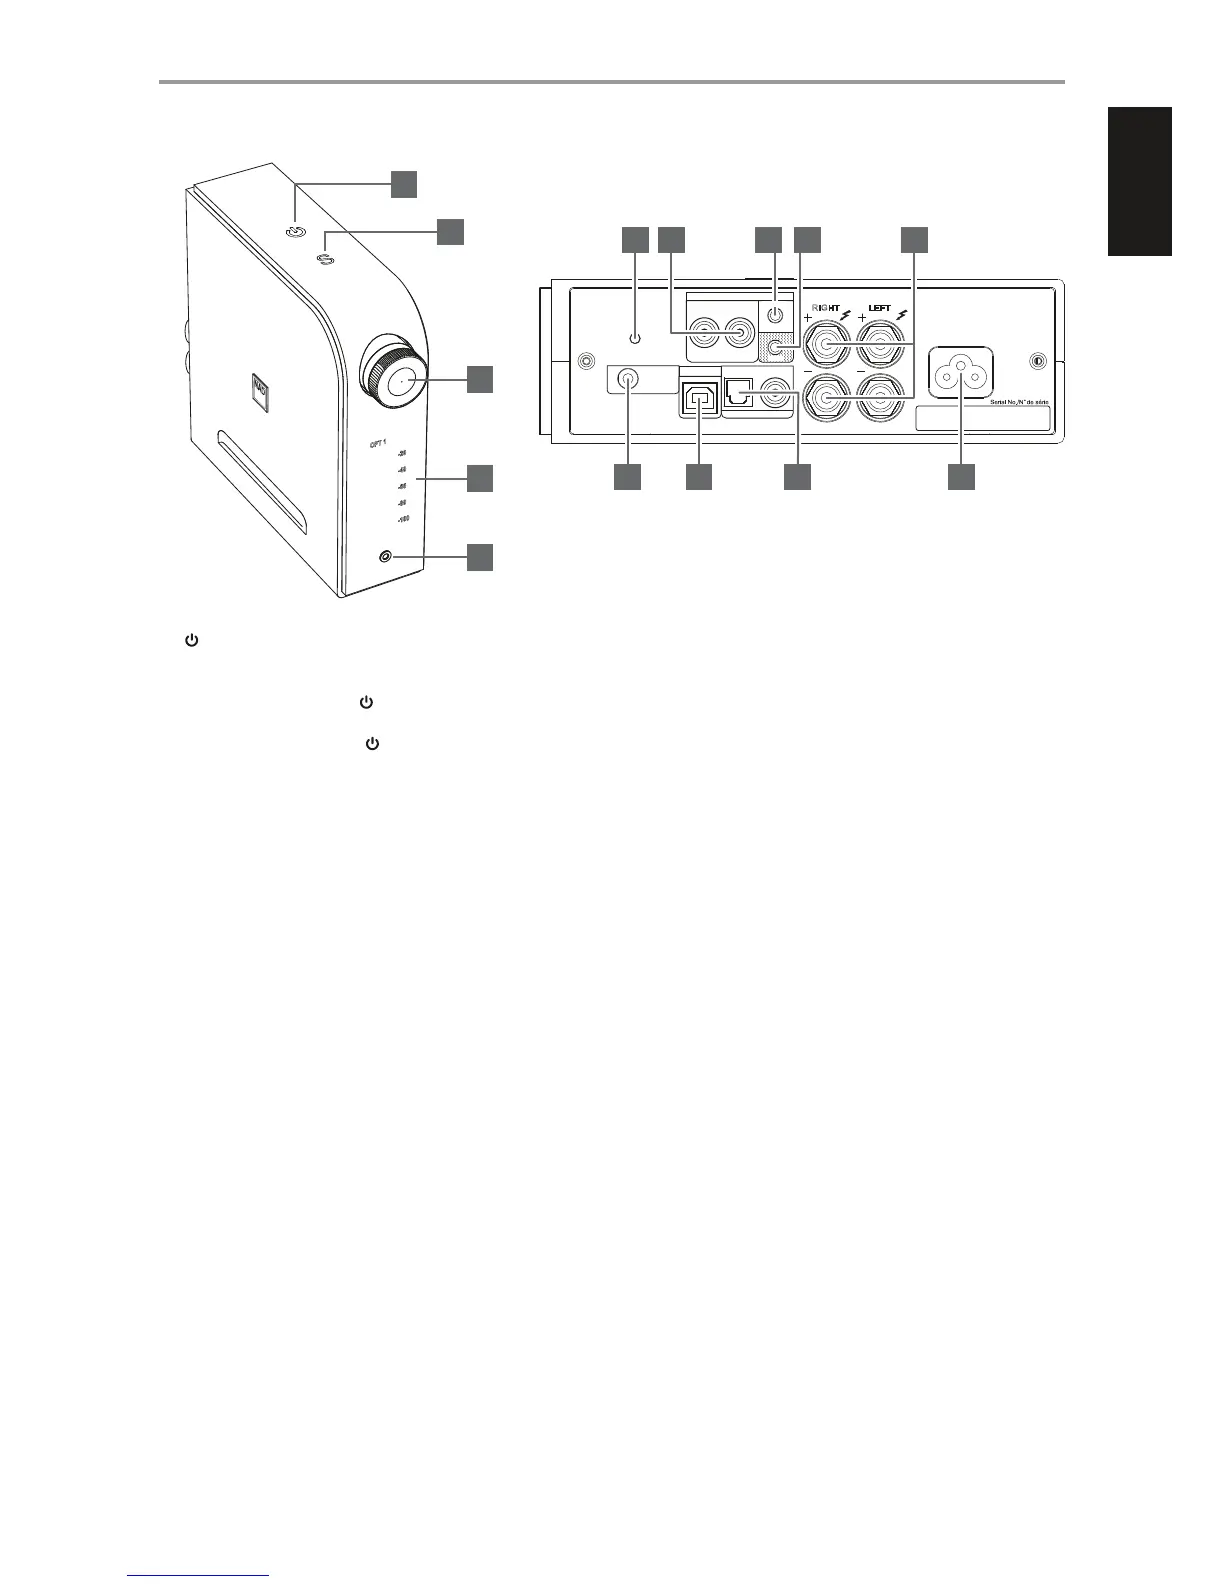
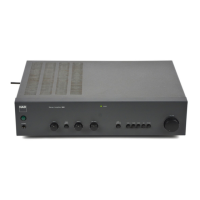
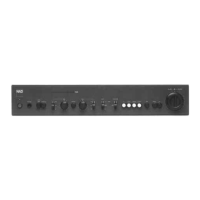
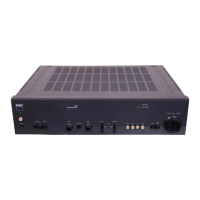
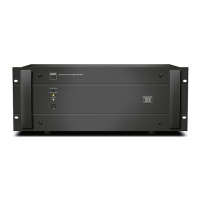
IDENTIFICATION OF CONTROLS
1 (STANDBY)
• With the corresponding end of the mains power cord connected
to the AC mains input of the D 3020 and the plug connected to a
mains power source, press
(Standby) to switch ON the D 3020
from standby mode. The Standby indicator will turn from amber to
bright/white color. Pressing
(Standby) again turns the unit back
to standby mode.
2 S (SOURCE)
• Toggle to cycle through the Sources (OPT1, OPT2, COAX, USB, AUX
1, AUX 2, BT) and select desired Source.
3 VOLUME
• Adjust audio level by turning clockwise or counterclockwise.
4 DISPLAY
• Illuminate the selected or active Source (OPT1, OPT2, COAX, USB,
AUX 1, AUX 2, BT) and current audio level.
5 PHONES
• A 3.5 mm stereo jack socket is supplied for headphone listening.
• Specially designed low noise headphone circuitry can
accommodate a wide range of phones, even 600 Ohm studio
models.
• Ensure that the volume control is turned to minimum (fully
counterclockwise) before connecting or disconnecting
headphones. Listening at high levels can damage your hearing.
• Inserting a headphone jack into this socket automatically switches
o the loudspeakers.
6 BASS EQ
• Boost overall bass response by at least 6 dB. “BASS” is illuminated in
the display with BASS EQ enabled.
• Toggle to enable or disable BASS EQ.
7 AUX 1
• Use a twin RCA-to-RCA lead to connect these sockets to the left and
right analog output of a CD player, preamplier, processor or other
applicable devices.
8 AUX 2
• Connect to corresponding output connectors of other audio
devices using a 3.5mm stereo plug (not supplied). This input also
accepts headphone/digital audio output from a MacBook Pro.
• Install the supplied TOSLINK mini-adapter to convert this input into
an additional digital optical input (OPT2).
9 SUBW
• Connect the SUBW output to powered (“active”) subwoofers or to
power amplier channels driving a passive system.
10 SPEAKERS
• Connect the right speaker to the terminals marked “R +” and “R-”
ensuring that the “R+” is connected to the “+” terminal on your
loudspeaker and the “R-” is connected to the loudspeaker’s “-”
terminal. Connect the left speaker to the terminals marked “L +”
and “L-” ensuring that the “L+” is connected to the “+” terminal on
your loudspeaker and the “L-” is connected to the loudspeaker’s “-”
terminal.
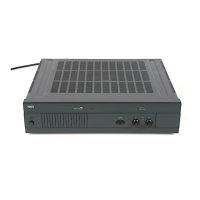
11 +12V TRIGGER IN
• Connect this +12V Trigger input to the remote device’s
corresponding +12V DC output jack using a mono cable with
3.5mm male plug. The controlling device must be equipped with a
+12V trigger output to use this feature.
USB
DIGITAL AUDIO INPUT
LEF T
SPEAKERS
+12V
TRIGGER
IN
LR
COAXIALOPTICAL 1
RIG HT
AUX 1
OPTICAL 2
ANALOG AUDIO INPUT
Bass EQ (SERVICE)
SUBW
AUX 2
6 7 8 9 10
11 12 13 14
1
2
3
4
5
5
ENGLISHPORTUGUÊS FRANÇAISESPAÑOLITALIANODEUTSCHNEDERLANDSSVENSKAРУССКИЙ