Caution Do not mate or unmate the power supply connectors while power is
applied.
What to Use
• Screwdriver, 2.54 mm (0.10 in.) flathead
• Primary power supply, 9 V to 30 V, 55 W minimum
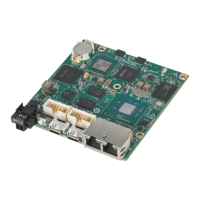
NI recommends the following power supplies for the sbRIO-96xx.
Table 18. NI Power Supplies
Power Supply Part Number
NI PS-15 Industrial Power Supply
(24 VDC, 5 A, 100 VAC to 120 VAC/200 VAC to 240 VAC input)
781093-01
NI PS-10 Desktop Power Supply
(24 VDC, 5 A, 100 VAC to 120 VAC/200 VAC to 240 VAC input)
782698-01
What to Do
1. Ensure that your power supply is powered off.
2. Insert the power connector plug into the power connector receptacle of the NI
sbRIO-96xx until the connector latches into place.
3. Turn on the power supply.
Installing a Ferrite
What to Use
• Ferrite, NI part number 711849-01 (included in kit)
• Screwdriver, 2.54 mm (0.10 in.) flathead
• Primary power supply, 9 V to 30 V, 55 W minimum
What to Do
Complete the following steps to install a ferrite on the sbRIO-96xx.
Note If your kit contains an NI PS-10, you do not need to install a ferrite. The NI
PS-10 has a ferrite installed on the power leads.
Figure 37. Installing a Ferrite on the Power Leads
CompactRIO Single-Board Controller with NI-DAQmx Hardware Installation Manual | © National Instruments | 43
 Loading...
