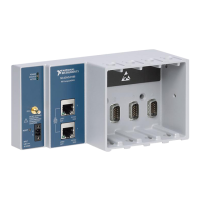
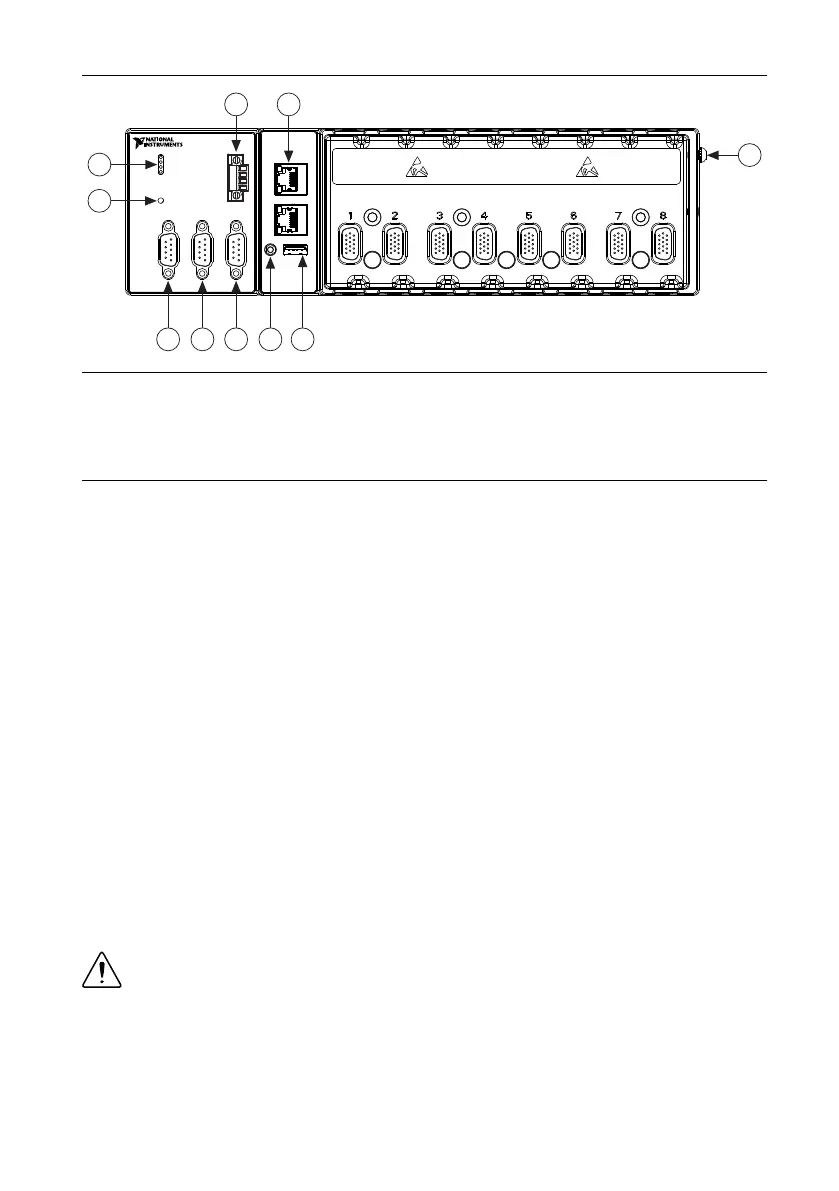
Figure 2. cRIO-9068 Part Locator Diagram
1. Power Connector
2. Ethernet Ports
3. Chassis Ground Terminal
4. USB Host Port
5. USB Cable Retention Mount
6. RS-485 Serial Port
7. RS-232 Serial Port
8. RS-232 Serial Port
9. Reset Buttom
10. LEDs
Connecting the cRIO-9068 to Ground
You must connect the cRIO-9068 grounding terminal to the grounding electrode system of the
facility.
What to Use
• Ring lug
• Wire, 2.0 mm
2
(14 AWG) or larger
• Screwdriver, Phillips #2
What to Do
Complete the following steps to ground the cRIO-9068.
1. Attach the ring lug to the wire.
2. Remove the grounding screw from the grounding terminal on the cRIO-9068.
3. Attach the ring lug to the grounding terminal.
4. Tighten the grounding screw to 0.5 N · m (4.4 lb · in.) of torque.
5. Attach the other end of the wire to the grounding electrode system of your facility using a
method that is appropriate for your application.
Caution If you use shielded cabling to connect to a C Series module with a plastic
connector, you must attach the cable shield to the chassis grounding terminal using
2.0 mm
2
(14 AWG) or larger wire. Attach a ring lug to the wire and attach the wire
6 | ni.com | cRIO-9068 Getting Started Guide
 Loading...