© National Instruments Corporation 3 160-Pin Cable for the NI PXI-2530B Installation Instructions
Getting Started with the 160-Pin Cable for the NI PXI-2530B
Complete the following steps to connect the cable to the NI PXI-2530B and your application.
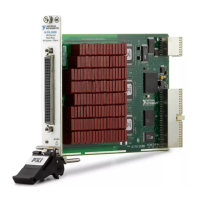
1. Connect the cable backshell to the NI PXI-2530B connector on the switch module as shown in
Figure 2.
Figure 2. Connecting the Cable to the NI PXI-2530B
2. Tighten the chassis screws on the cable.
3. Connect the D-SUB connectors on the cable to your application. Refer to Tables 1 through 4 in the
Cable Configuration section to determine how to connect signals to your application. For screw
terminal access, you can connect directly to NI TBX-50 terminal blocks.
1 Backshell 2 Chassis Screws 3 NI PXI-2530B Connector
3
1
2
60VDC/30VRMS CAT I ONLY
NI PXI-2530B
128-Channel
Reed Relay
Multiplexer / Matrix

 Loading...