OLYMPIC SMART SCALE
®
Model 60/65
Section 3: Service
Page 3-16
Removing Internal Components
To remove internal components:
1. Remove the scale enclosure (see Disassembly on page 3-6).
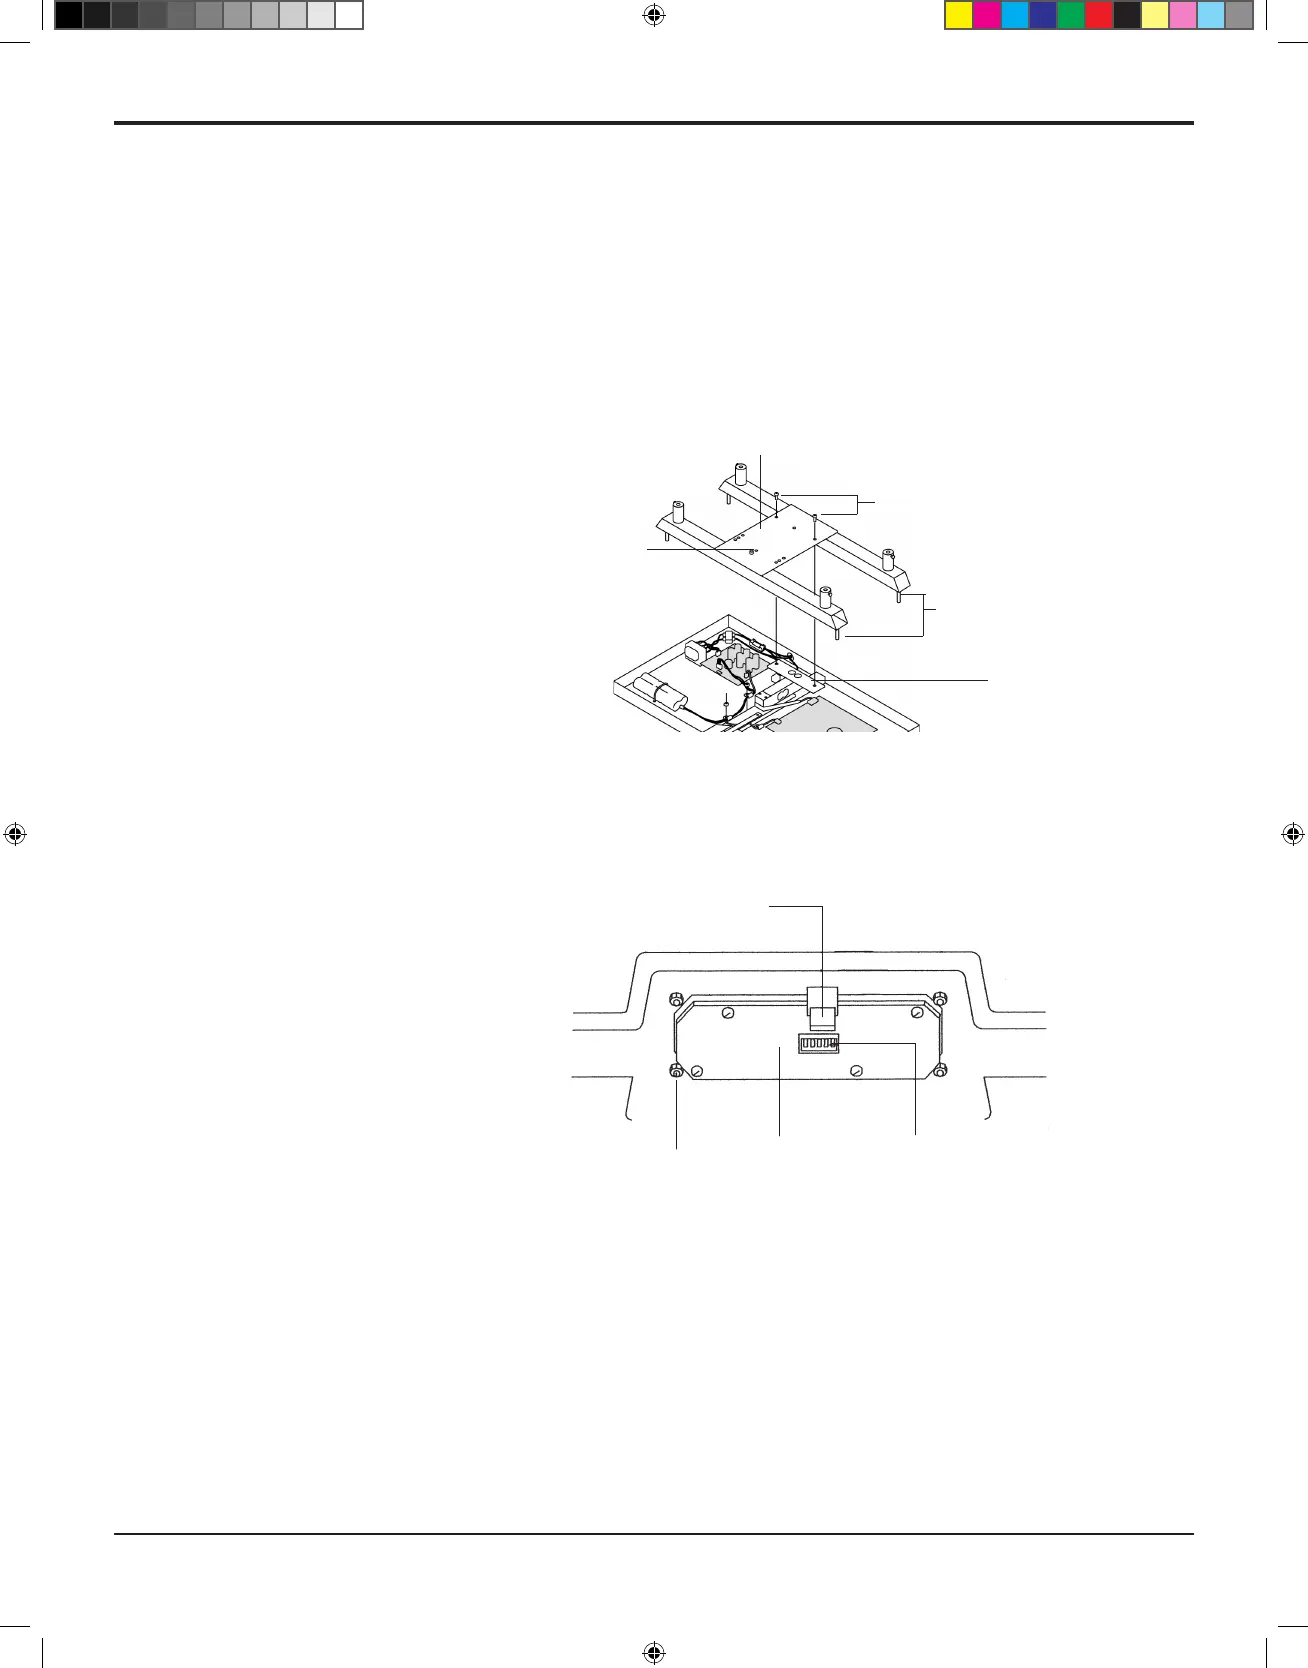
2. The H-shaped tray supporting structure above the loadcell,
called the “spider,” must be removed before the PCBs can be
replaced. Remove the spider from the loadcell by unscrewing
the two mounting screws (Fig. 3N).
3. Remove the display PCB by disconnecting the ribbon cable
from the display board, then unscrew the four mounting screws
(Fig. 3O).
4. Remove the power supply board by disconnecting all
connectors, then unscrew the mounting screws (Fig. 3K).
Ribbon Cable Con-
nector
Display PCB
Mounting Screw (4)
From Control Panel
View looks up into enclosure
Fig. 3O
Screws securing
Spider to Loadcell
Spider
Upper Overload Stop
Loadcell
Overload Stop Screws
Fig. 3N
 Loading...